Words and images by Mark Watson
Figuring Out the ‘Packing’ in Bikepacking
Bikepacking can encompass rides from overnighters right through to multi-month tours, and consequently a lot of variation in the gear and supplies you carry. I like to adapt my setup to suit the type of trip as well as the length of my packing list. Following are a few tips for streamlining your luggage and packing and I outline three methods I use for different styles of bikepacking from ultra-racing to extended touring.
Some Packing Basics
While most seasoned bikepackers have got their favourite luggage and packing methods dialled in, for beginner riders packing a bike can be a conundrum: how many bags do you need? What best goes where? How on earth do you fit it all in? And how do you stop your banana getting squashed?
Firstly, there’s no single, correct way to pack a bikepacking bike. Bikepacking bags vary a lot in style, shape and size and your own individual requirements might dictate certain sizes or styles of bag. For example, if you want to carry a laptop, you’ll need panniers or a large saddle bag, and a rack to mount them on; while a pared-back racer’s packlist might require the bare minimum of bags. I like to optimise my setup for the particular trip I’m going on so that I don’t have half-empty luggage, or more bags than necessary and consequently more weight, as well as more failure points and faff.
Efficient Packing
A fundamental of packing bikepacking bags efficiently and knowing where everything is is to find a method and order that works for you and stick to it everytime you pack. That said, I have slightly different packing strategies for long distance, two- to three-day trips and racing, but between those there is some commonality in regard what goes where. On a long trip, you’ll soon find an efficient method and stick to it, but if you’re setting up for an ultra for the first time, the time to get used to your system and work out any flaws is on shakedown or training rides. Ideally you’ll start this process at least a few weeks before your event.
What goes where?
Overall, I tend to pack items in the reverse order of priority that I’ll require them throughout the day, and I group items that will be needed at the same time together.
For example, the dry bag in my handlebar harness is dedicated to the tent, sleep kit, and my end-of-day warm clothes, long johns and sleep socks. I rarely need to open this bag during the day. Anything I do expect to use during the day is kept handy in a top tube bag, frame bag or and/or the top of a pannier or Egress Pocket if I’m on a longer tour.
Compact, heavy items like tools, tubes and power banks live in my frame bag, which helps keep your centre of gravity low, improving bike handling. Seat bags are great for cooking equipment and food, but some people prefer to keep their sleep kit in a seat bag if they’re running minimal luggage up front.
Have Some Breathing Room
Sometimes packing a bikepacking bike can feel like a game of tetris, but this is avoidable if you can find the sweet spot between too little and too much space and adapt your setup for each type of trip. If all your bags are packed super tight – particularly the ones you need to access during the day – then getting something out of the bottom of your frame bag can be slow if it has to be precisely packed to fit it all back in again. I like to keep enough room in my frame bag to fit bulky, soon-to-be-eaten food like pastries, a banana or a bottle of soft drink. The same goes for my top tube bag, where I keep lip balm, spare batteries, electrolytes and snacks – if it’s too tightly packed you’ll risk fumbling around or losing things out of it when it’s open.
Load Distribution
Your bike will handle best and be more enjoyable to ride if you load it carefully without too much weight either at the front or the back, i.e. with an overly heavy seat bag but little weight at the front, or vice versa; or too much weight in the front and seat bags, but not enough in the frame.
For non-technical, moderate bikepacking trips an approximately 50:50 distribution between the front and back of the bike is good. For more technical riding or steep climbs, I tend to put a little more weight towards the front because this can be better for keeping your front wheel predictable on steep sections and when you pop over obstacles, improving front wheel traction and giving the bike a ‘planted’ feel. But too much and your bike will steer too slowly. It’s all about finding the sweet spot. One school of thought is to front load the bike quite a bit more than the back, because the rider’s own weight towards the back of the bike balances it, but on anything more than easy gravel this method can make handling sketchy, and it makes the bike awkward to handle when you’re not on it – e.g. carrying up steps, or leaning it up on things.
If I’m expecting a lot of hike-a-bike, I prefer not to have too much weight up front, otherwise it’s exhausting to lift the front of the bike over obstacles, but instead of moving the weight to the back (which is nearly as bad), I’ll compensate by using a small daypack and carry gear on my back..
Multi-day Singletrack & 4WD Tracks
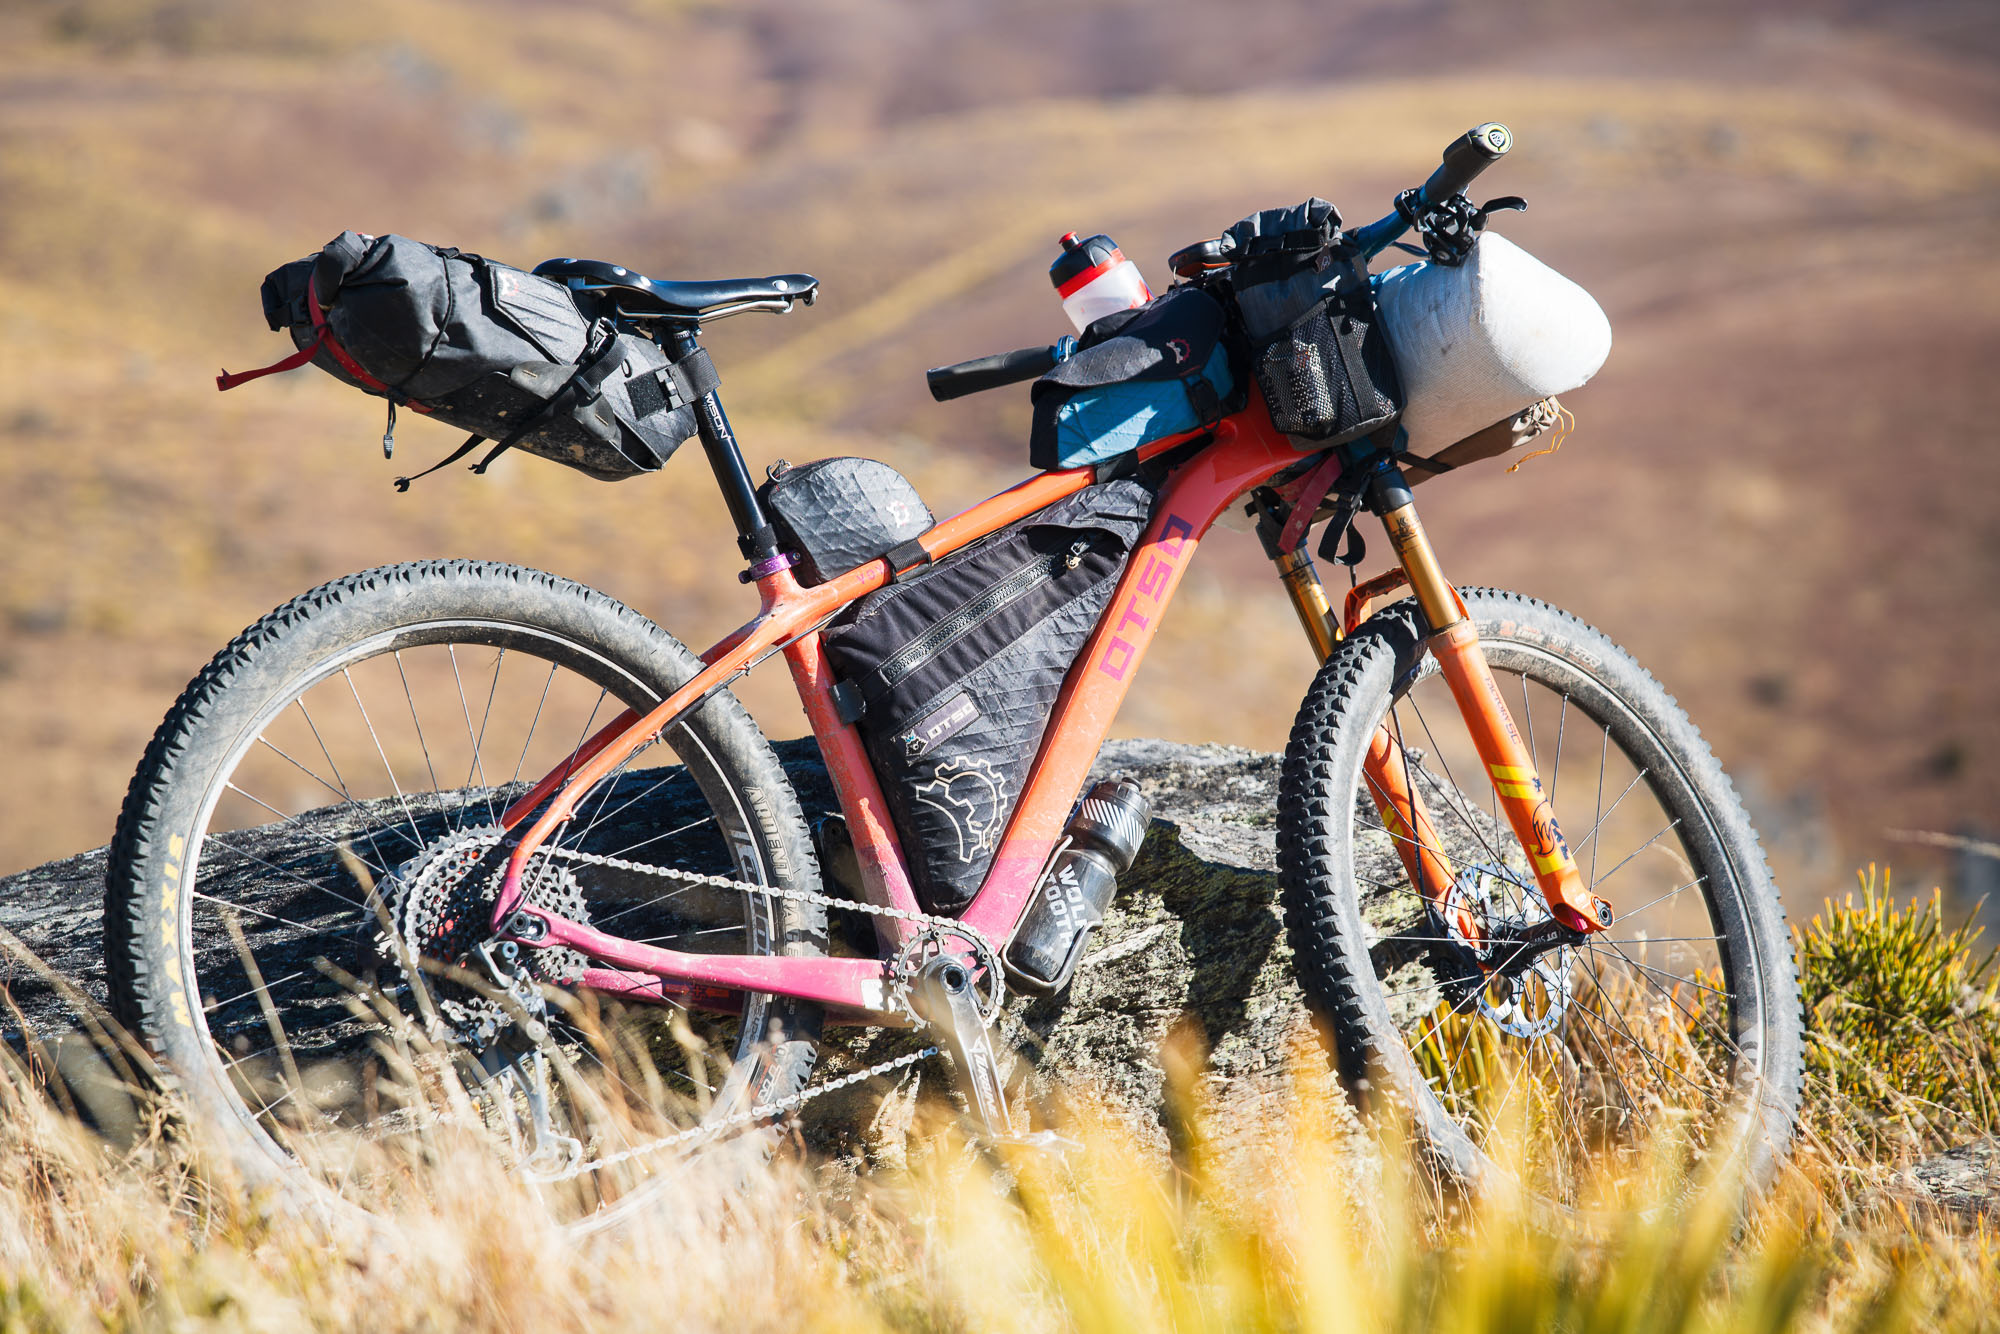
This is my Otso Voytek set up for trips from weekend-length to a few days. If there were more than three days without resupply I’d use a larger seat bag (this Revelate Designs Terrapin is 8L). This very well balanced setup has space for a tent, sleep system and stove, as well as all the other essentials. It’s my go-to for bikepacking trips that involve a lot of singletrack riding and/or extended sections of rough back roads and 4WD tracks, but it’s equally at home on gravel roads. With no cargo bags on the fork legs, there’s heaps of clearance for overgrown or rutted tracks and the bike doesn’t get too front heavy.
The front harness is a Revelate Designs Pronghorn, which is their light racing model suited to lighter loads. I use the heavier Harness and Salty Roll for touring and trips requiring heavier loads.
If the trip is mostly singletrack then I usually use a 10L day pack with a hydration bladder and carry some of the heavier, compact items on my back to reduce weight on the bike and improve the handling.
Ultralight/Racing
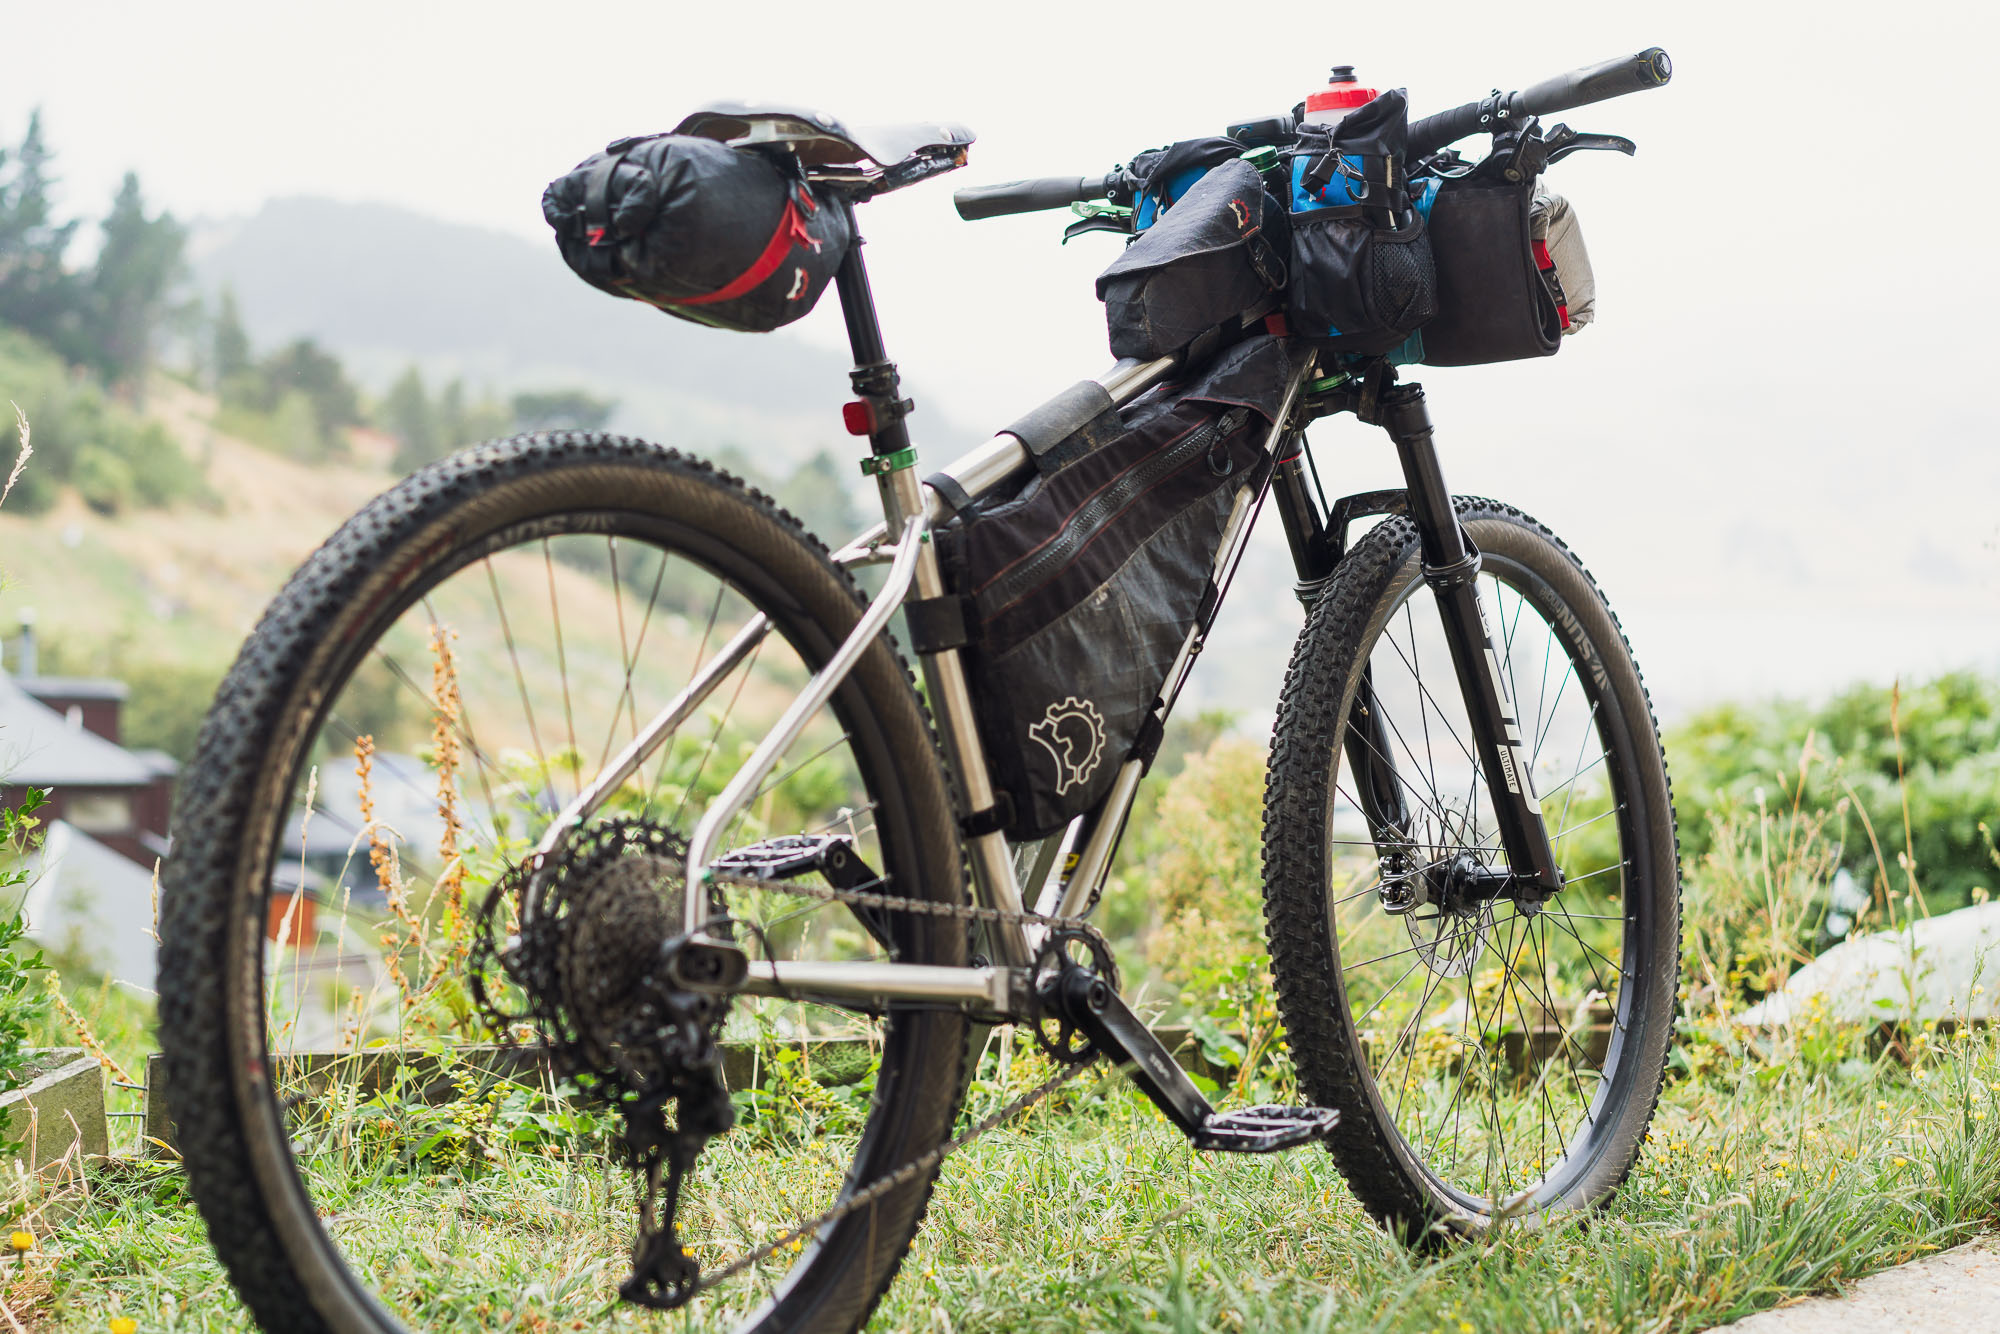
For racing I’m more acutely aware of every gram, so I minimise bags and cages (no second bag on the top tube and no bottle on the downtube). I was running a dropper post on my Fenrir Stainless for this event, so opted for the tiny Revelate Designs Shrew (2.25L) which works smoothly with a dropper. You can also use a larger dropper-compatible seat bag, but unless you’re quite tall, a large bag will reduce your useful dropper post travel a lot. I used a Wolf Tooth Valais clamp to shorten the travel slightly on my post.
I used an ultra racing vest to carry a 2L hydration bladder, extra food, resupply overflow, hygiene kit, first aid/painkillers and wallet. This was my set up for New Zealand’s Tour Te Waipounamu which has a lot of hike-a-bike, technical singletrack and rough roads; hence I wanted to keep a bit of weight off the bike and the ability to unload some of the compact, heavy items (tools, powerbank and batteries) for the hike-a-bike sections.
My most frequently needed storm gear (jacket and pants) were kept in the frame bag, and my waterproof/insulated gloves and windproof hat were in the Shrew seat bag along with my ultralight tubes.
Multi-week Trips & Extended Touring
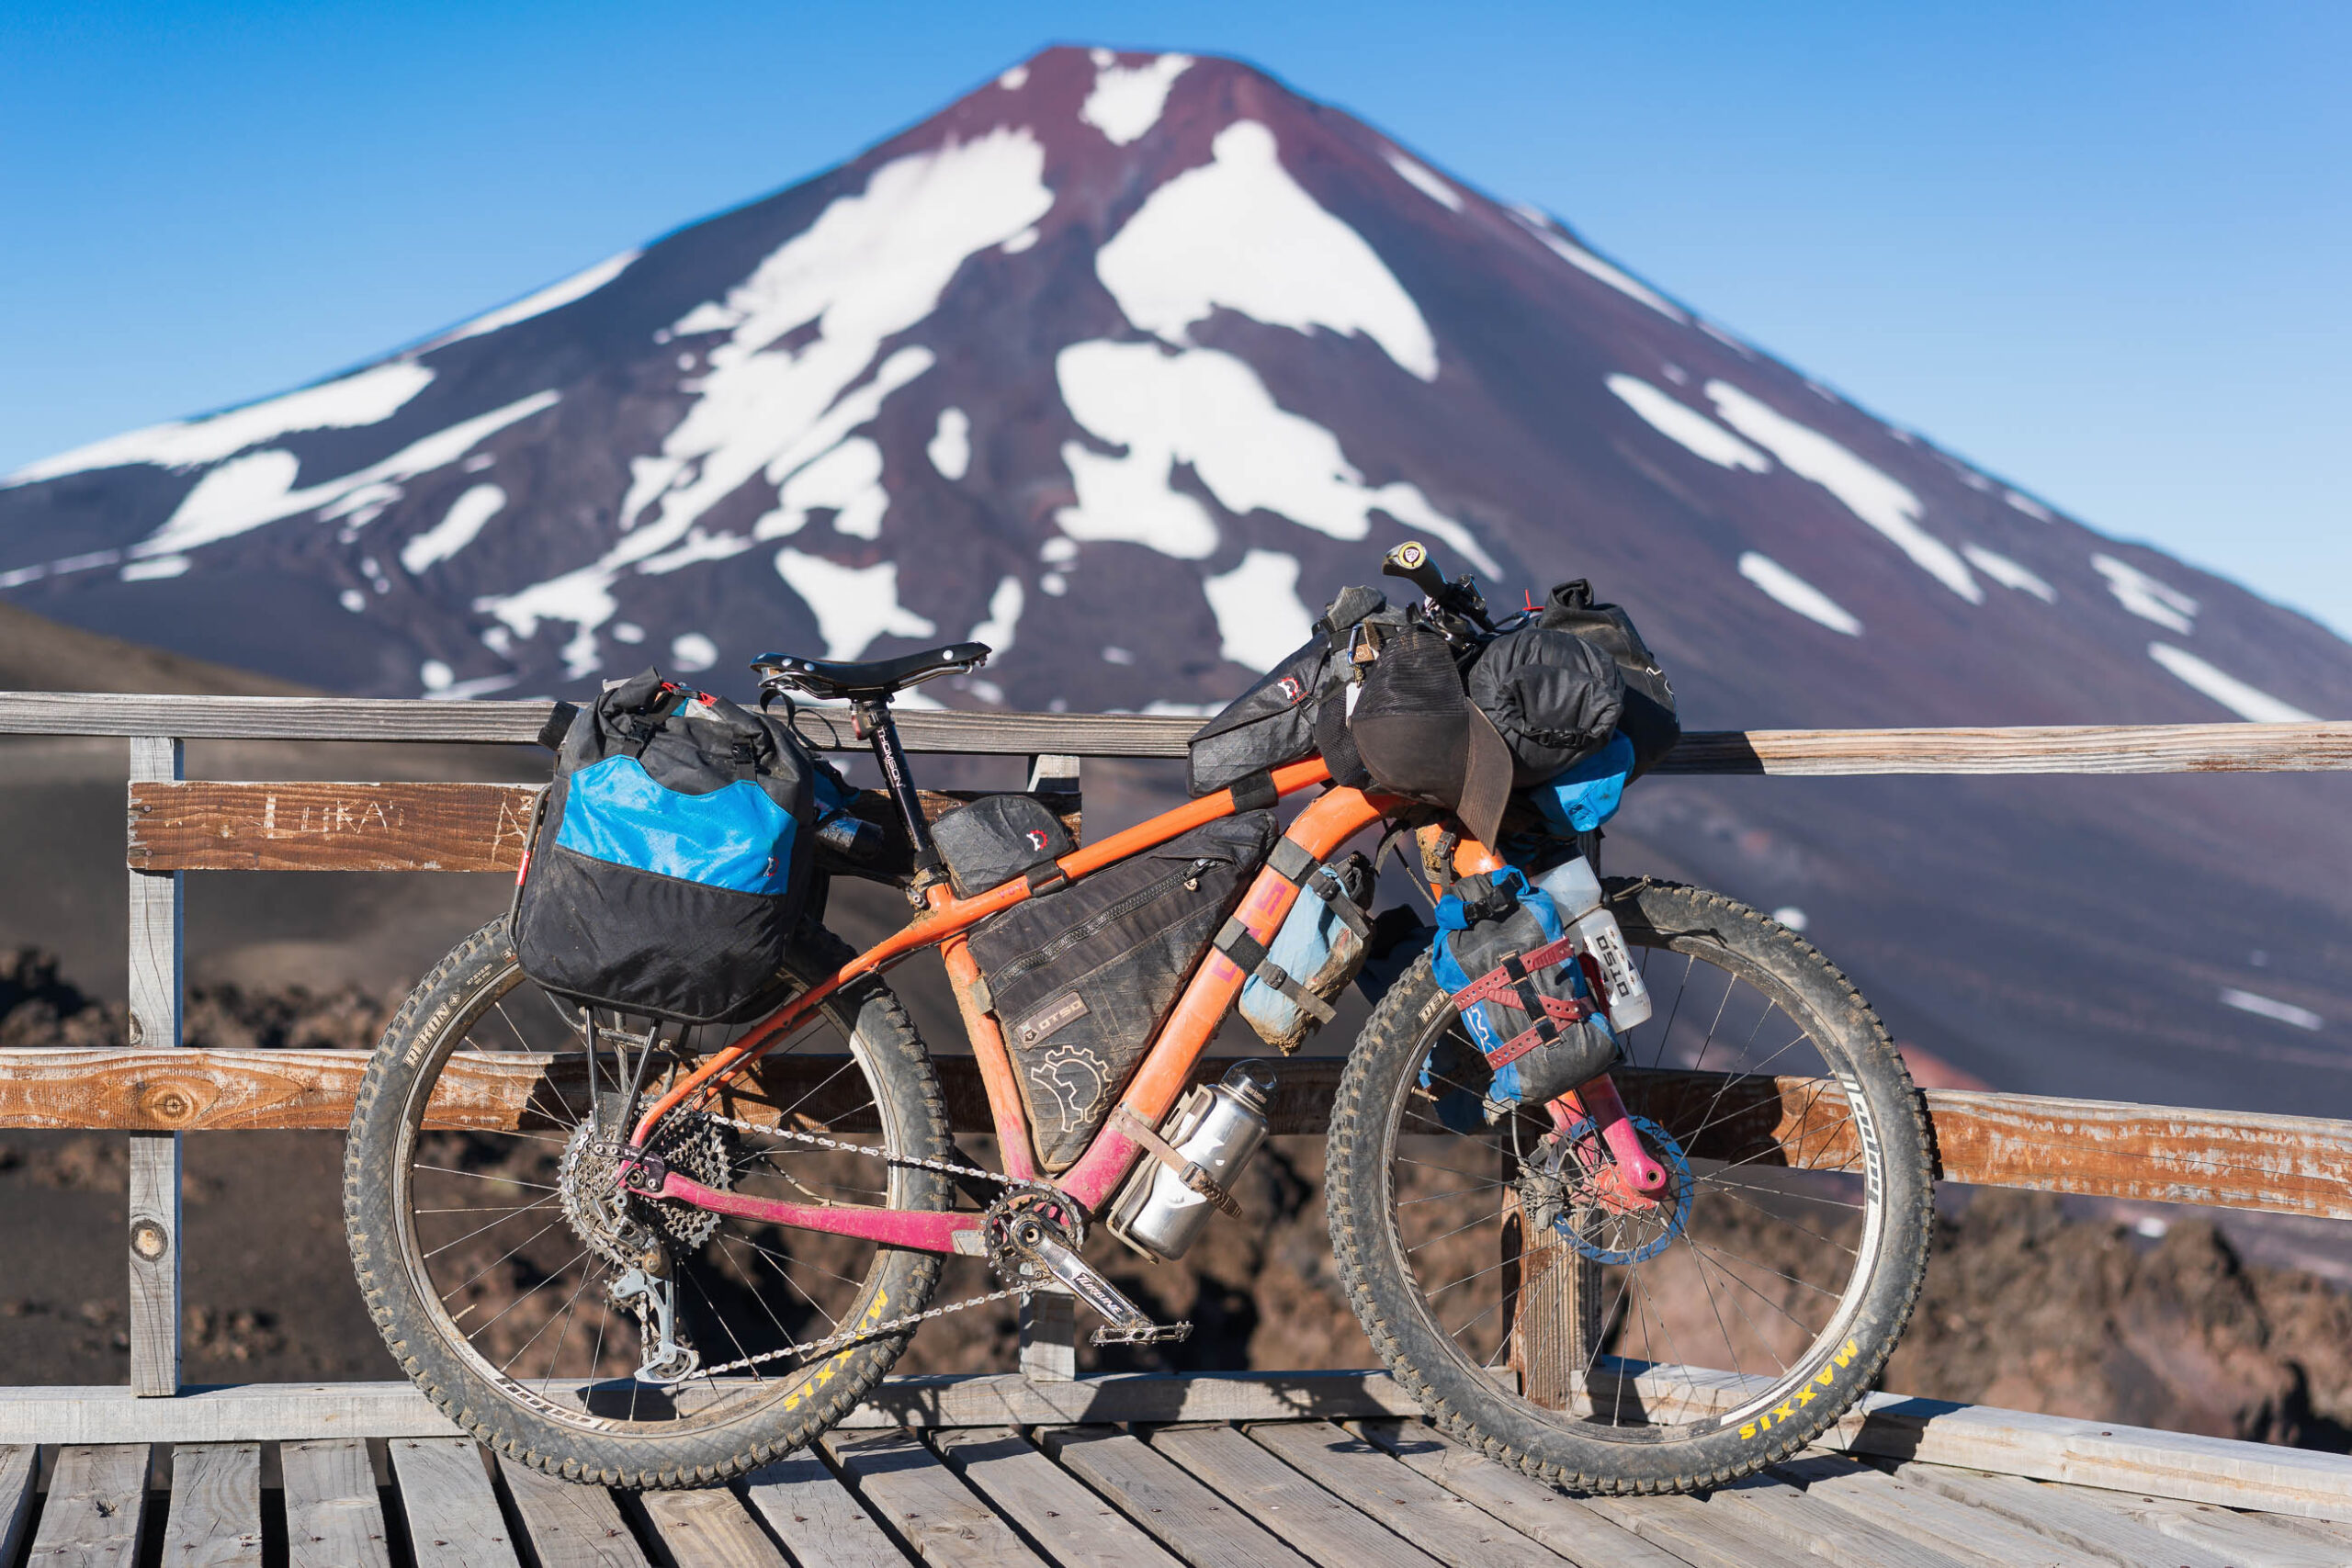
On overnighters and short trips, you tend to have less gear, and perhaps only two or three main bags, but multi-week trips or long distance bikepacking tends to necessitate carrying more gear or supplies. You might have spare clothing and equipment to cater for a variety of climates, as well as more electronics and sometimes food for many days at a time. But if the trip is in a warm climate with abundant resupply, you might run a setup closer to the Multi-day I described.
I distribute my load for long trips over a few different bags, including panniers and cargo cages on the fork for a couple of reasons: firstly to separate gear into convenient groupings – for example my left hand cargo bag always has storm gear, while the other one has most of my other spare clothing; and secondly to distribute the weight of my gear well – this makes the bike handle okay in all environments – from negotiating hotel stairs to hike-a-bike.
Holster-style panniers with a secure and rattle-free mounting system are the best option for bikepacking. The holster stays attached to your rack, while the pannier drybag can be quickly removed to put in your tent. For multi-month tours, panniers give you a bit of surplus space for big resupplies and are faster and more convenient to pack for day-in-day-out bike life.
Because I carry a heavier tent and/or sleep system on long trips, I use the stronger Revelate Designs Harness and Salty Roll, rather than the ultralight Pronghorn. The Harness will take years of touring abuse. I also run a larger 1.4L top tube bag (Mag Tank 2000) and an Egress Pocket which straps to the Harness for a further 2.8L capacity and ease of access to stuff I use every day. The convenience of this bag is that you can keep your phone, valuables, cables and powerbank in it and it’s very quick to unclip to take into a supermarket, restaurant or your tent.
The downtube bag on this bike contains items that are infrequently needed, like spare tube, sealant, derailleur hanger, backup squeeze filter etc, which means they don’t occupy space in the bags you dig into frequently.
Mark Watson is an ambassador for Otso Cycles. With his partner Hana Black he’s toured though SW China and SE Asia and the length of the Americas – from Alaska to Patagonia, sometimes creating new bikepacking routes along the way. He’s a three-time finisher in New Zealand’s gruelling Tour Te Waipounamu bikepacking ultra. In 2022 he published the Bikepacking & Off-road Cycle Touring Guide (e-book).


