
Words and images by Sarah Swallow
If you are new to the world of bikepacking, you may be wondering what the difference is between bikepacking and bicycle touring. Theoretically, bicycle touring and bikepacking represent traveling by bike through a place but in different forms and fashions. While touring is used to distinguish between the pace or intention of a ride compared to racing, bicycle touring has traditionally represented traveling by bike on paved roads with racks and panniers. Alternatively, bikepacking is a form of bicycle travel on dirt roads and trails utilizing bags that integrate with your bicycle frame and distribute the weight of your gear more evenly. If you are familiar with hiking culture, bicycle touring on the pavement is equivalent to backpacking, while bikepacking is equivalent to thru-hiking.
There are pluses and minuses for both setups. Touring setups with racks and panniers are readily available, generally affordable, easy to access and pack your stuff, and can carry enough gear for lush living off the bicycle at camp. However, touring setups tend to be heavier and have less clearance in tighter spaces, making them more challenging to maneuver on trails or steep and technical terrain.
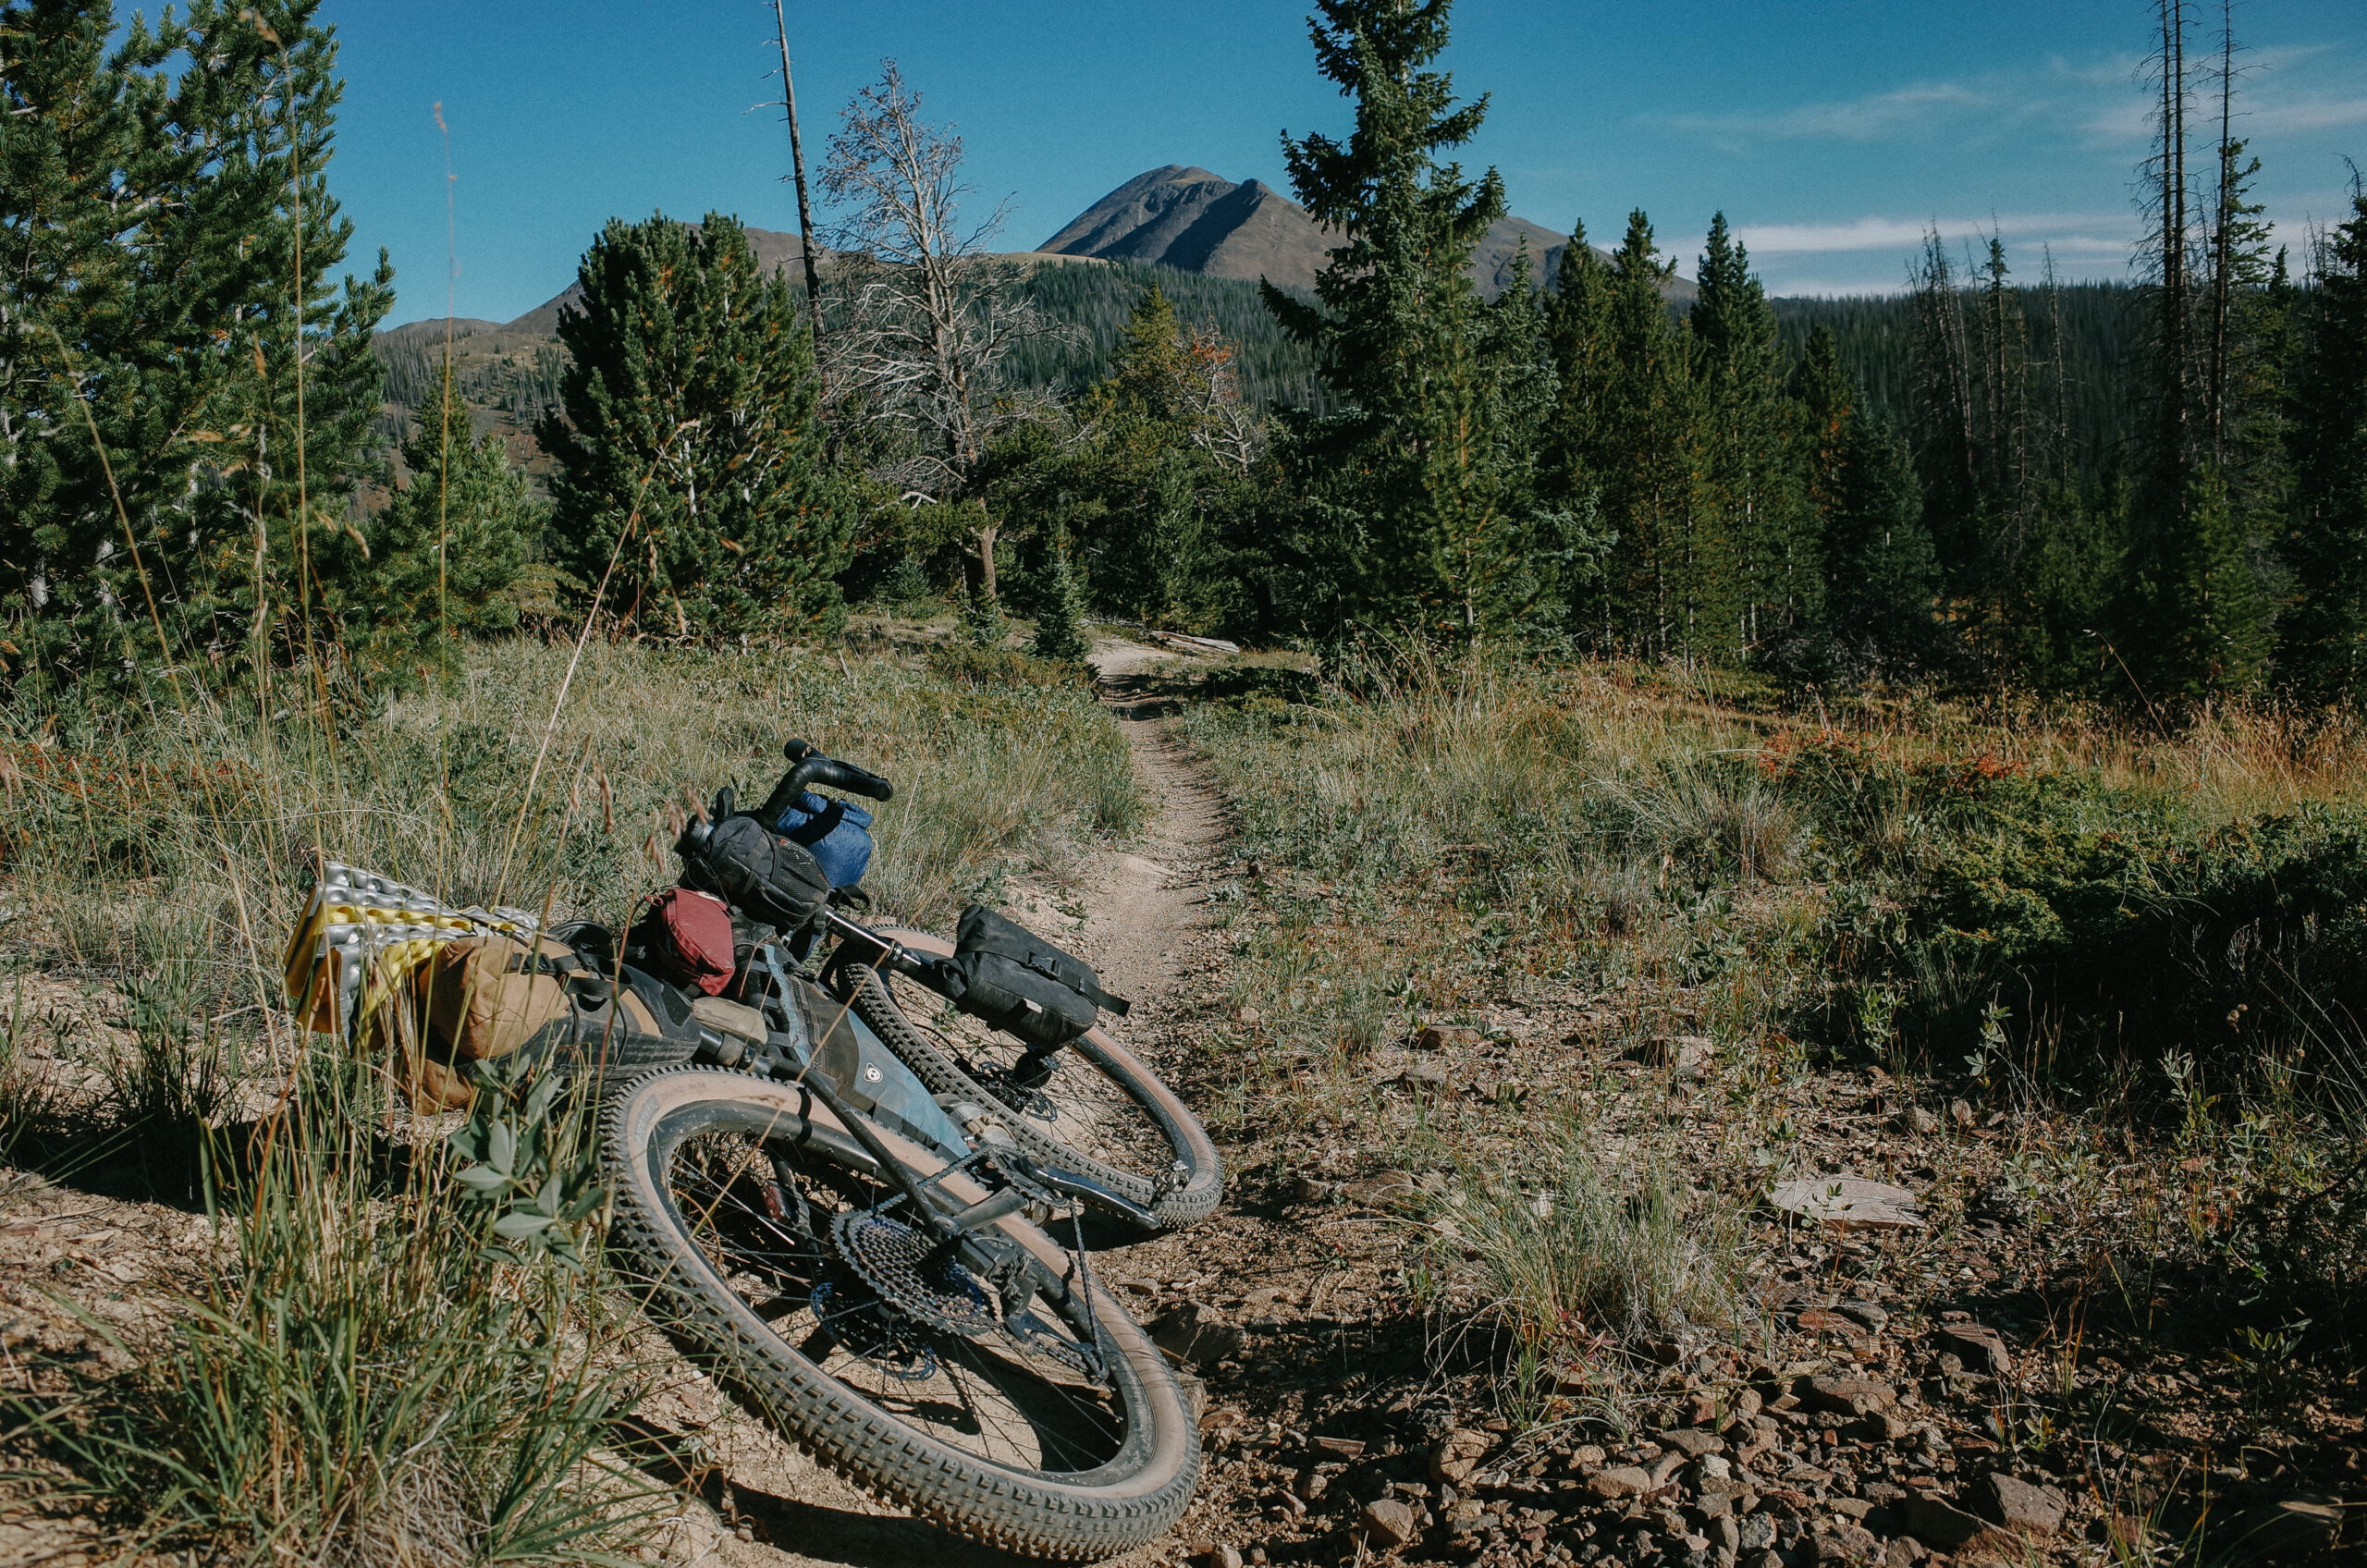
Bikepacking bags are generally smaller, limiting their carrying capacity to the necessary items. When you are limited on space, lightweight and packable clothing, and camping equipment become a valuable quality that can be more costly and sometimes less luxurious at camp. However, a bikepacking setup can handle more technical and challenging terrain easily and comfortably without sacrificing ride quality. A bikepacking setup offers a unique opportunity to explore and immerse yourself in natural landscapes that are often inaccessible by other means.
With all that said, you can be a bikepacker and still consider yourself a bicycle tourist; you can bicycle tour with bikepacking bags, and people ride off road with panniers all the time.
Getting into bikepacking can be overwhelming initially, so try not to get bogged down in the details and nuance – use what you have or borrow some bags, throw in whatever gear you currently own, and get out for your first tour! You’ll quickly figure out what works for you, what you like and don’t like, and you can gradually acquire gear and refine your setup as time and budget allow.
I have been bikepacking for 10 years. When I learned that this niche within the cycling world existed, I jumped in head-first by riding my bike east to west across the United States, following a 5,000-mile dirt road dual sport motorcycle route called the Trans-America Trail (TAT) as only my fourth bikepacking trip. Don’t worry; I will not recommend selling all of your possessions to bikepack full-time. Instead, I am sharing my background and experience as a bikepacker to provide the context behind this guide’s tips, tricks, and pack list.
Before the trip on the TAT, I worked in and managed bike shops for 15 years. For five of those years, I owned and operated my own shop, Swallow Bicycles Works. I was looking for a life change, and a ride to see what the world offered beyond southwest Ohio appealed to me. While the ride on the TAT was the most challenging thing I have ever done (my partner and I were the first cyclists to complete the route), I came away from the trip, only wanting to continue the journey. So that’s what I did.
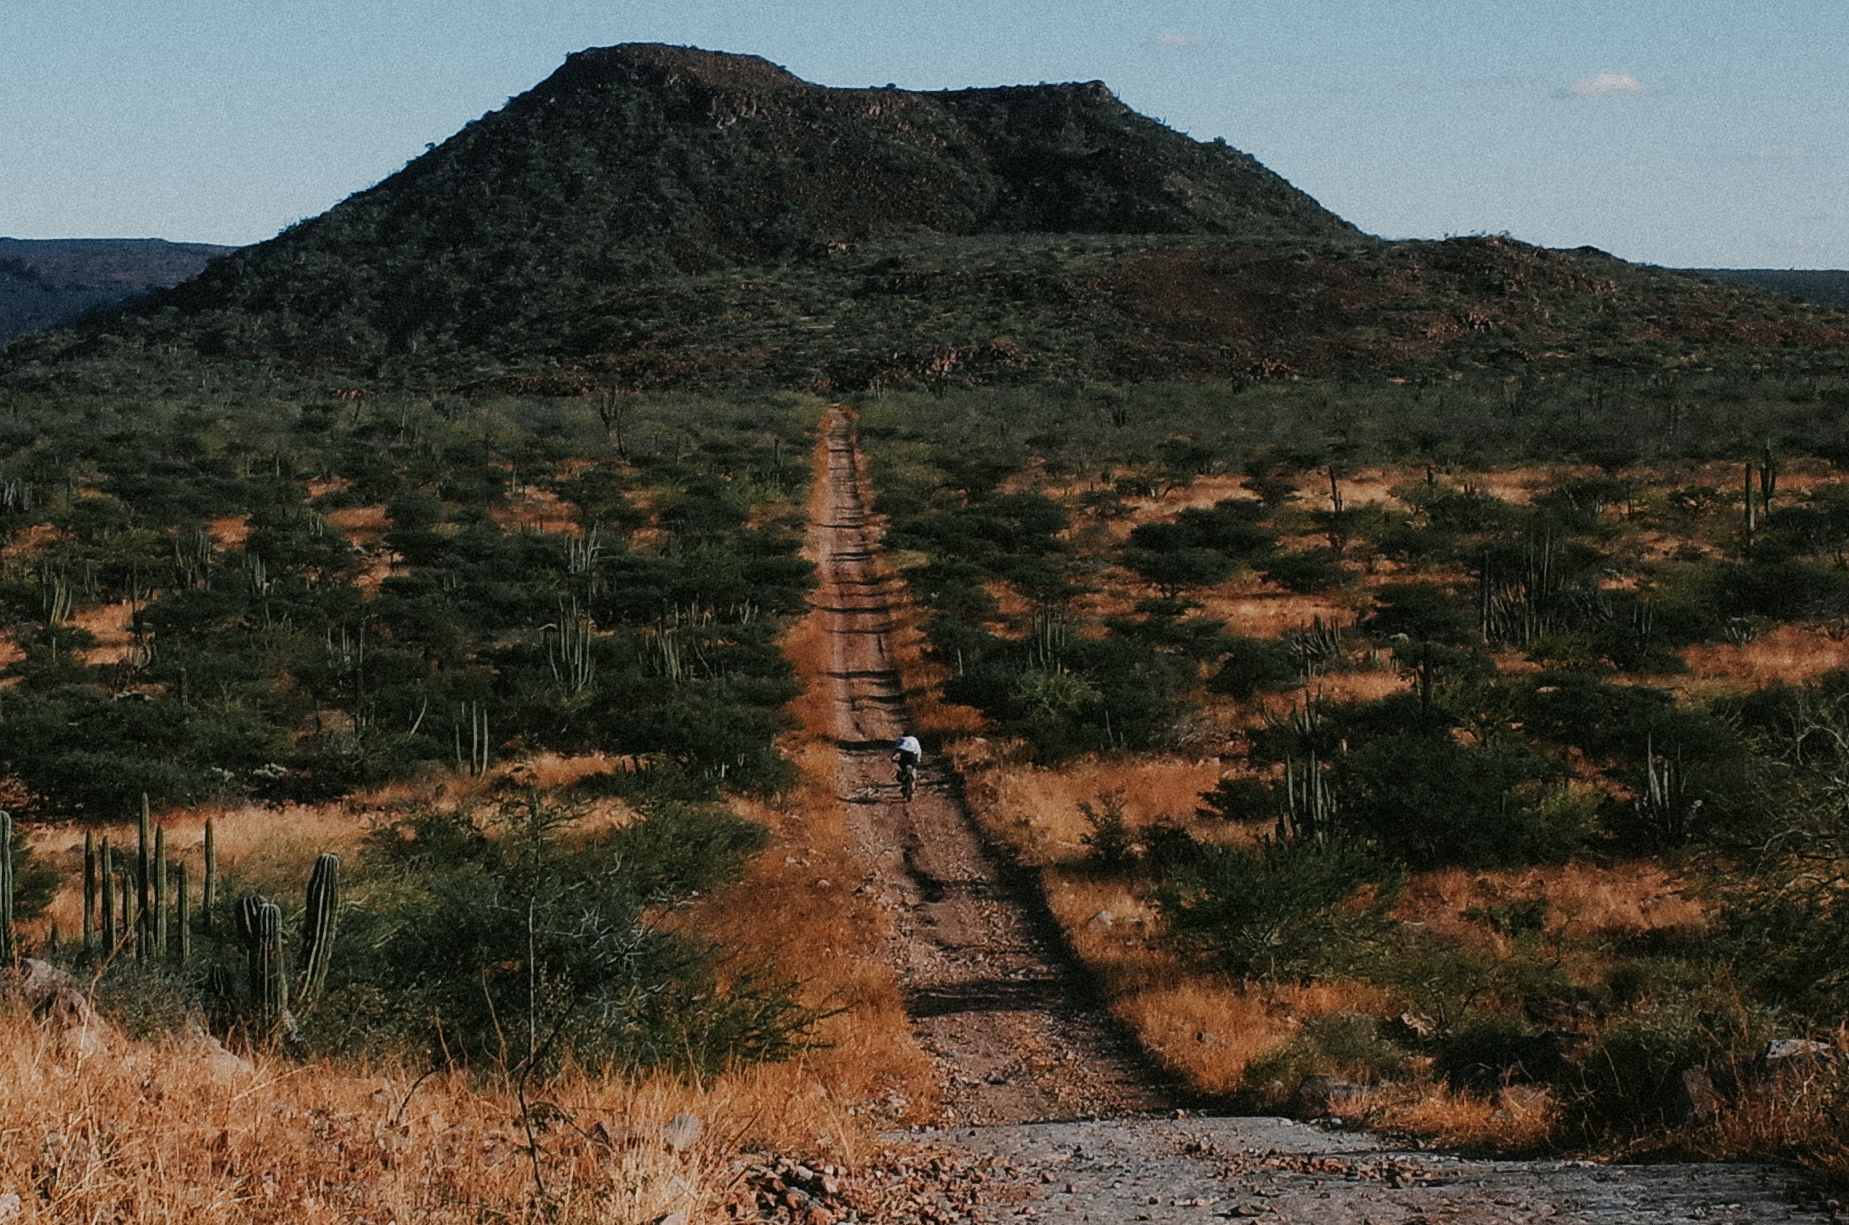
In addition to the TAT, I have completed notorious long-distance routes such as the Great Divide Mountain Bike Route and the Baja Divide, along with countless routes in over 20 countries worldwide. As a route developer, I have explored almost every nook and cranny of the diverse landscapes, environments, and public lands in the United States. Additionally, through partnerships with cycling brands, I have been fortunate to make a career reciprocal to a lifestyle of going on frequent bikepacking adventures.
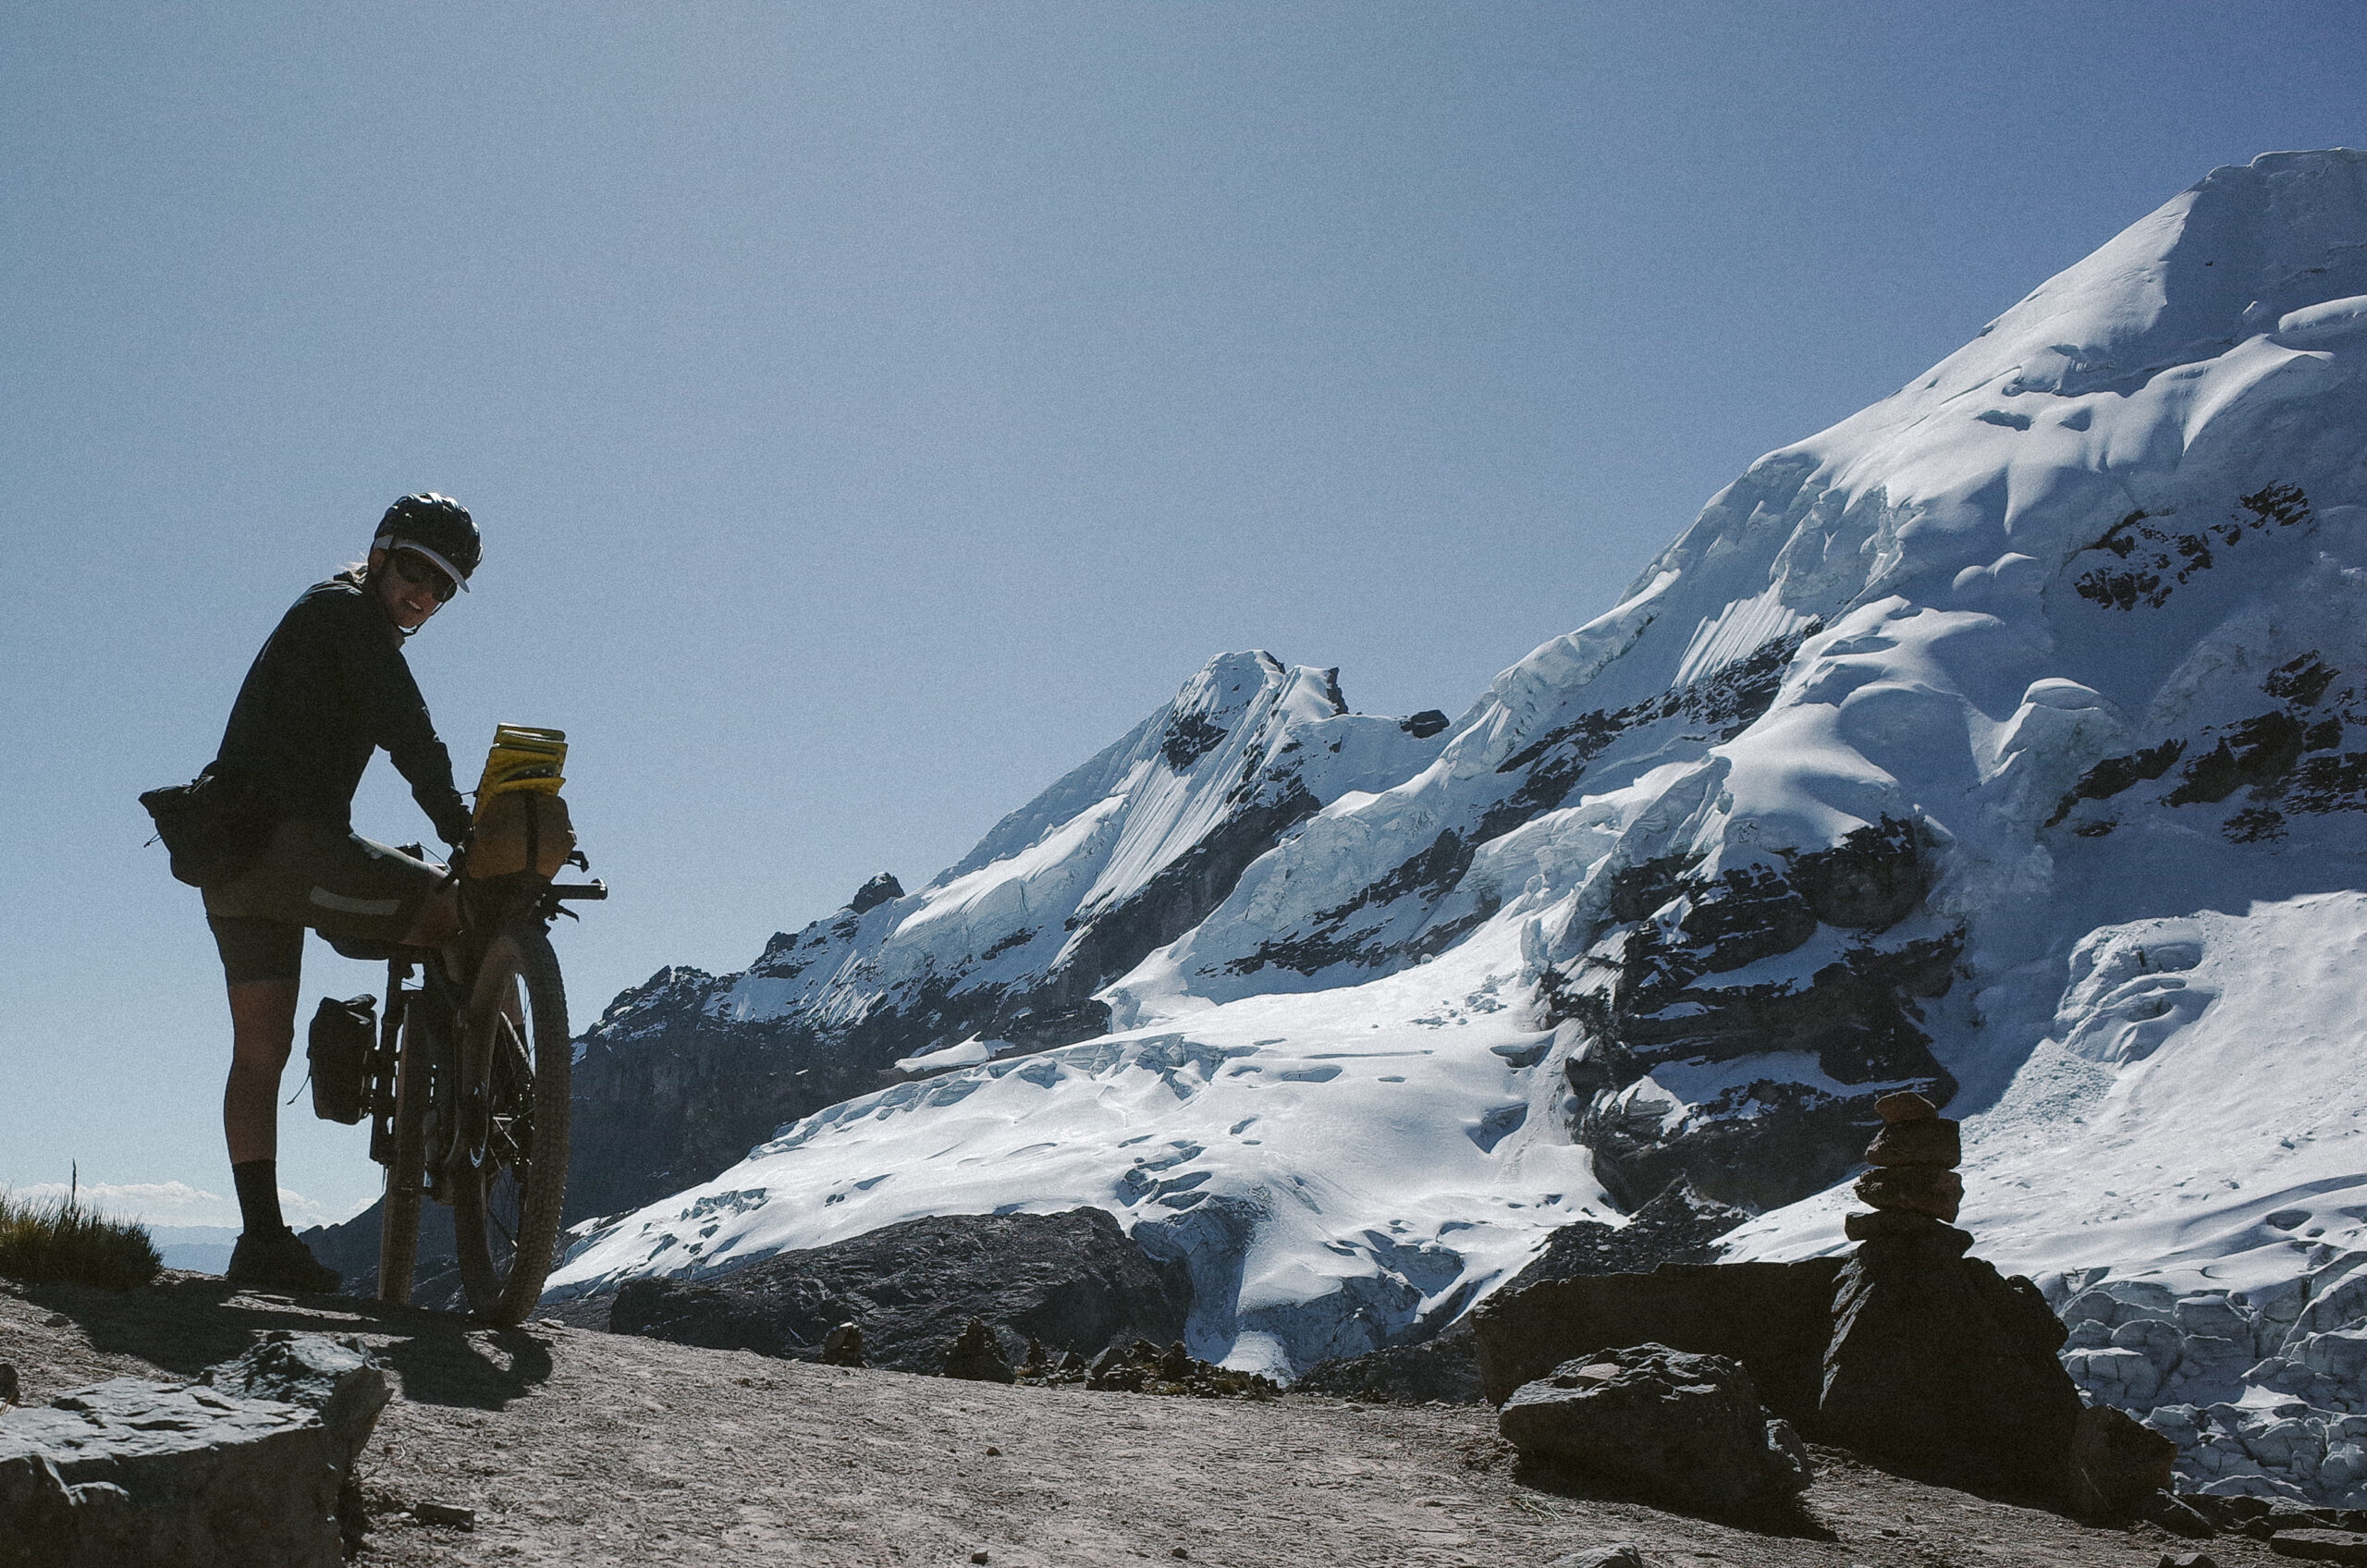
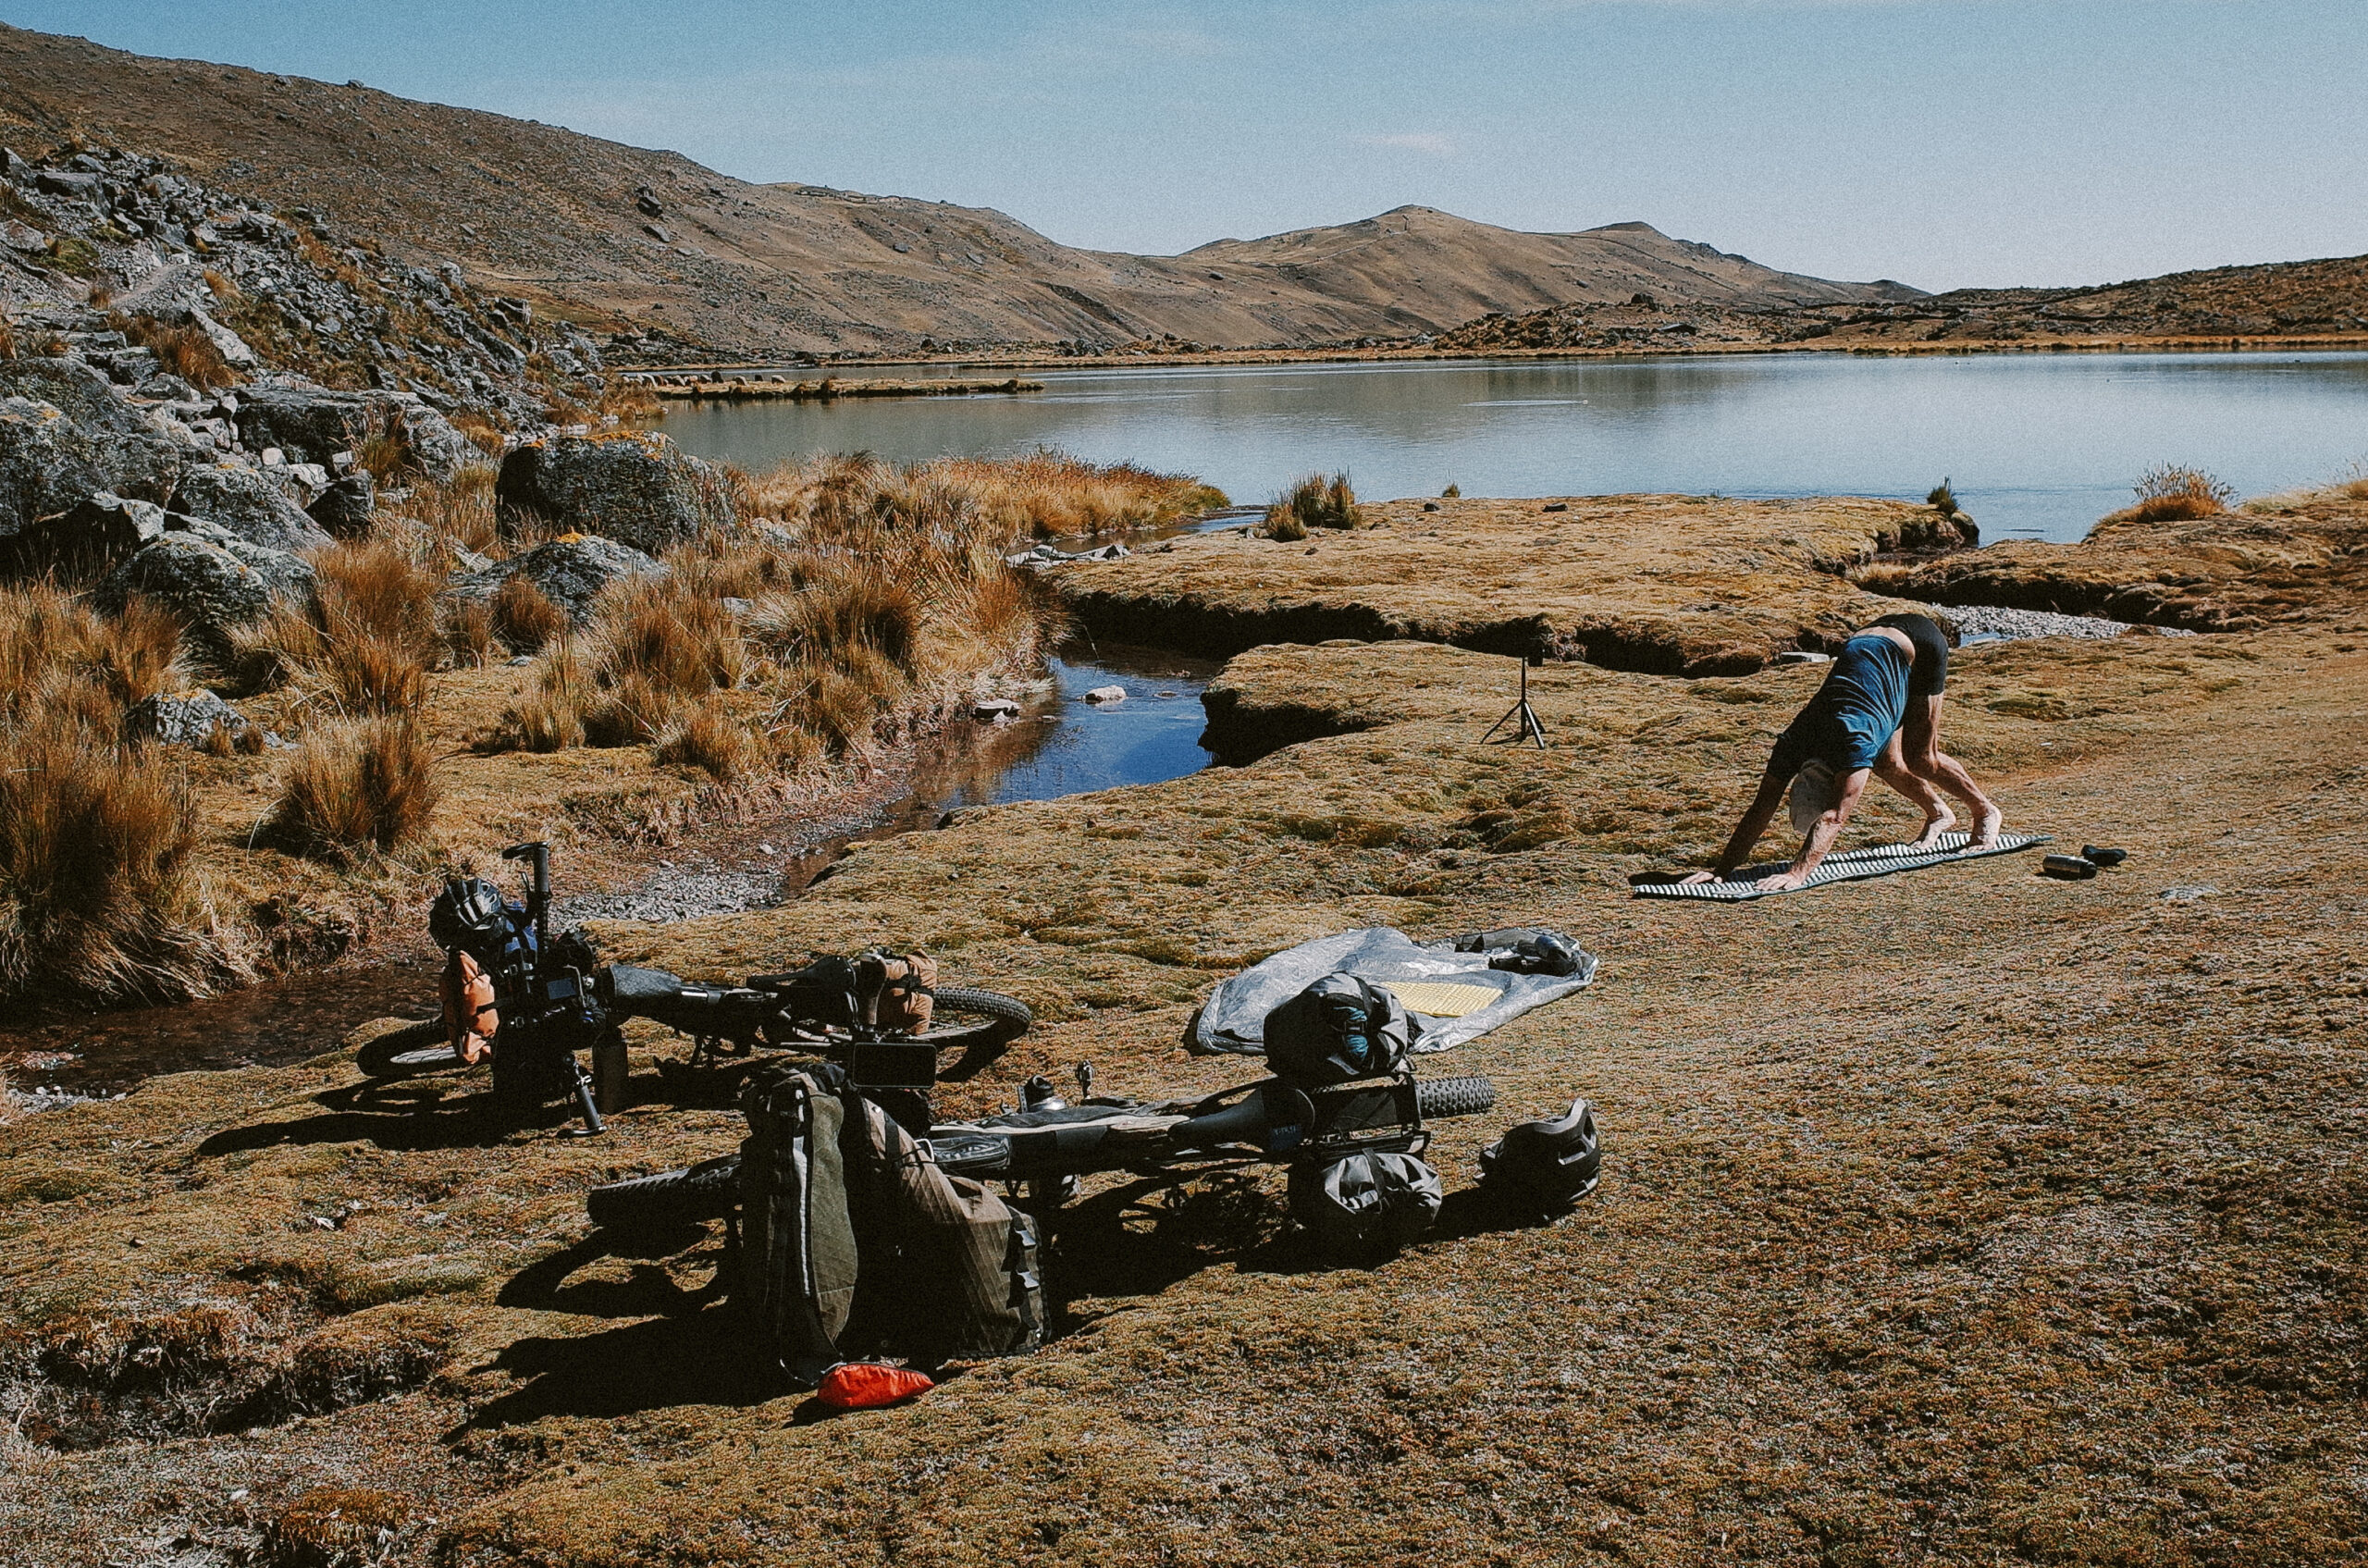
For me, bikepacking is an eye-opening journey that takes me away while bringing me closer to myself and my surroundings. It’s a transformative experience that provides perspective on life and an understanding of my physical and mental capabilities. I gain inspiration from the natural environments I travel through and am constantly humbled by the adventure. Bikepacking is not an escape but an embracing of reality that always leads me to a newfound appreciation of life and the world around me.
Getting out the door for a bikepacking trip can be my biggest challenge. Some trips can take more planning and preparation than others and require intention around scheduling the time away, where to go, what gear to bring, and how to pack it. While the options can be daunting, it’s helpful to remember what a privilege it is to get to do something like this. Once I’m out on my bicycle and the adventure has begun, all that time spent planning and prepping is worth it. By preparing for my trip properly, I’m free to enjoy the ride fully and be present and open to what the ride has in store.
While Bikepacking changed my life drastically, you don’t need to give up your job, home, or pets to benefit from the thrill, challenge, and freedom a bikepacking adventure can instill. Here are my tips and tricks for how to get started.
Bikepacking Tips and Tricks
- Plan ahead, but not too much. Have a route and note its distance, elevation, and food and water resupply points.
- Embrace the unexpected. We live such rigid goal-oriented lives that it can be challenging to be flexible and adaptable and to embrace the unexpected change that can happen during an adventure. Bikepacking can be less stressful and much more fun if we let loose a little.
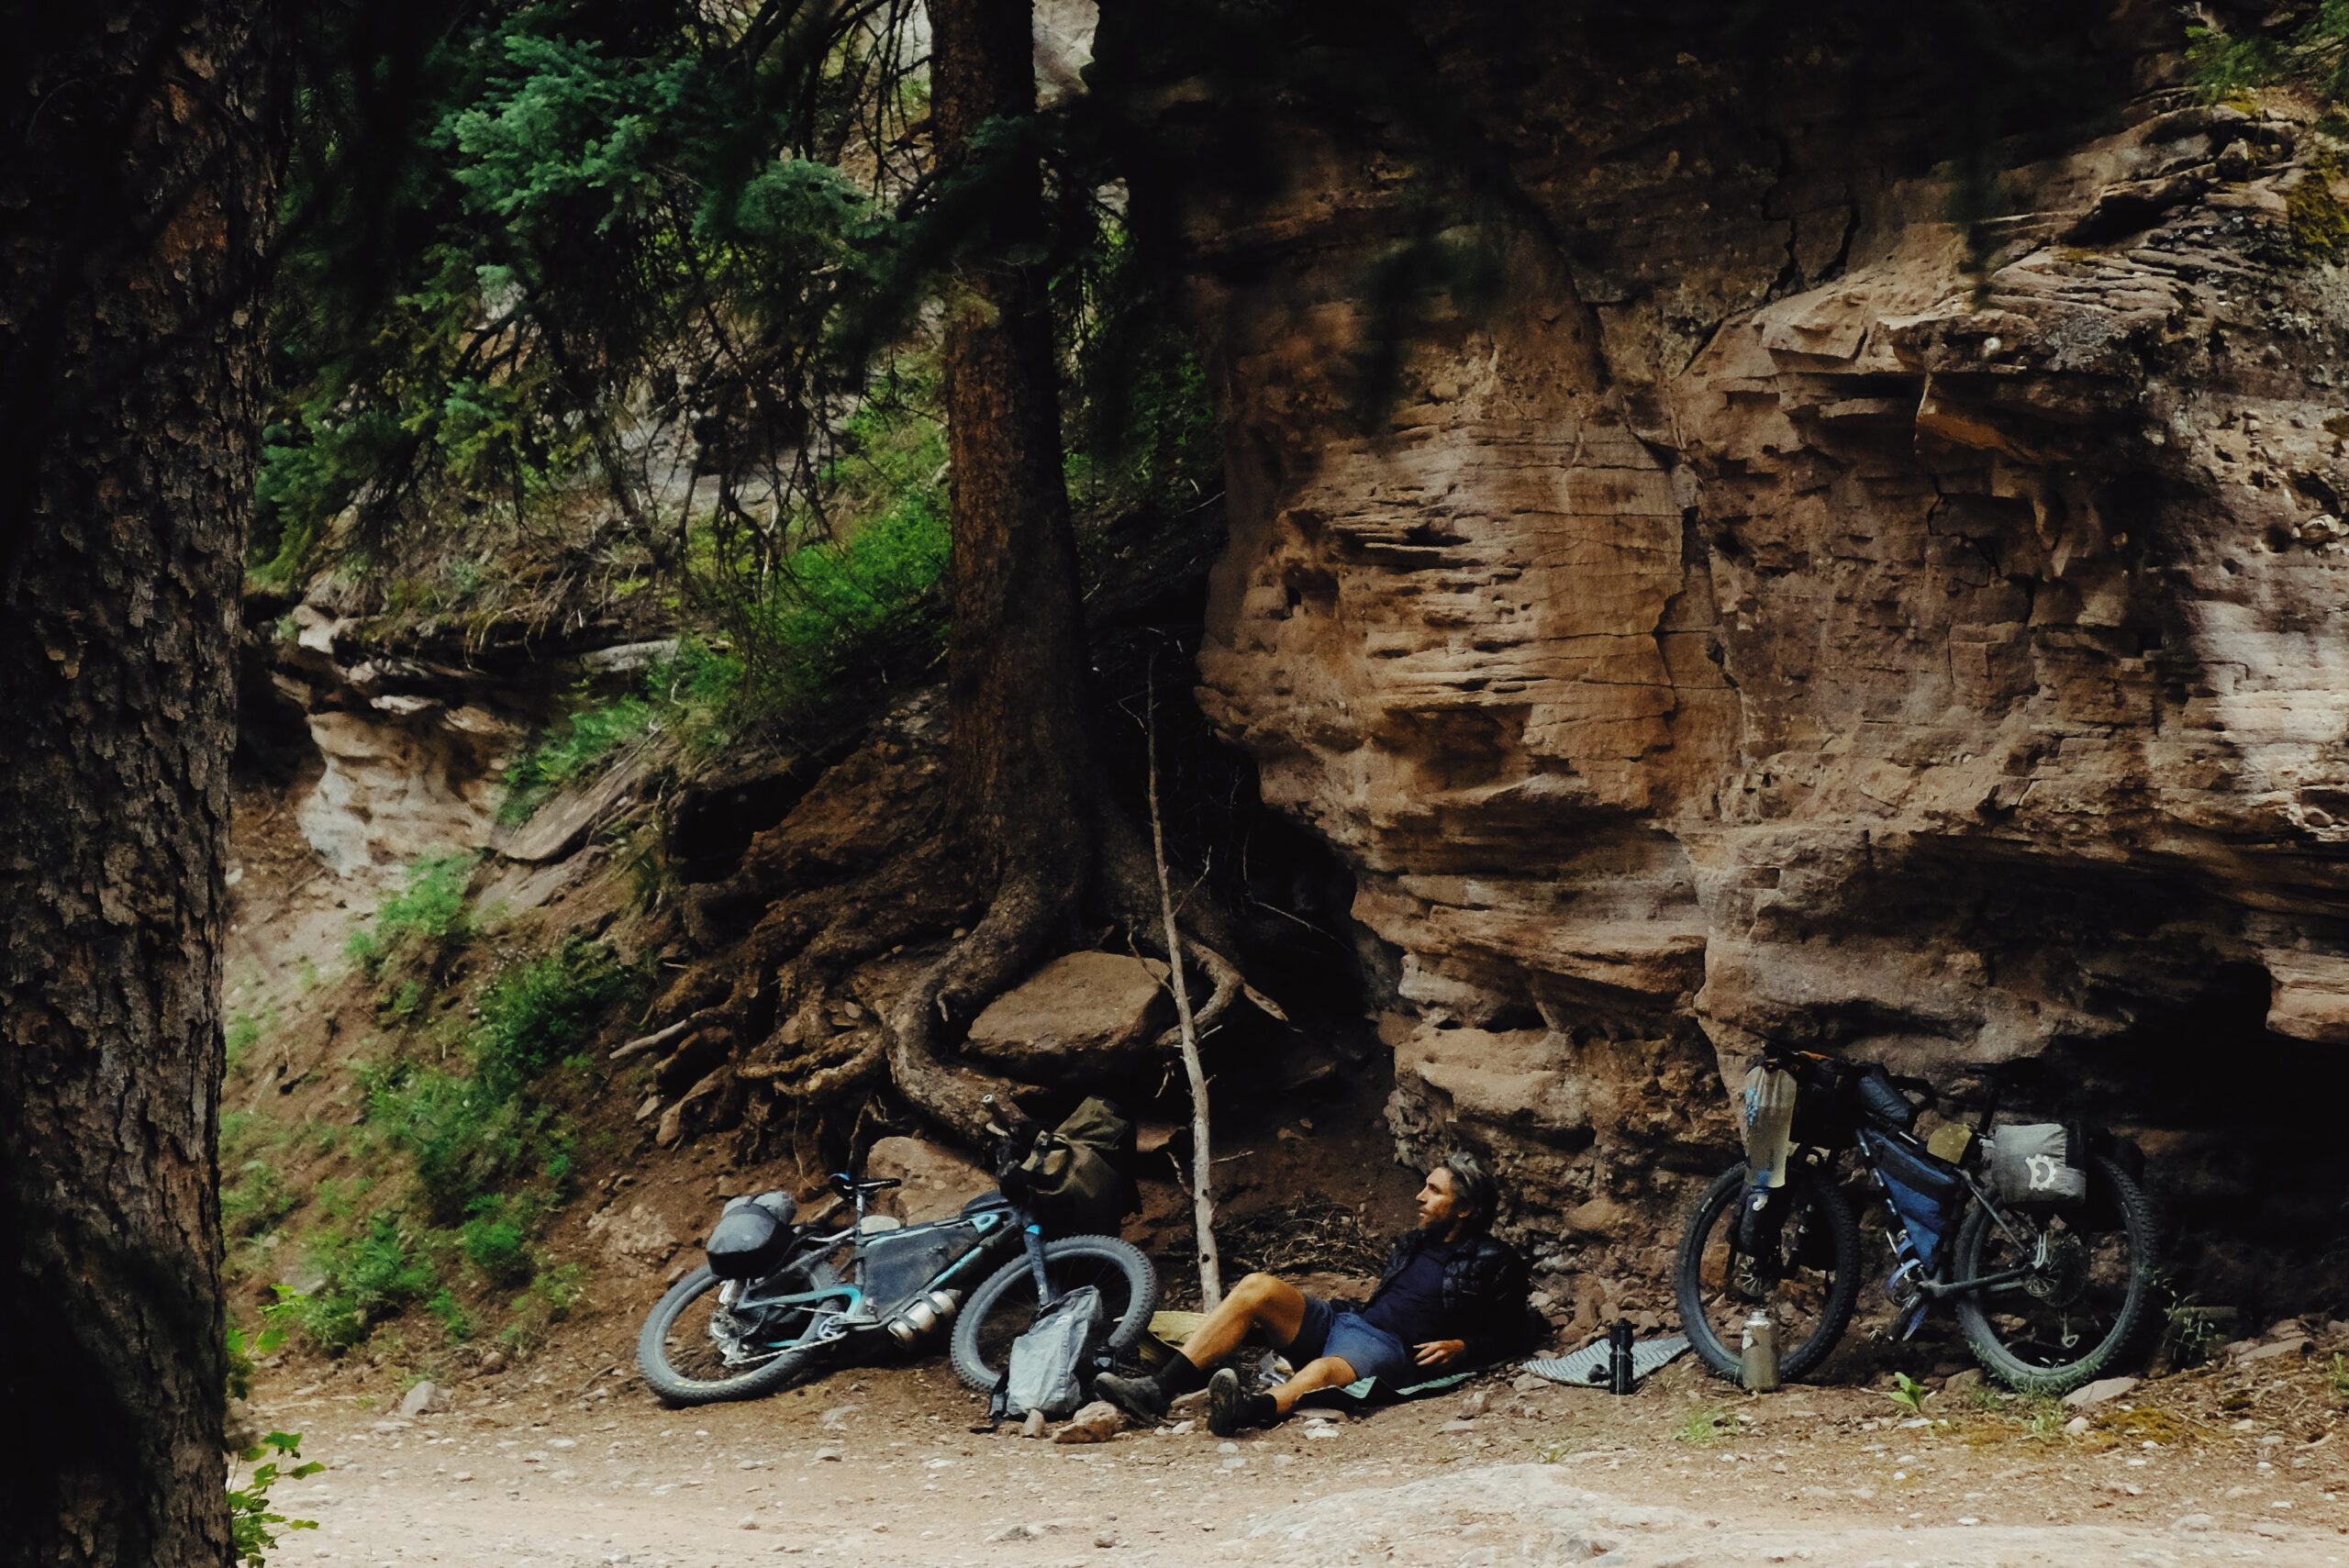
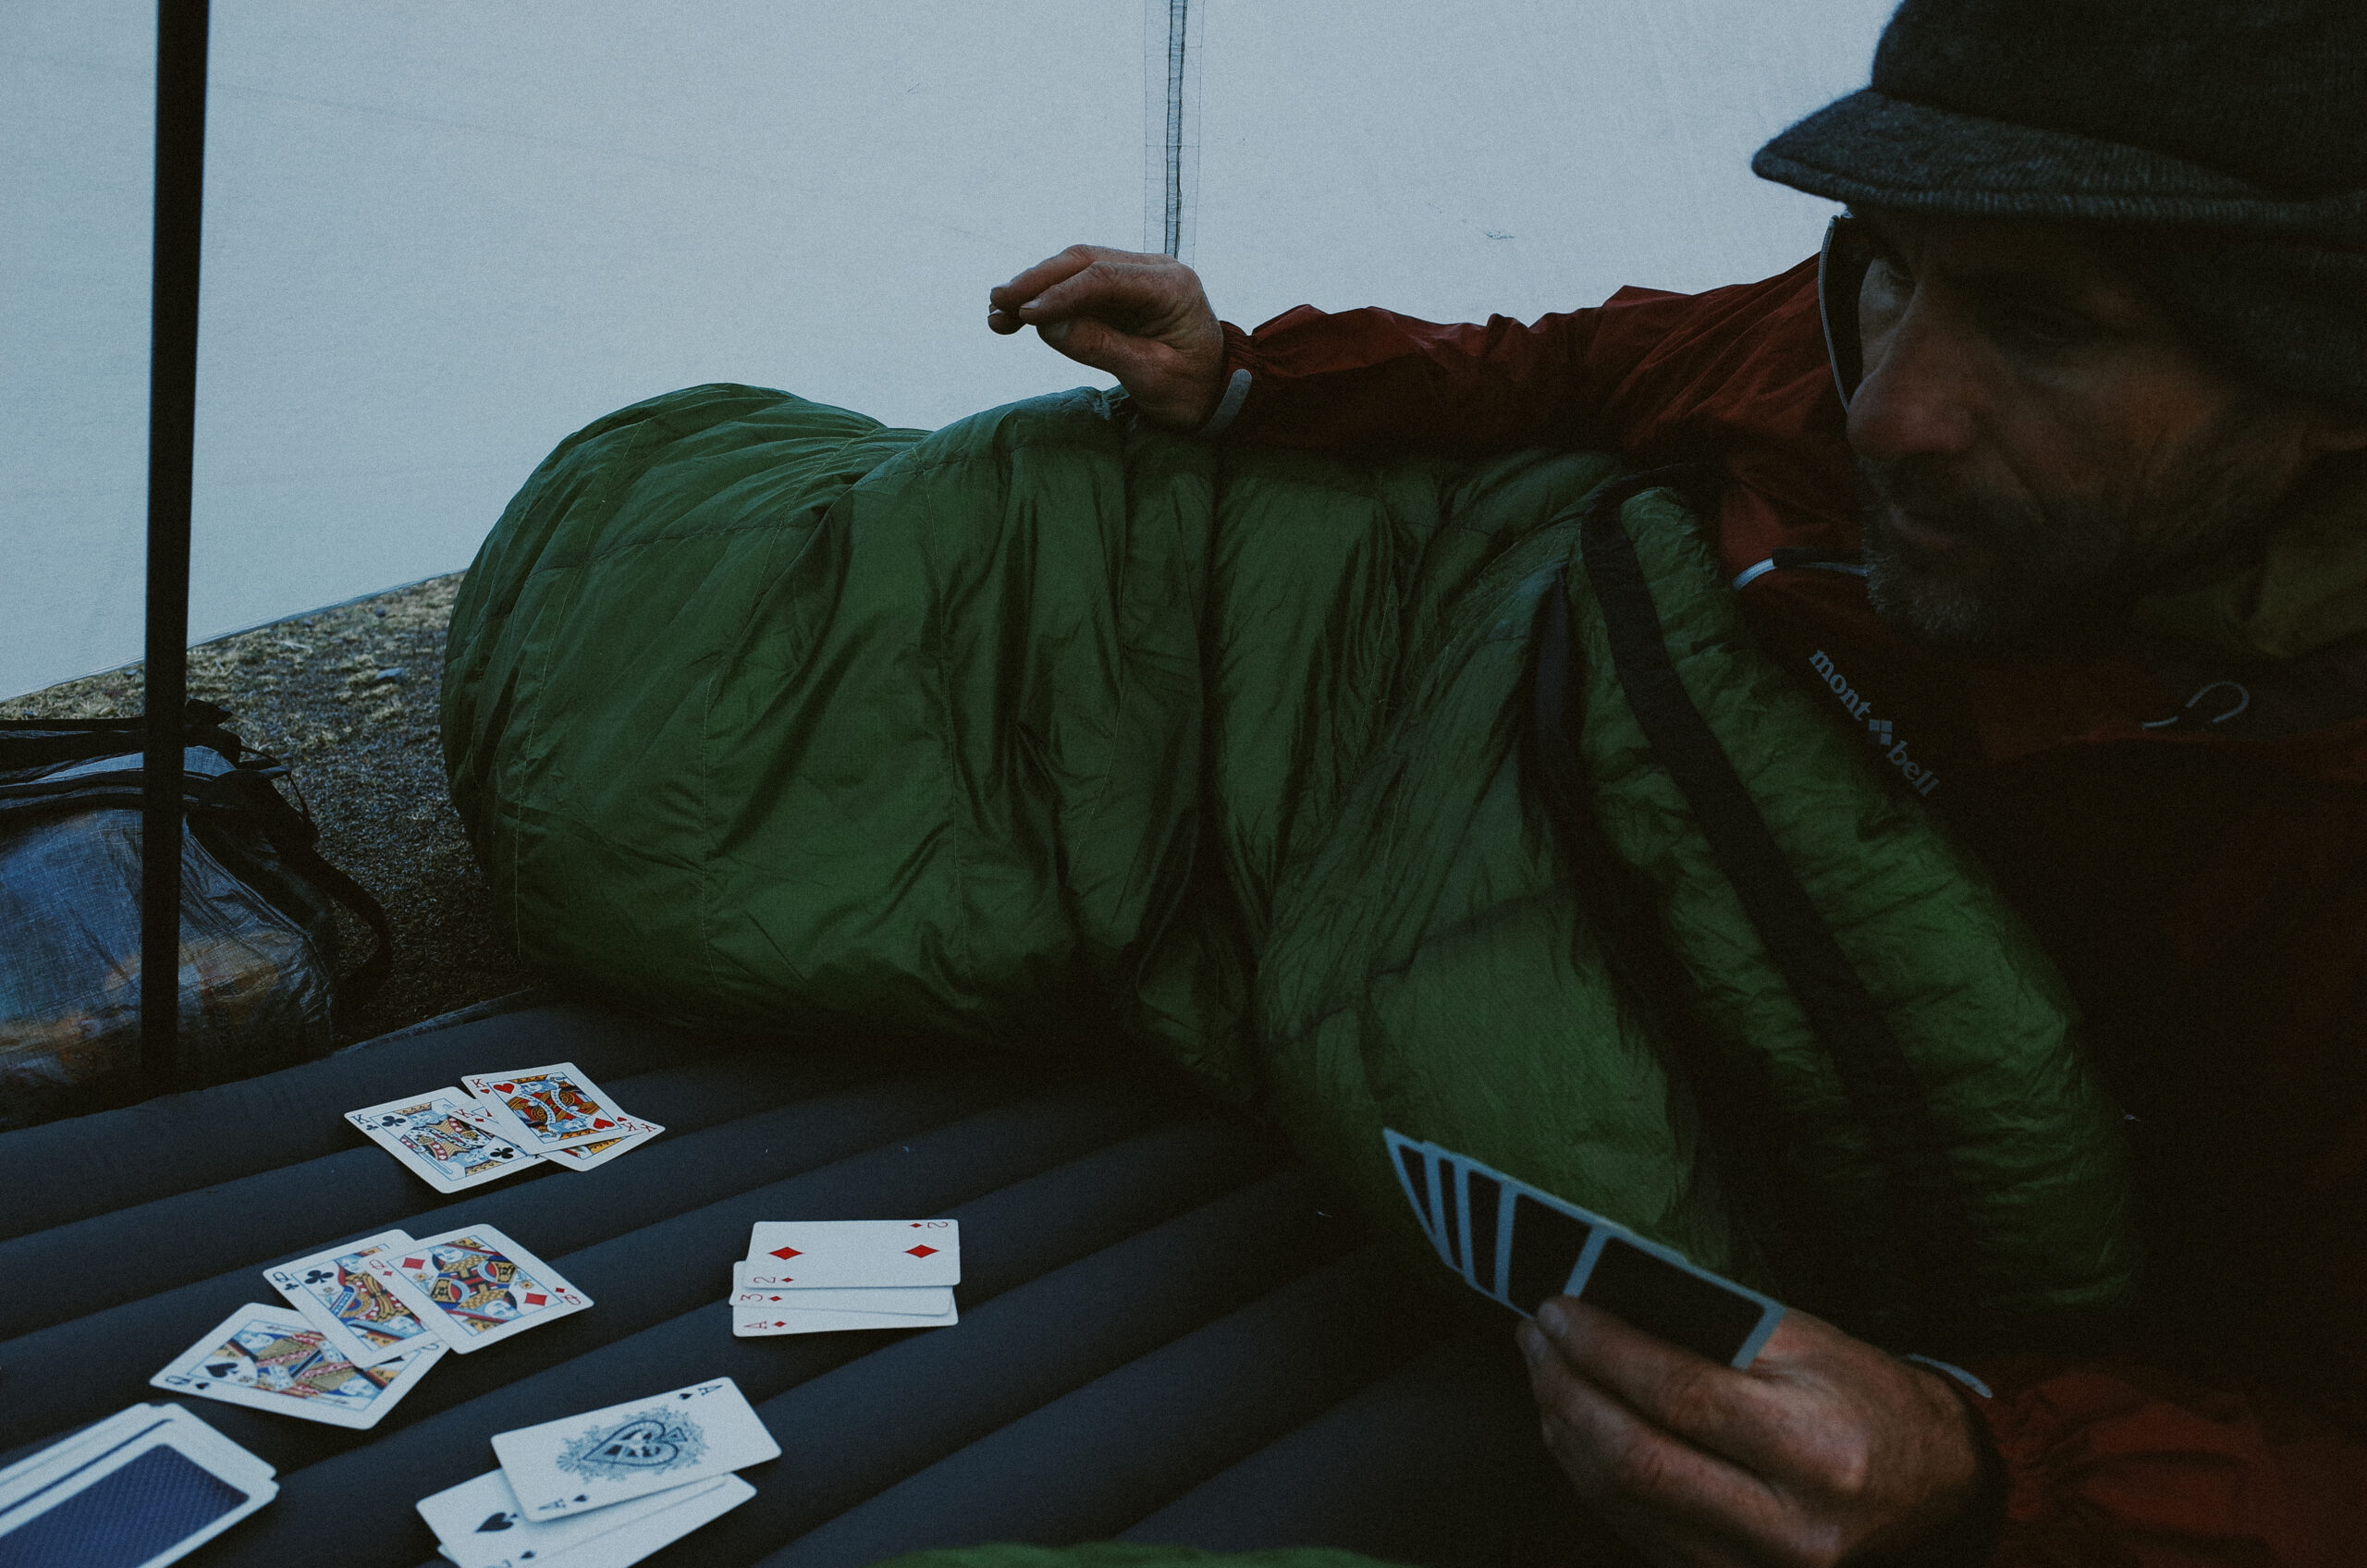
- Don’t rush it. Take a lot of breaks, go for mid-ride hikes and swims, explore, and take pictures! Ditch those gel packs, and bring real food for a picnic (i.e., hard salami, cheese, crackers, and olives).
- Get out there, no matter your gear. My friend carried a backpack full of her stuff and strapped a full-size pillow to her bike on her first bikepacking trip, and she had a blast. You don’t need fancy gear to start. Work up to it and use what you have. Head to www.bikepacking.com for general information about bikepacking, gear, routes, events, and stories.
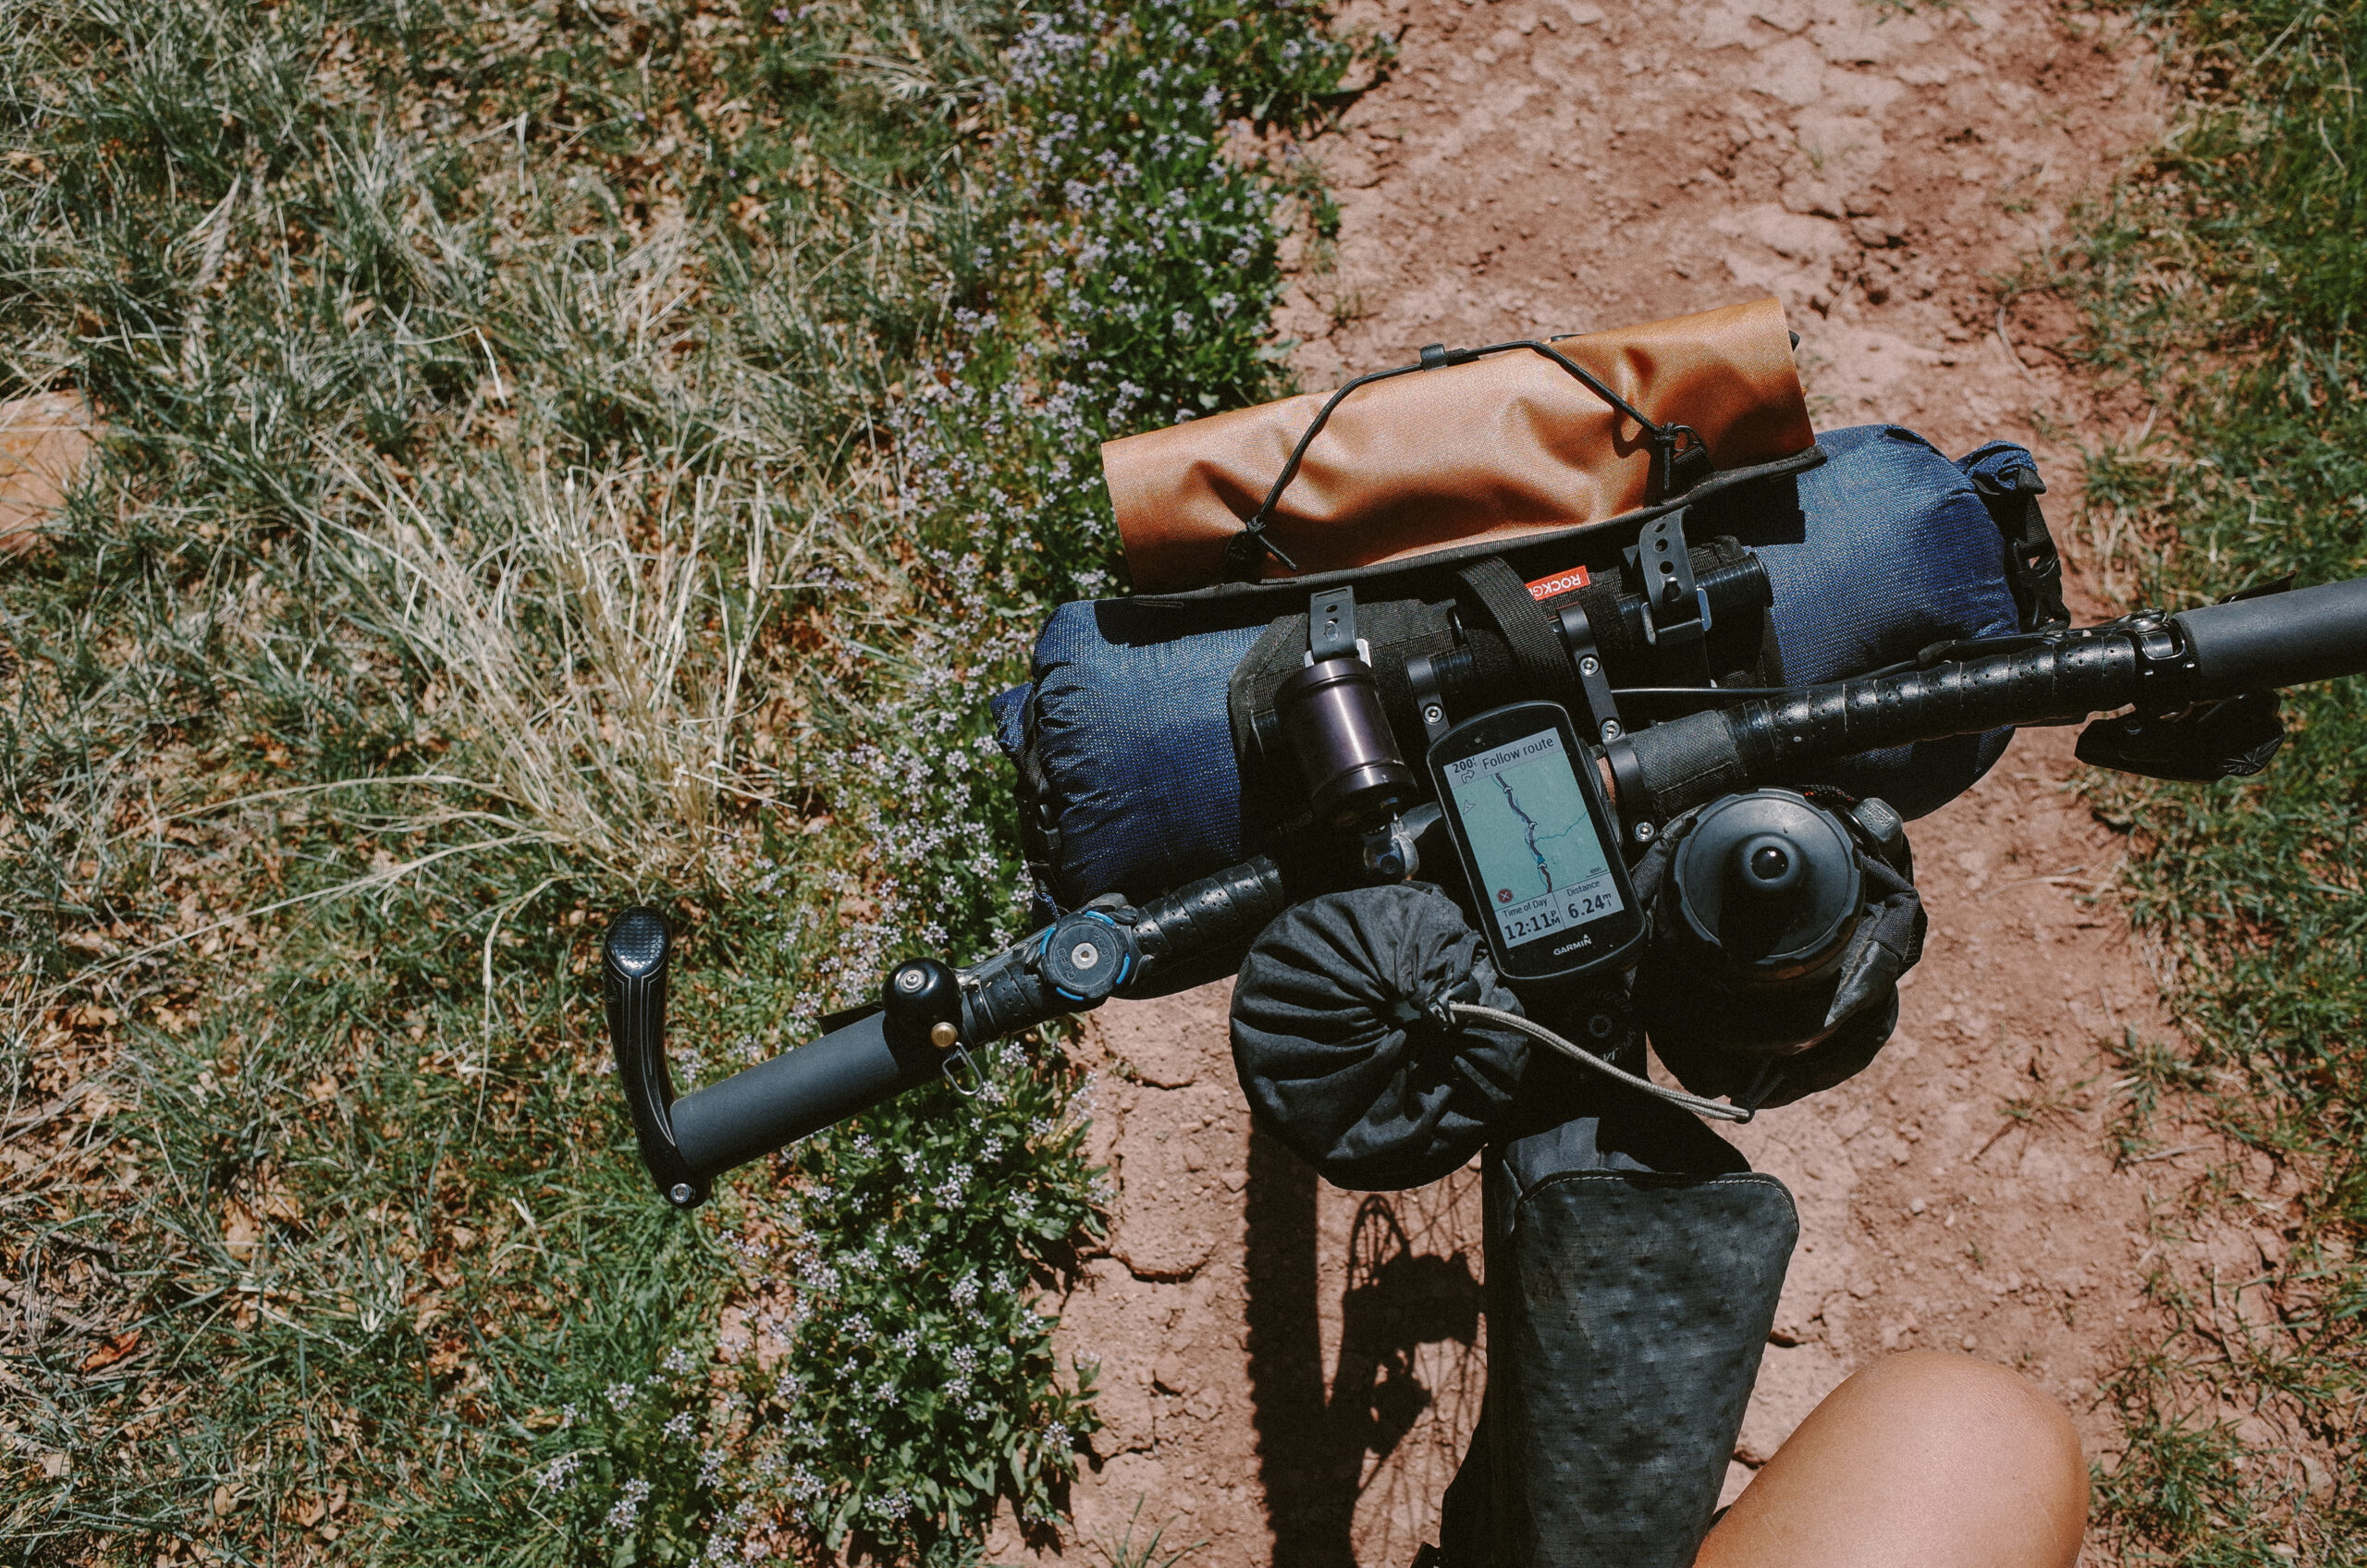
- Use a GPS device and make navigating easy. These days our smartphones make great GPS devices. There are loads of applications where you can download base maps and routes to follow. My favorite route-making and navigation app is Ride With GPS. I also use a Garmin navigation device.
- Start small. A 50-mile route fully loaded with bikepacking gear will take much longer than unloaded. Plan more time than you think you need for your first few trips. My favorite average daily mileage is 25-30 miles depending on terrain (dirt road vs. singletrack), conditions, and elevation.
- Visit Public Lands. Ride in the National Forest, Bureau of Land Management, and State Lands for quiet roads, trails, and easy camping. Maps for public lands are easily accessible and outline different trails, roads, and campgrounds, making it a bit easier to plan a route to follow.
- Bring the necessities. Shelter, sleeping bag, sleeping pad, navigation device, spare battery pack, water filter, tool and repair kit, food, wool layers, down jacket, rain jacket, and water storage (see pack list below).
- Pack light. Avoid packing the kitchen sink (and the cast iron skillet). The basics will add up to a heavier bike than you are accustomed to riding. Additional weight will be cumbersome, costing you energy, time, and ride enjoyment.
- Test your gear. Before you drive to the trailhead and head out on the open road, test your loaded bikepacking setup around your neighborhood or local trails. Take it up and down steep hills and ride it off big curbs. Ensure your bags are securely mounted to your bike and not rubbing on your tires, that no bags are dangling in your wheels, and that your items are securely contained from being ejected mid-ride.
- There is no shame in music doping. I ride with headphones and play my favorite tunes, podcasts, and audiobooks to get me through the tough times. Plus, you can dance and sing as loud as you would like when you are out in the middle of nowhere.
- Get acquainted with burying your poop and the 7 Leave No Trace Principles.
- Ride dirt roads. While singletrack can add a certain level of peace, quiet, and adventure, it can also take a physical and mental toll when riding a fully loaded bike. Dirt roads are great options for bikepacking. They will get you out there but are less technical than bikepacking on singletrack.
- Make a plan for when your headspace gets dark. Ground in the present moment, meditate, breathe, repeat a mantra, gratitude, affirmation, etc. Or, crank the music up and ride to the beat of the music.
- Address your fears. What are you afraid of? How can you better prepare to address those fears and feel more confident?
- Make it sustainable, don’t suffer (too much). It’s ok to take a day off, get a hotel, hop on a bus, shower, do your laundry, go to some hot springs, and pamper yourself.
- Prepare your body. If you are new to multi-day bikepacking, your body will thank you if you do a few things before your trip.
- Try to ride for at least one hour daily (rain or shine) for a certain period.
- Do at least one overnighter on a route comparable to the terrain, surface, elevation, and mileage per day you will experience on your multi-day trip.
- Stretch and strength training: yoga, core, and kettlebell workouts.
- Rest, recovery, and self-care: reward your body for working hard with Epson salt baths, massage, and eating nutritious food.
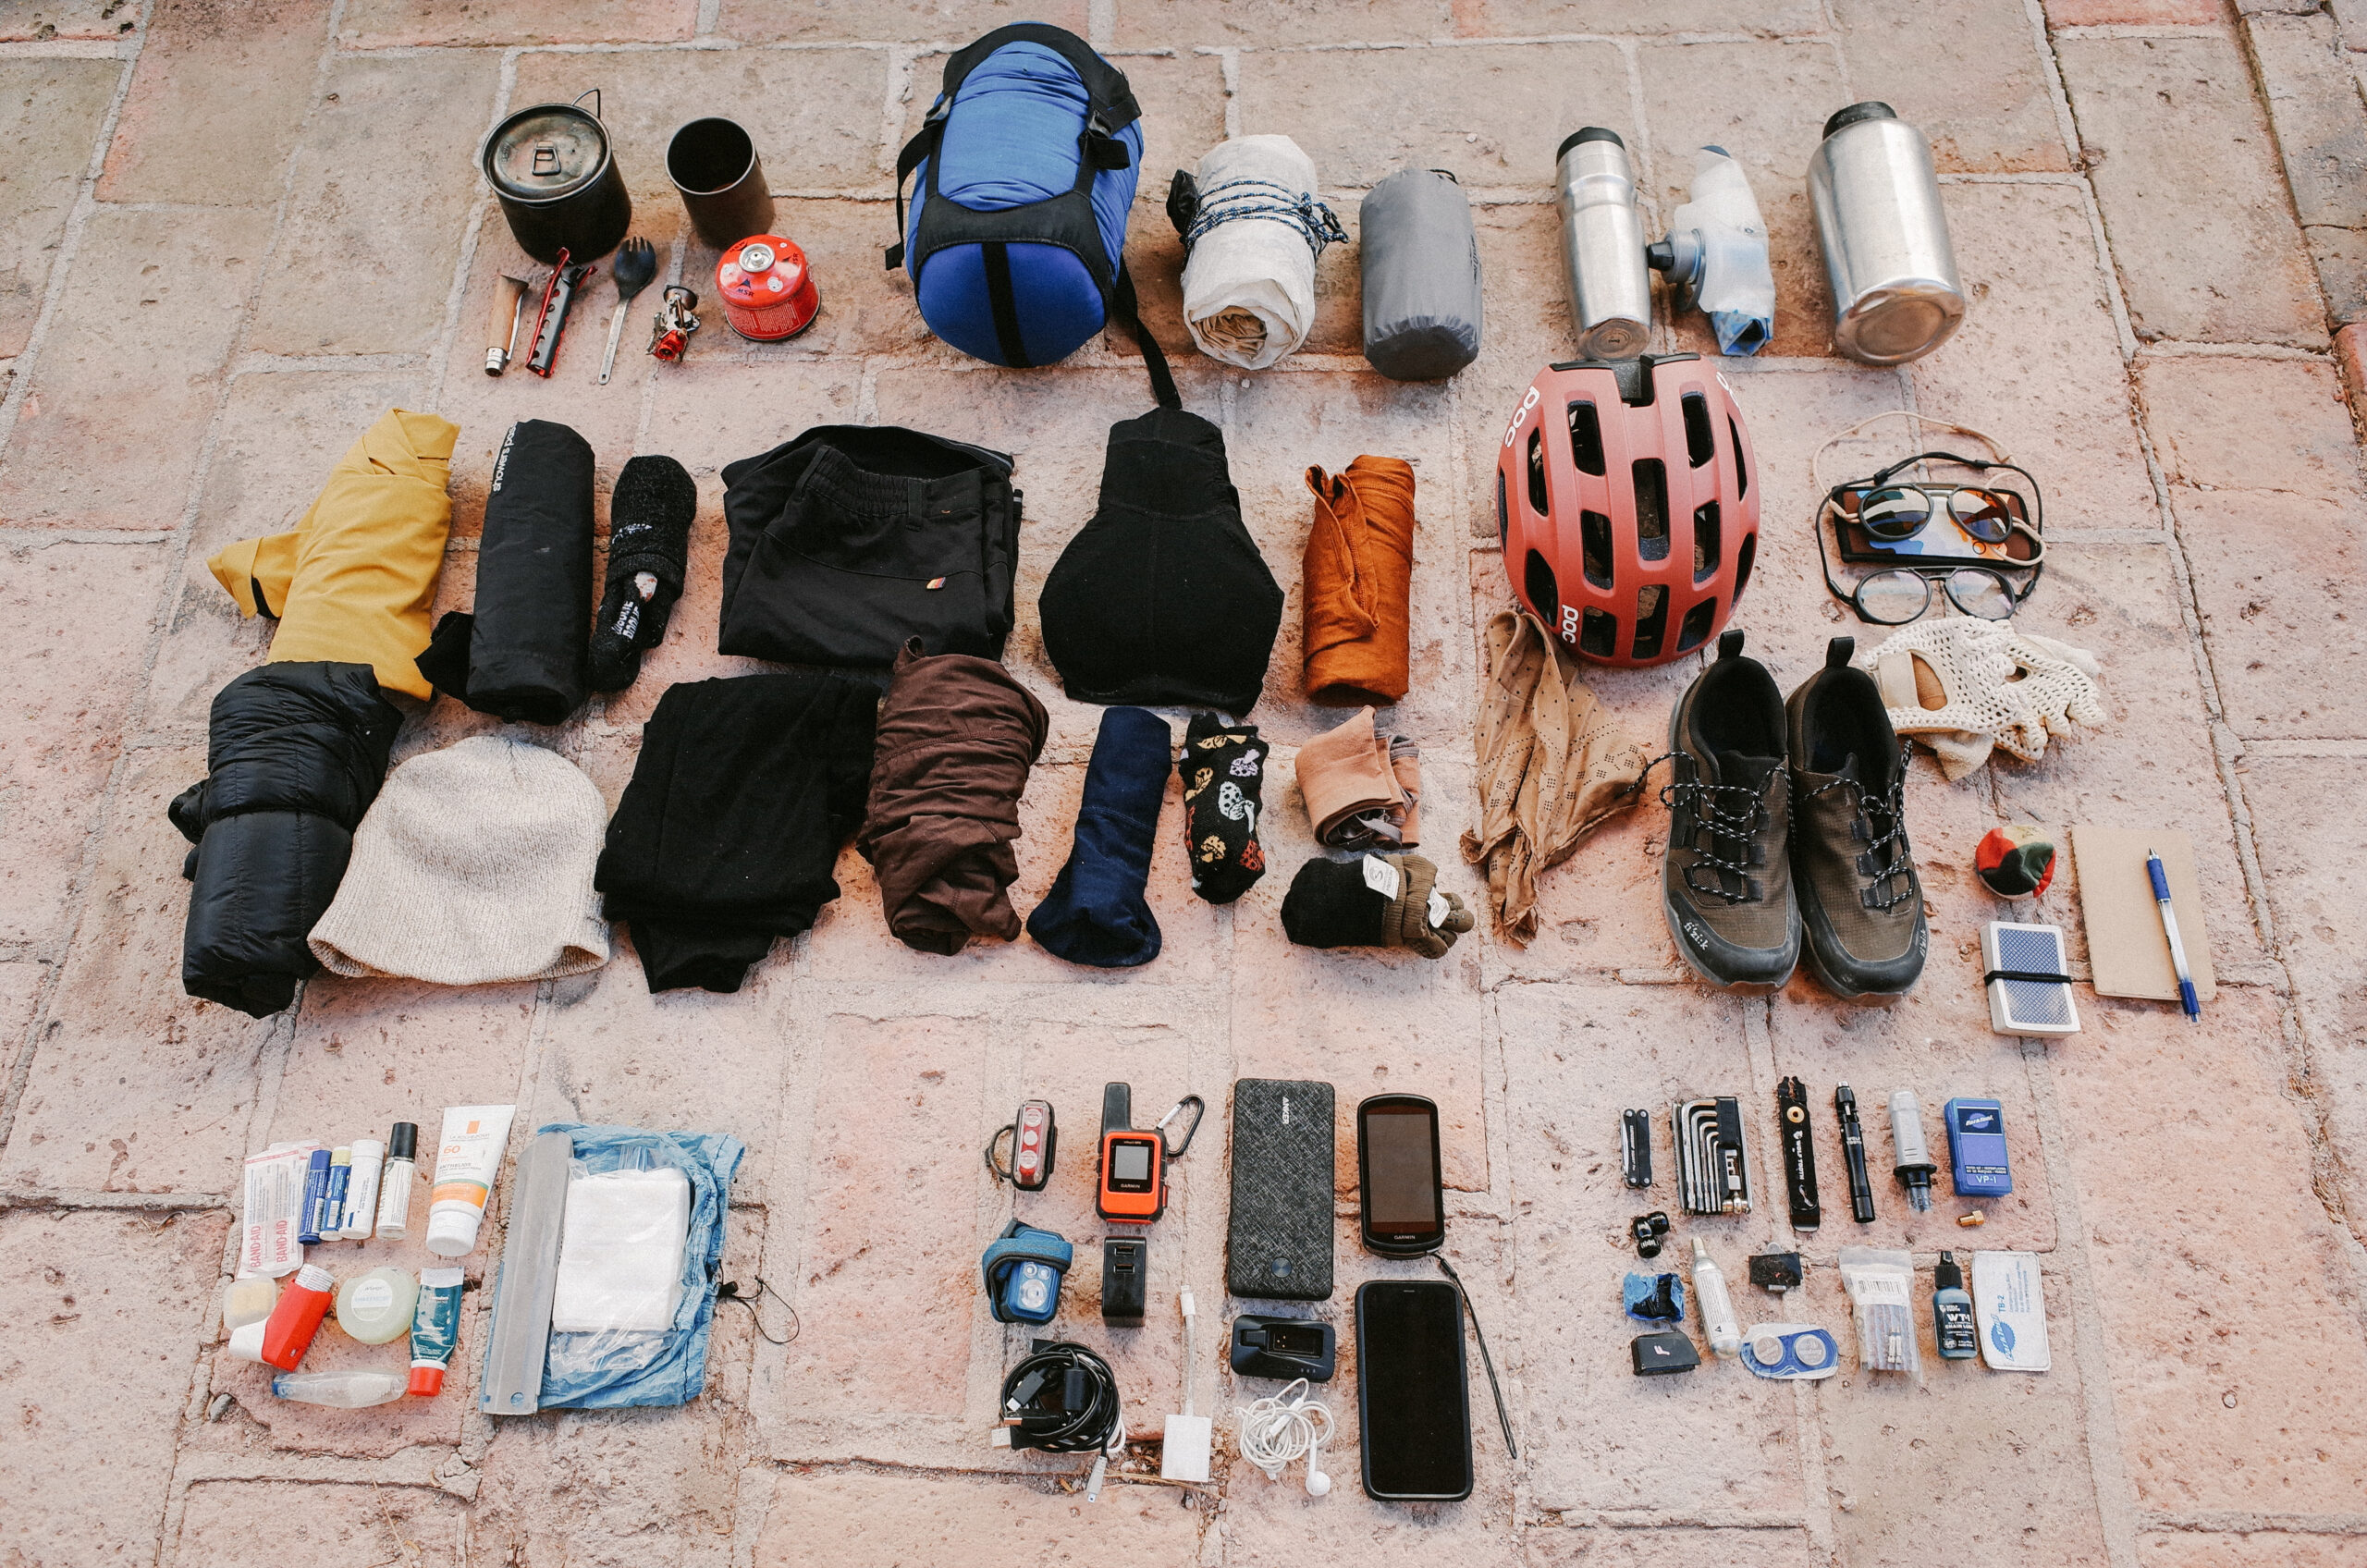
Bikepacking Pack List
Whether you go out for a sub-24-hour bikepacking adventure (S24O) or a month-long journey, your pack list will generally be the same. While some folks can get away with carrying more and less on a sub-24-hour trip, when packing for any three or more days, you’ll want to ensure you have all the necessities and nothing you don’t need. A typical good rule is to ensure each item you pack will be used, has its own purpose, and is not duplicated by any other item. The more purposes one item has, the better. For optimal handling, pack your heaviest items low and central (frame bag) and pack your lighter items higher and further out (seat bag and bar bag).
Here is my typical pack list for adventures, big and small.
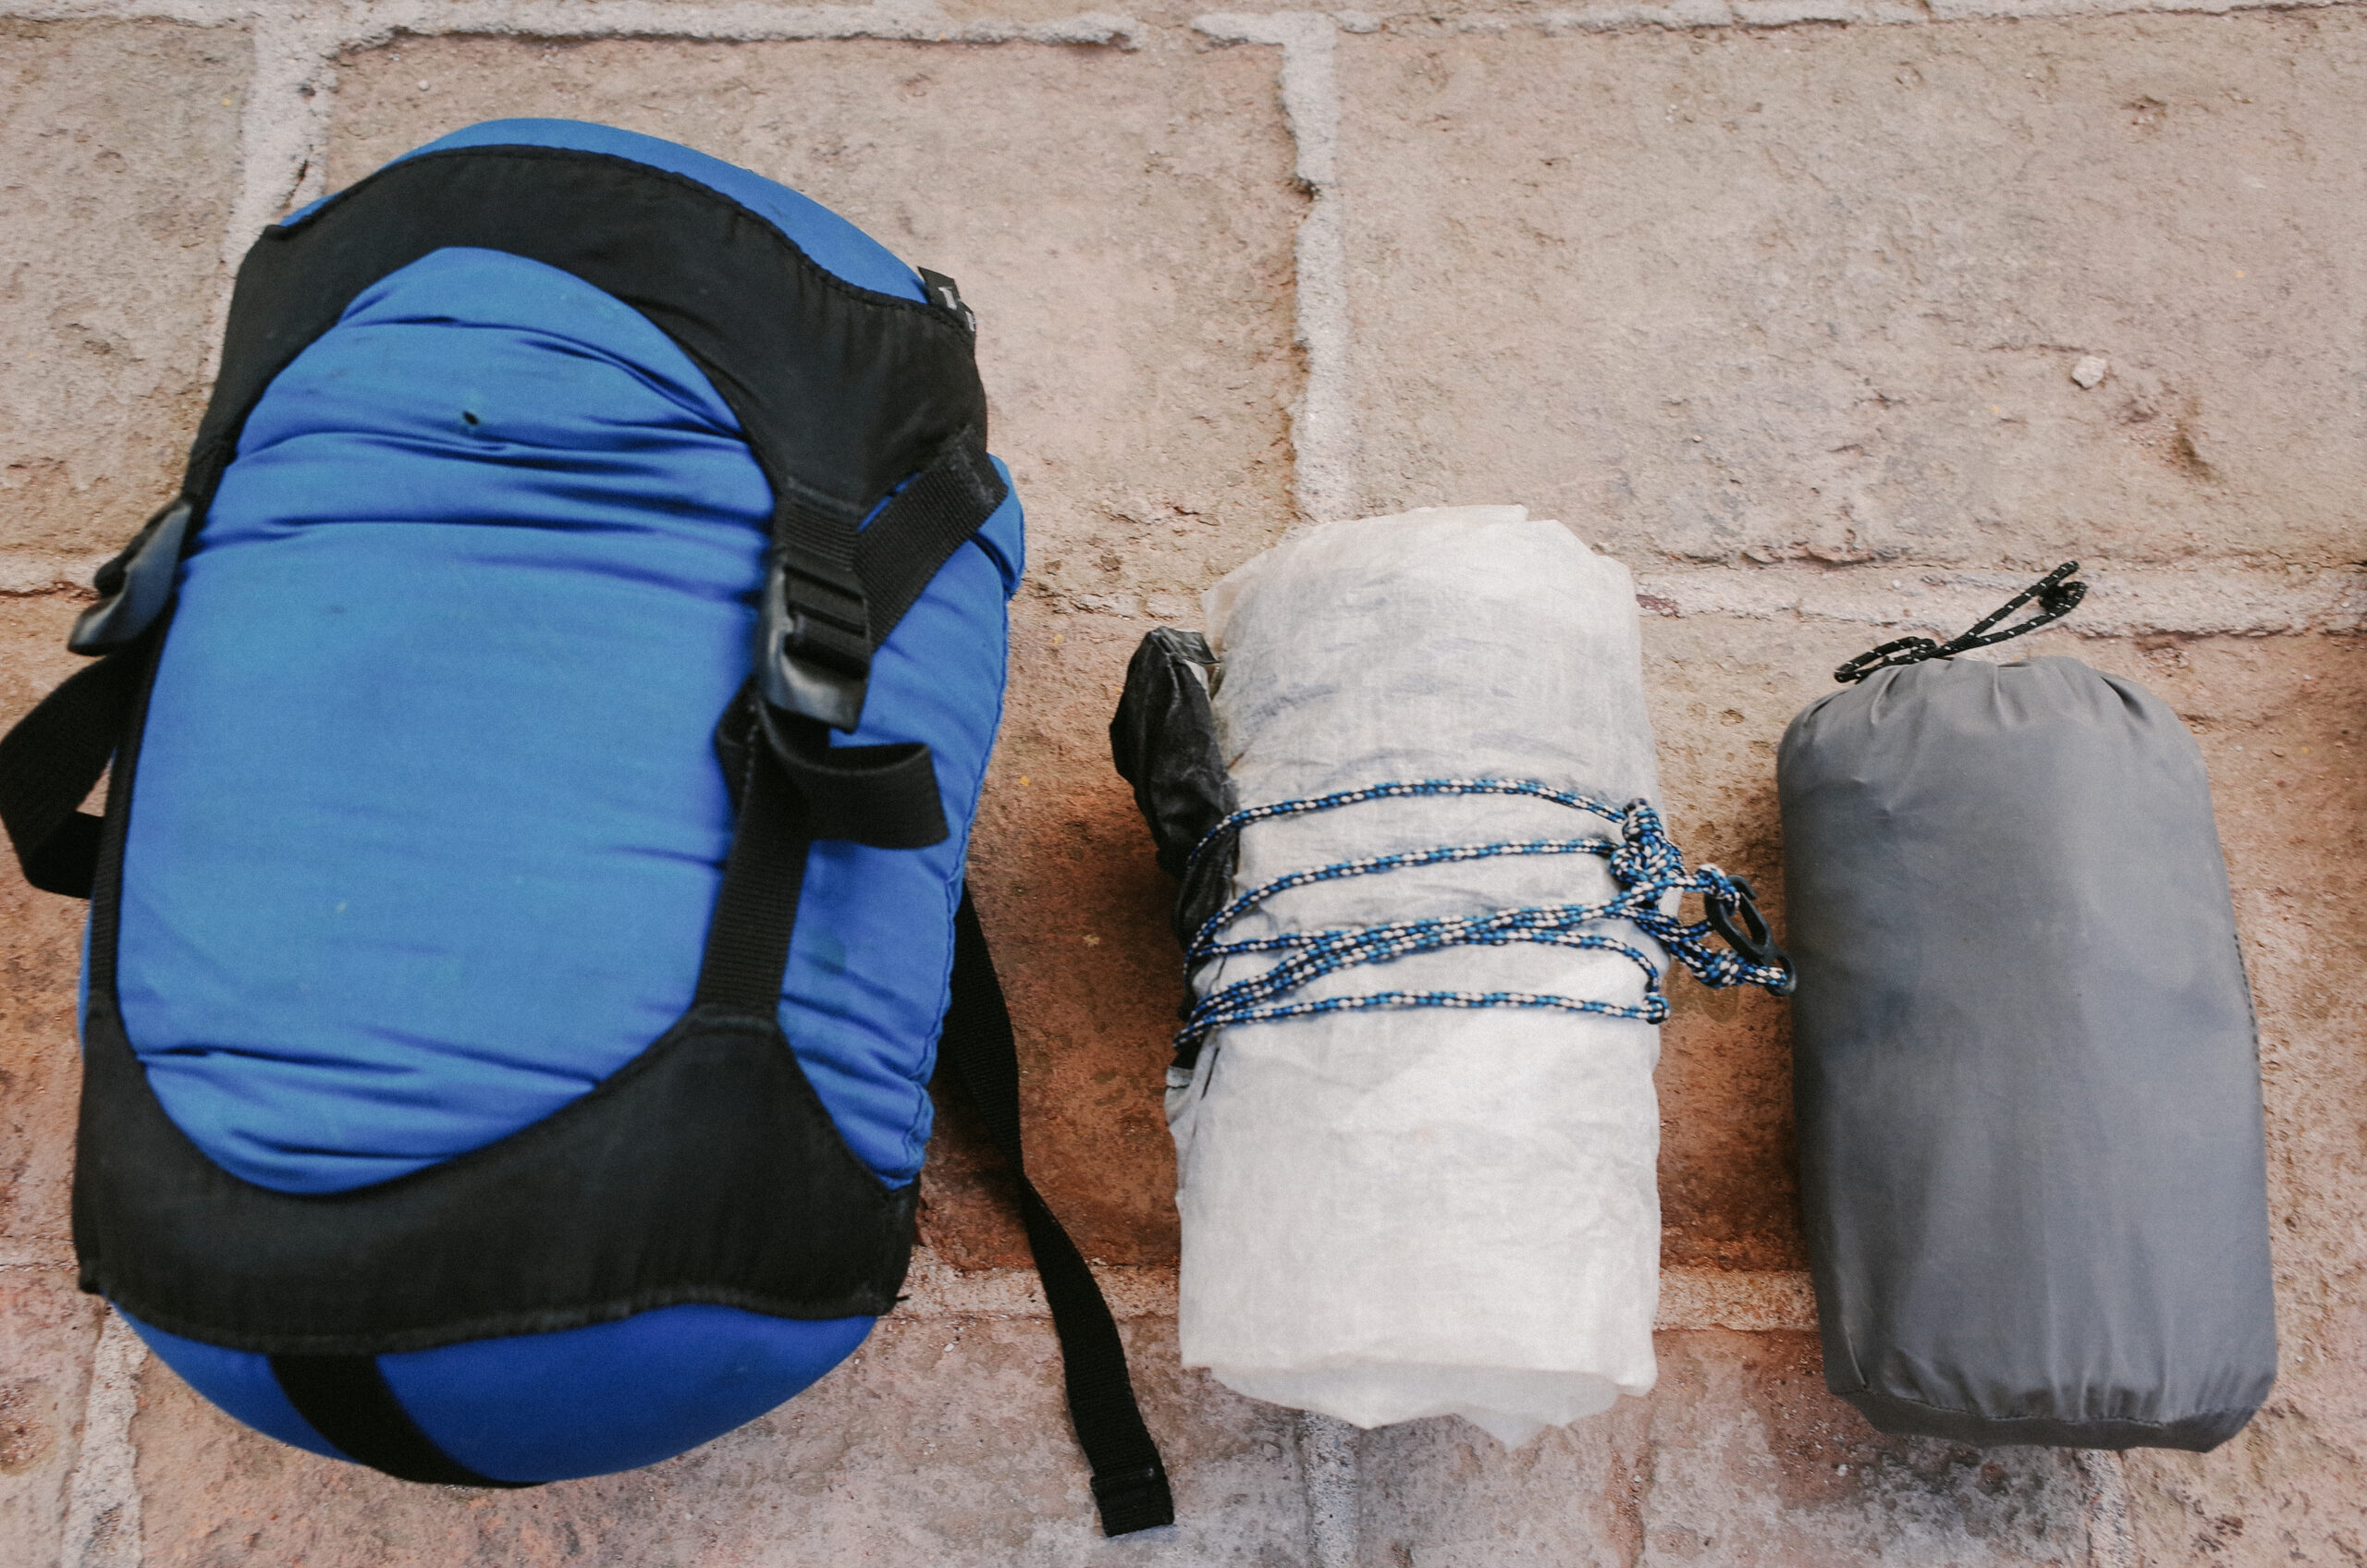
Sleep System
- Shelter: rain fly, bug net, ground sheet, or complete tent system (depending on location)*
- Sleeping bag or quilt (rated for cooler temperatures at night
- Sleeping pad and pillow
* Make your decision based on the environment. For example, is there a chance for rain, snow, or insects?
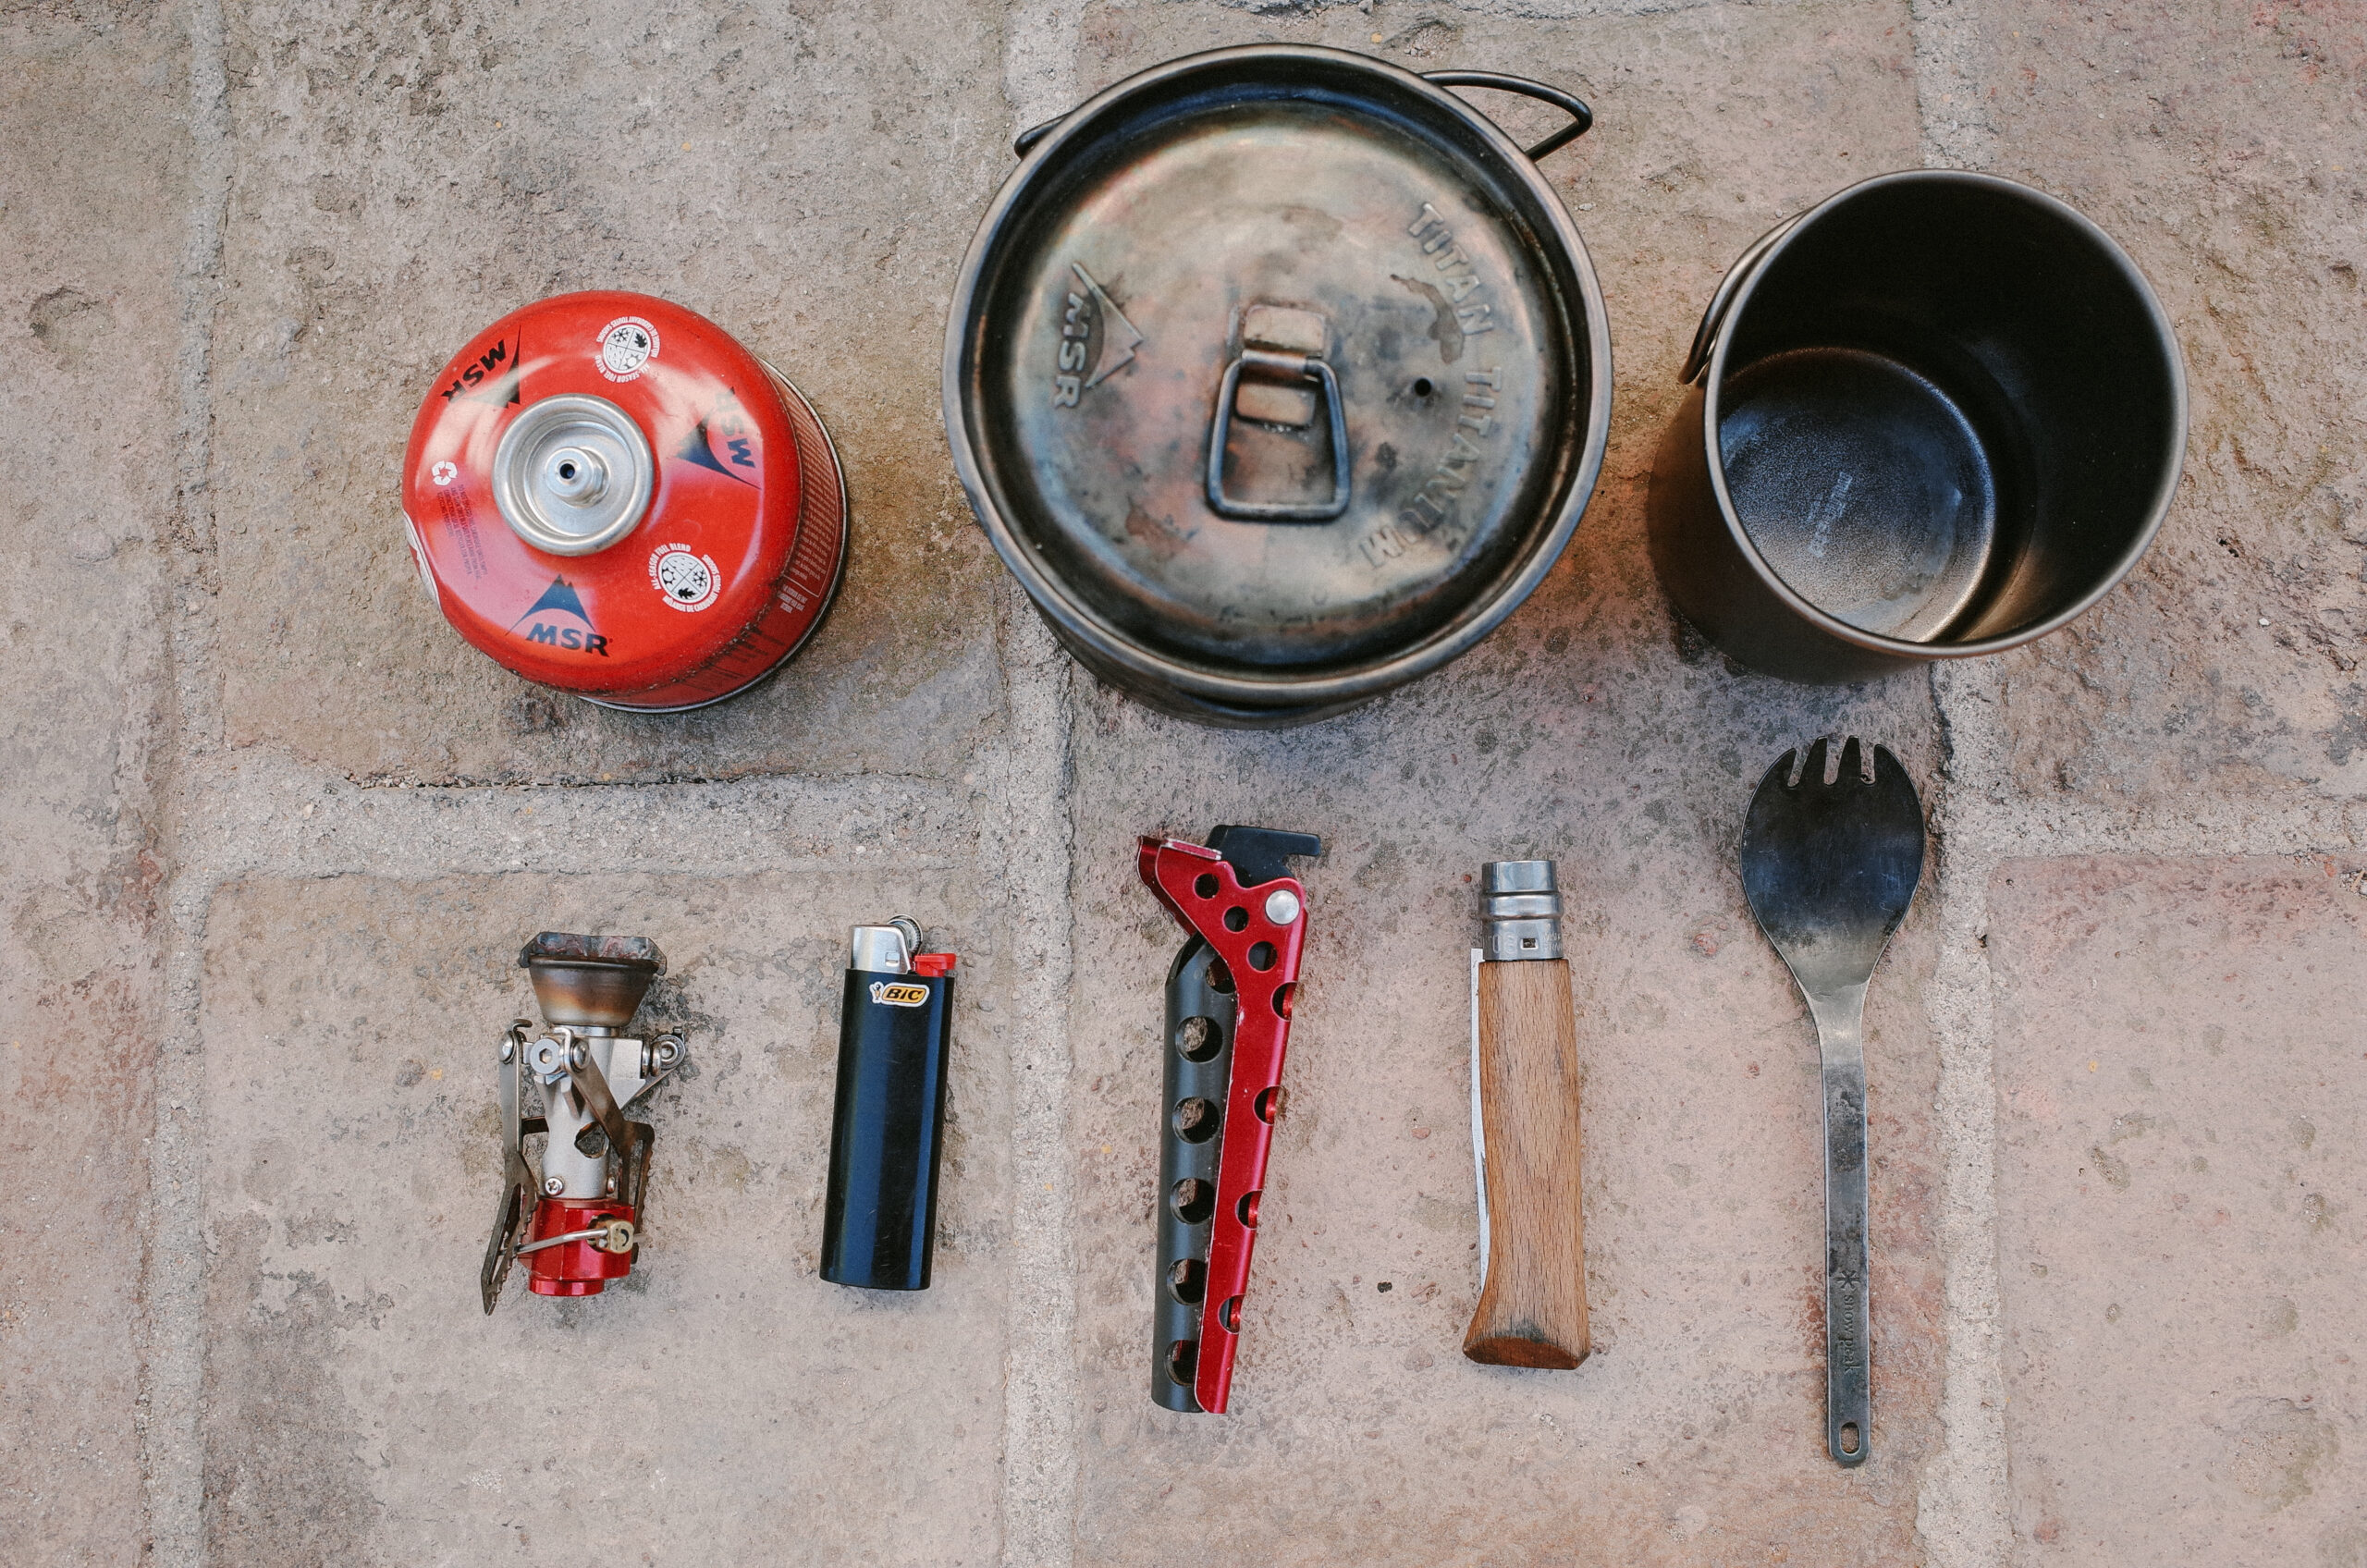
Cooking Kit
- Stove
- Propane canister/bottle of isopropyl alcohol*
- Kettle/plate
- Mug
- Spork
- Knife
- Lighter
- Seasoning
*Depending on the stove
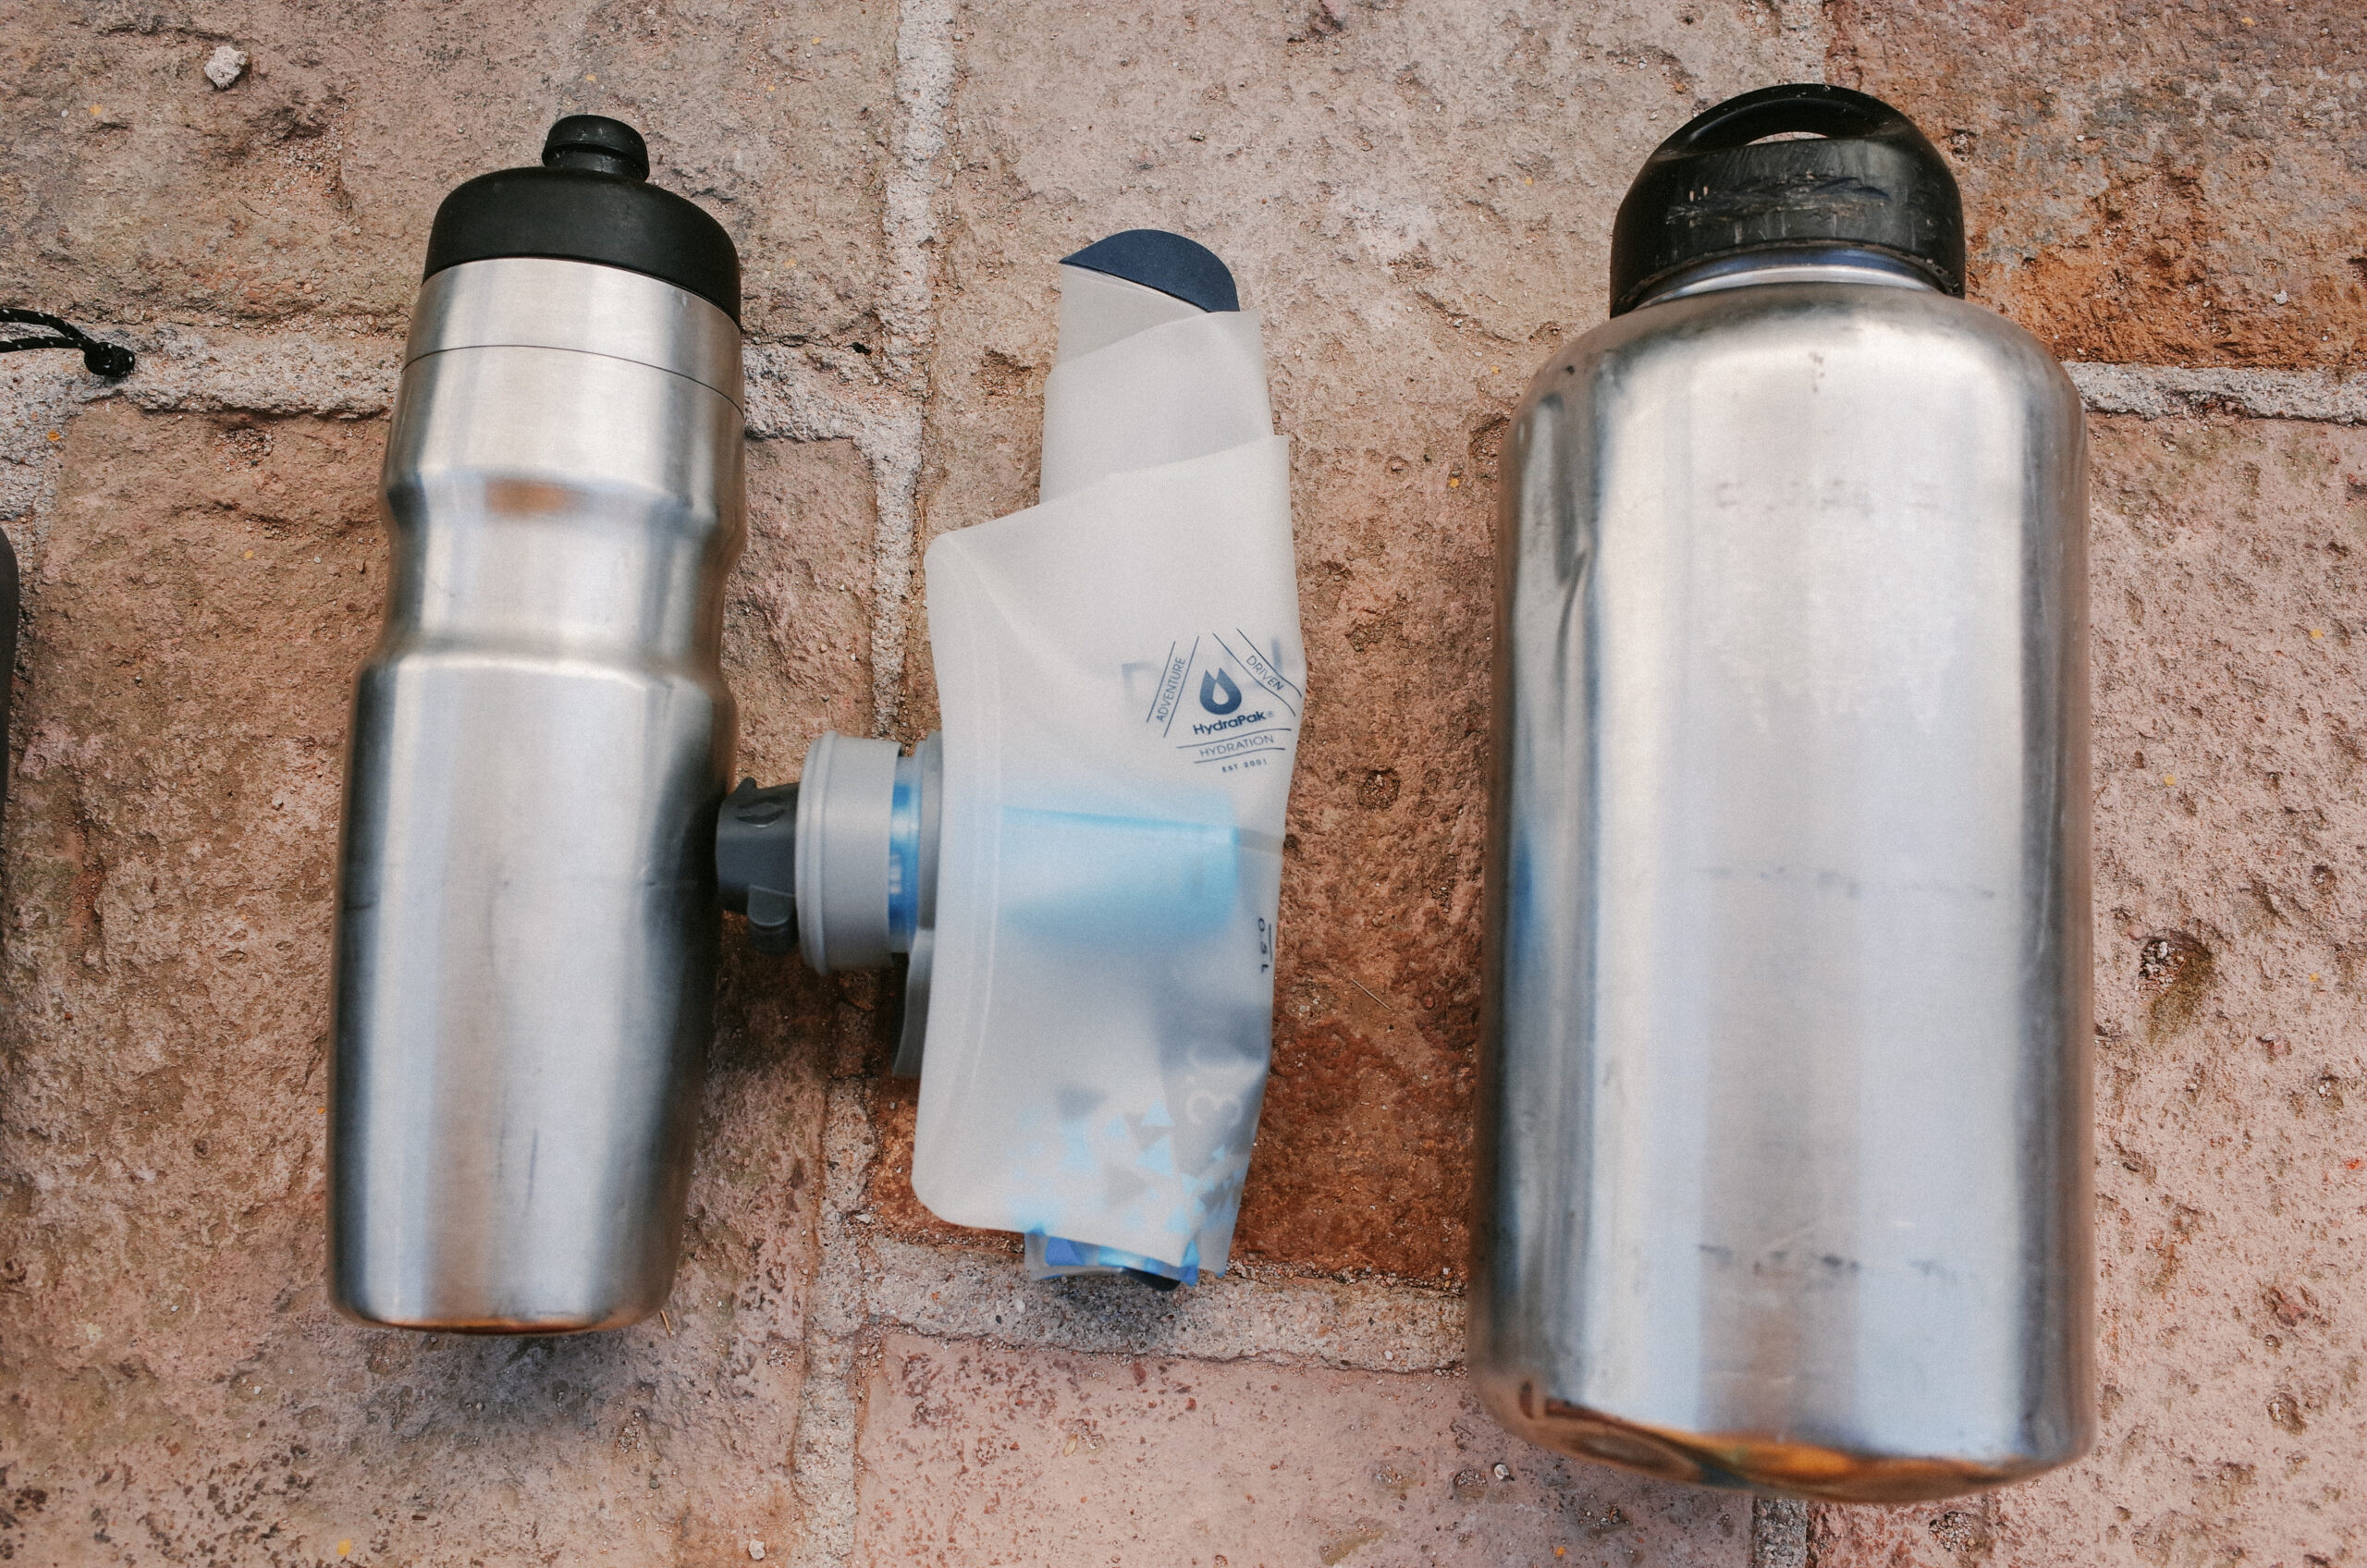
Food and Water
- Capacity to carry up to 3-8 liters of water (depending on location)*
- Capacity to carry up to 2 days of food: 2 nights, 2 mornings, 2 lunches, and snacks*
- Water Bladders/Bottles
- Water filter (one filter for every 2-3 people)
*Food and water capacity needs may vary depending on the location and frequency of resupplies.

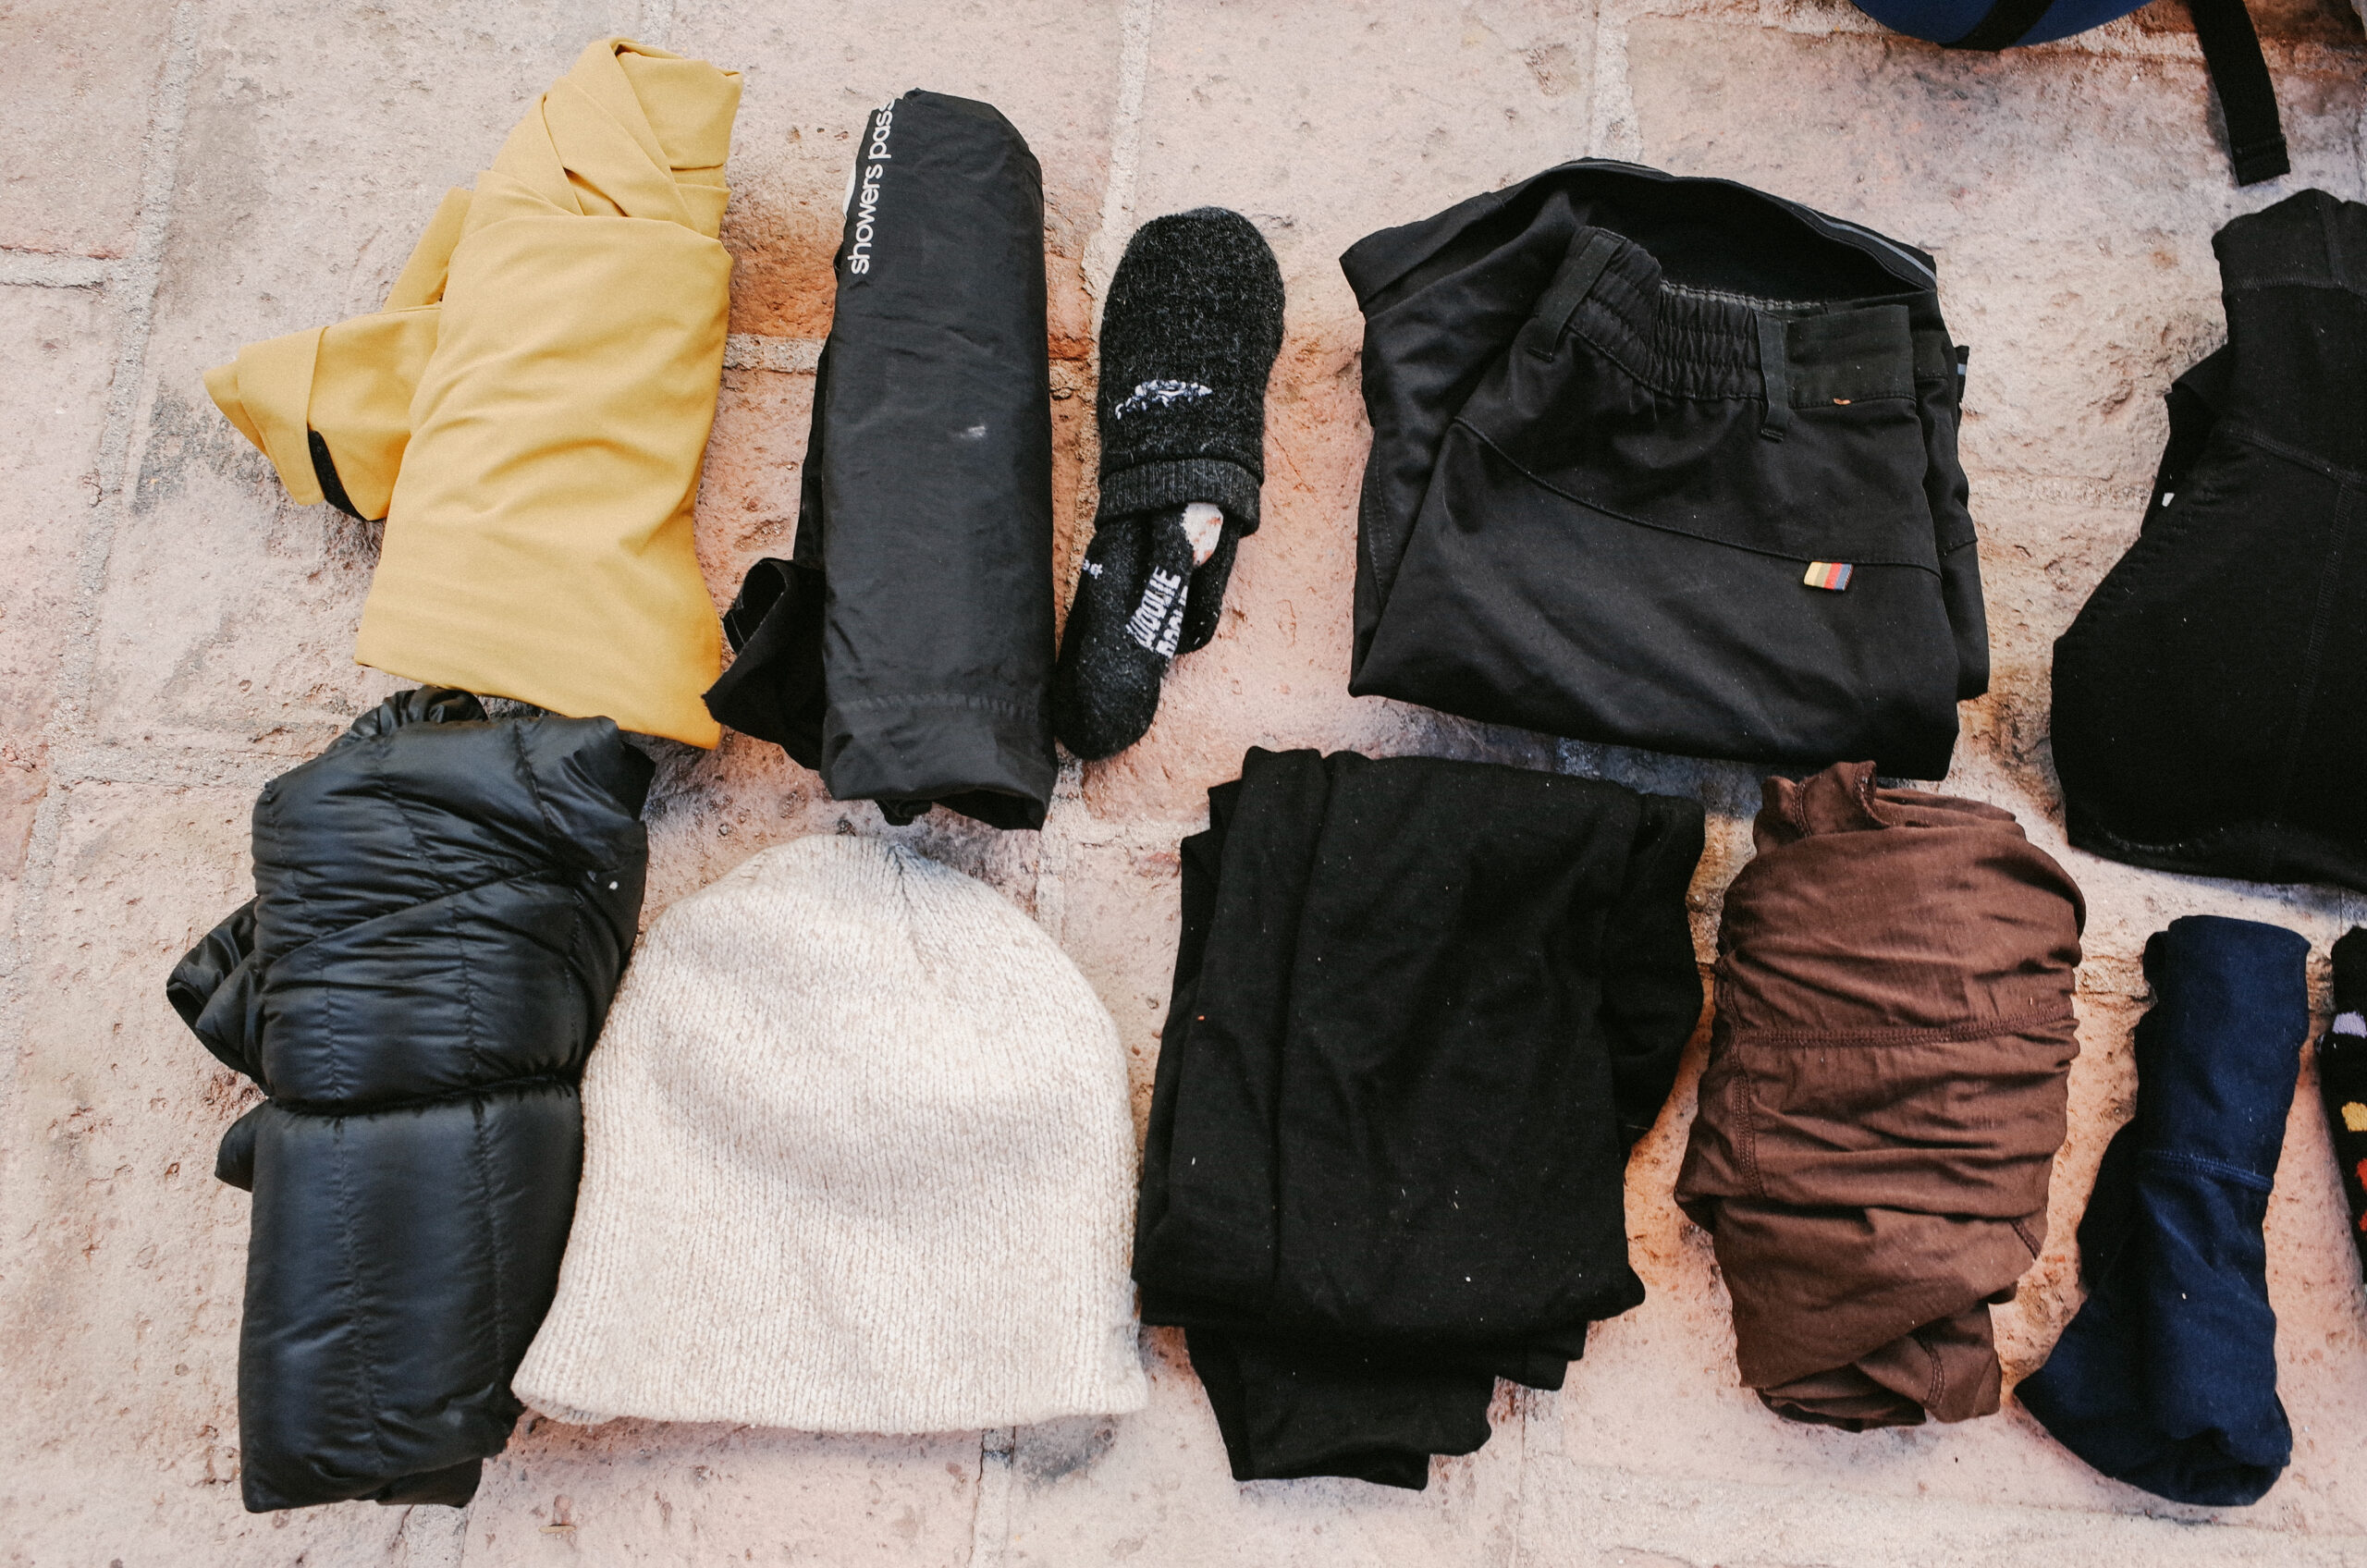
Clothing
- Ride clothes: shirt, shorts, light socks, helmet
- Sleep clothes: pants, long-sleeve shirt, warm socks, and warm hat
- Down jacket
- Rain jacket
- Ride shoes
- Camp/hike sandals
- Hat
- Bandana
- Gloves
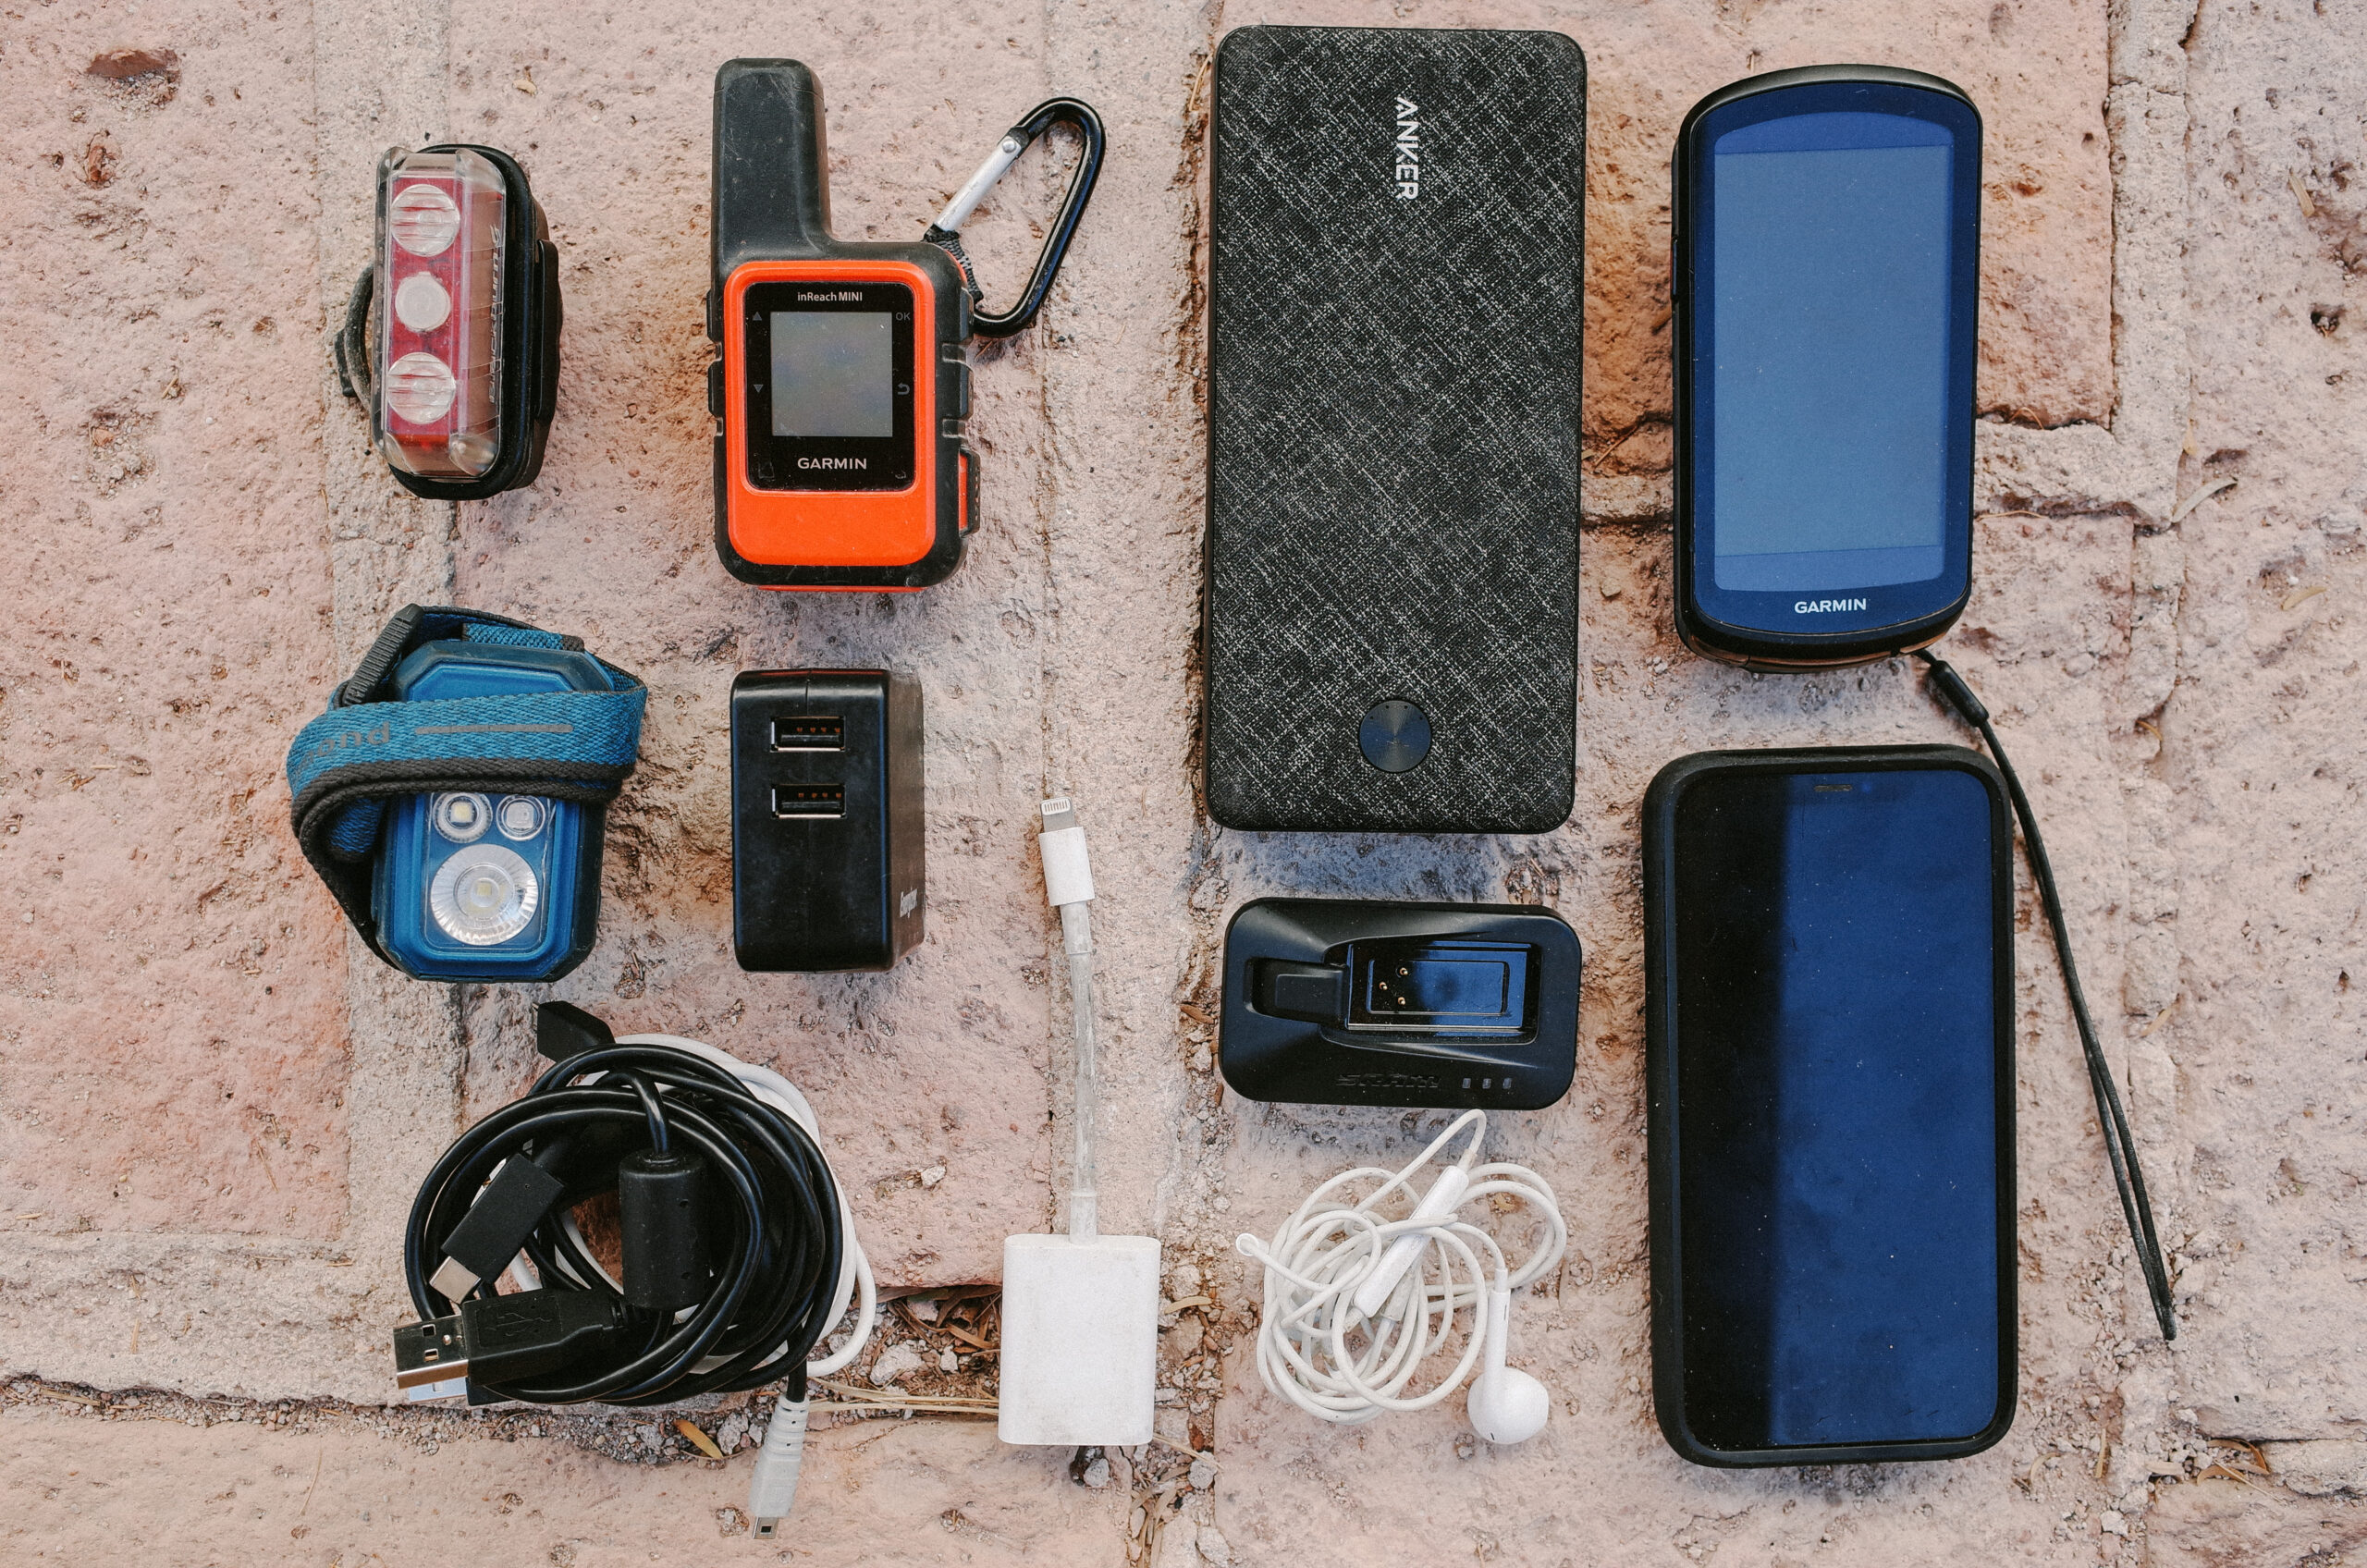
Electronics
- Phone
- GPS navigation device and/or phone mounted onto your handlebars
- Satellite communication device (Inreach or SPOT)
- Headlamp and tail light
- Camera
- Spare battery pack (10,000 – 15,000 milliamps)
- Outlet wall charger
- Charging cables
- Headphones
- Spares: SD cards, camera batteries, etc.
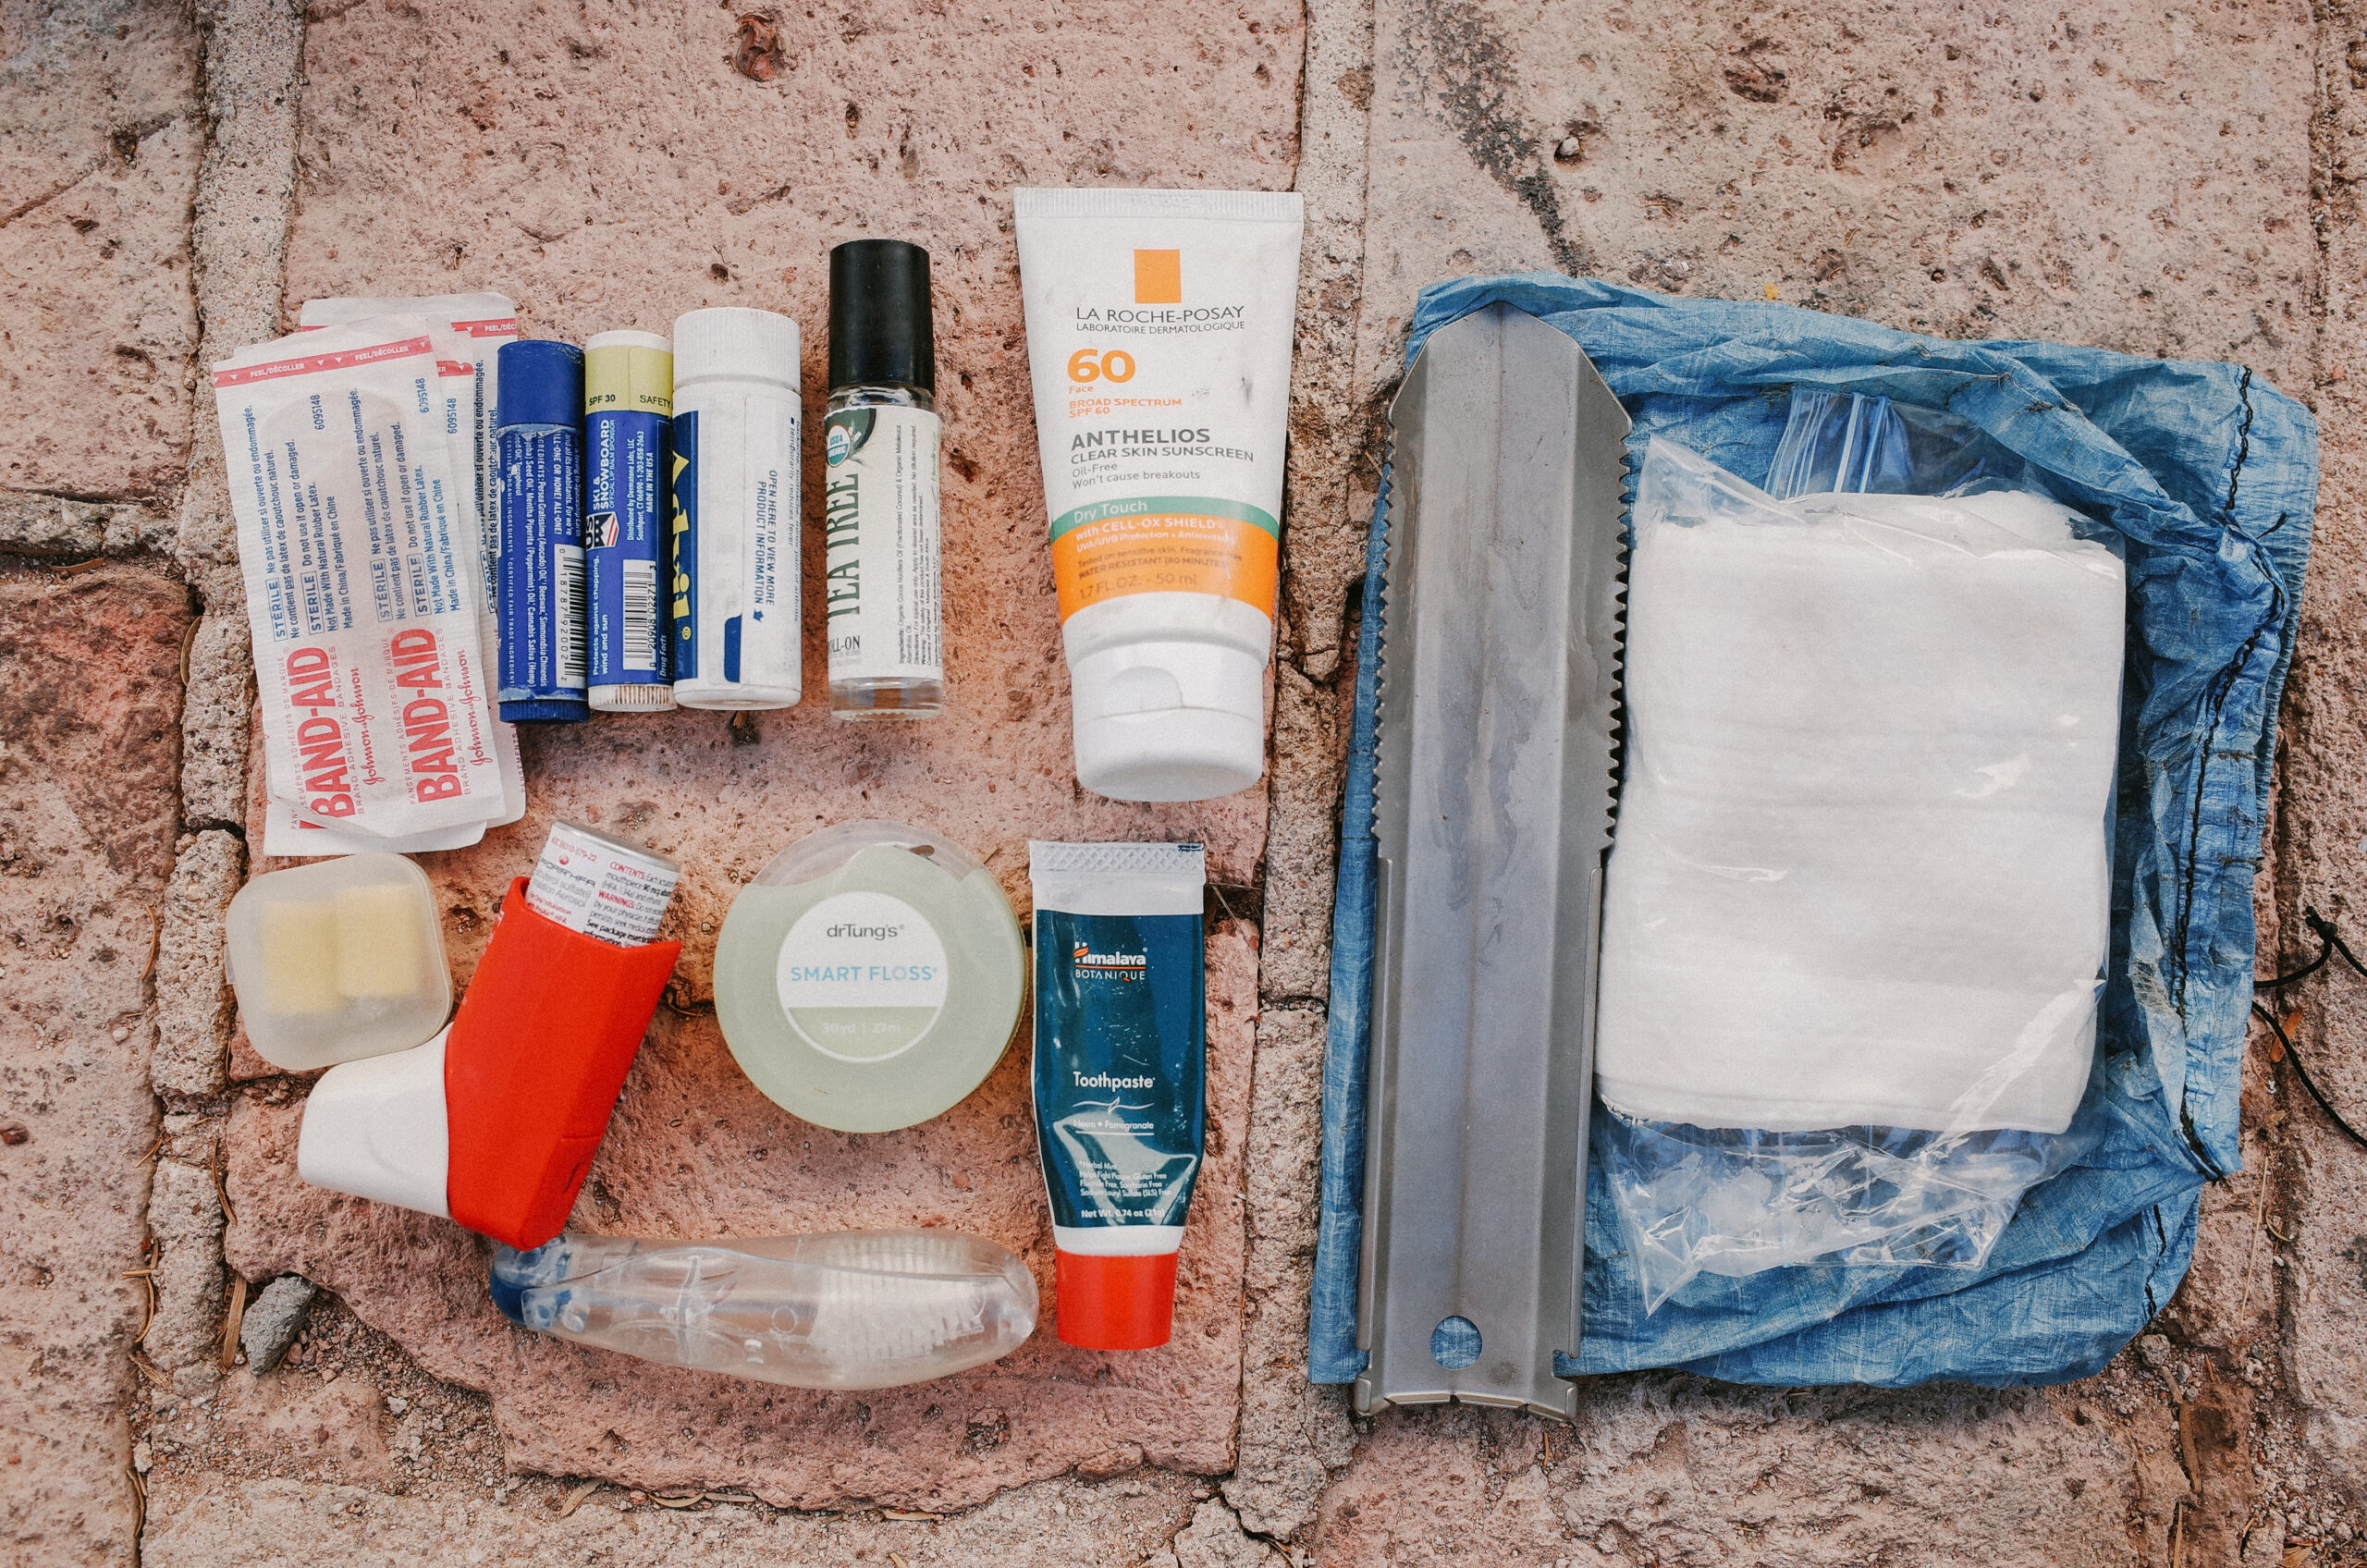
Toiletries
- Toothbrush
- Toothpaste
- Floss
- Soap
- Baby wipes/toilet paper
- Waste Bag
- Hand sanitizer
- Bug spray
- Sunscreen
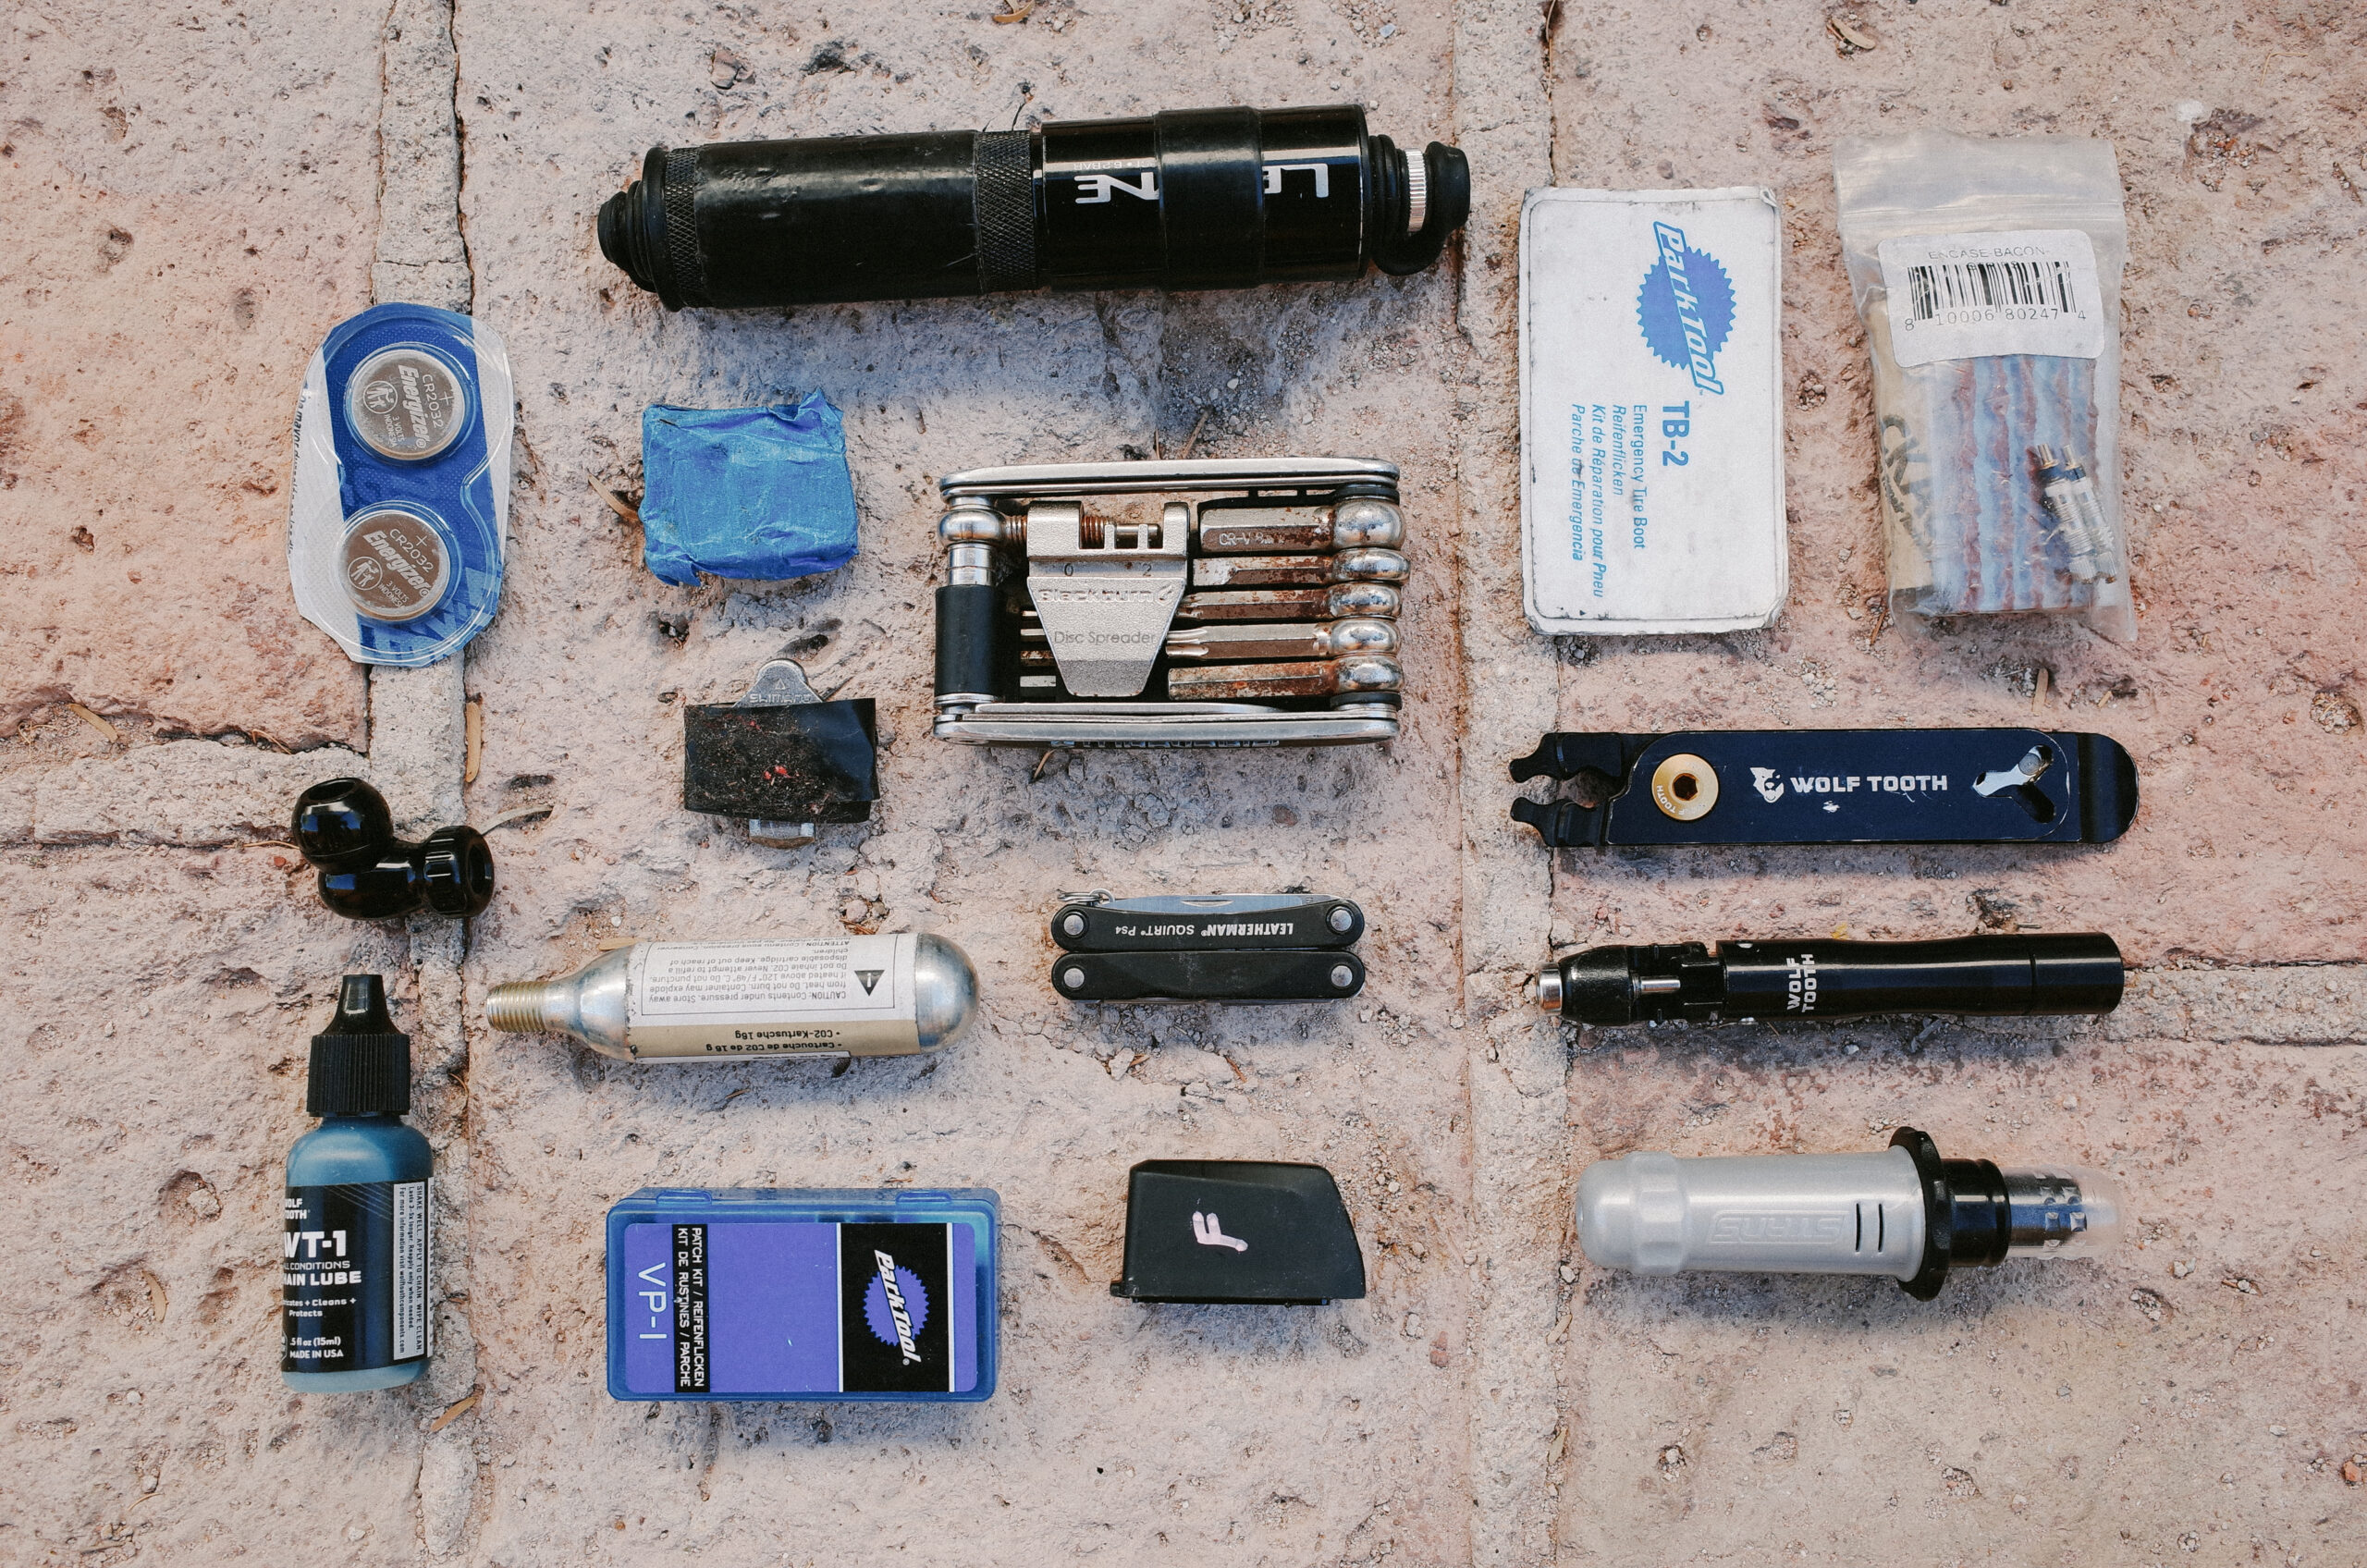
Tool Kit
- Pump
- Multi-tool
- Wolf Tooth Pack Pliers
- Wolf Tooth WT-1 Chain Lube
- Rag
- Patch Kit: Patches, Tire lever, Tire plugs (various thicknesses), Spare tube, and Tire boots
- 2 oz. of sealant
- Presta valve adapter
- Chain link
- Spare derailleur hanger
- Needle and thread
- Tape: electrical tape and gorilla tape (I wrap a bunch of tape around my pump)
- Zip Ties
- A few extra bolts: 4mm and 5mm
First Aid Kit
- Bandages
- Gauze
- Tape
- Ibuprofen
- Anti-histamine
- Antacid/laxative
- Eye drops
- Emergency blanket
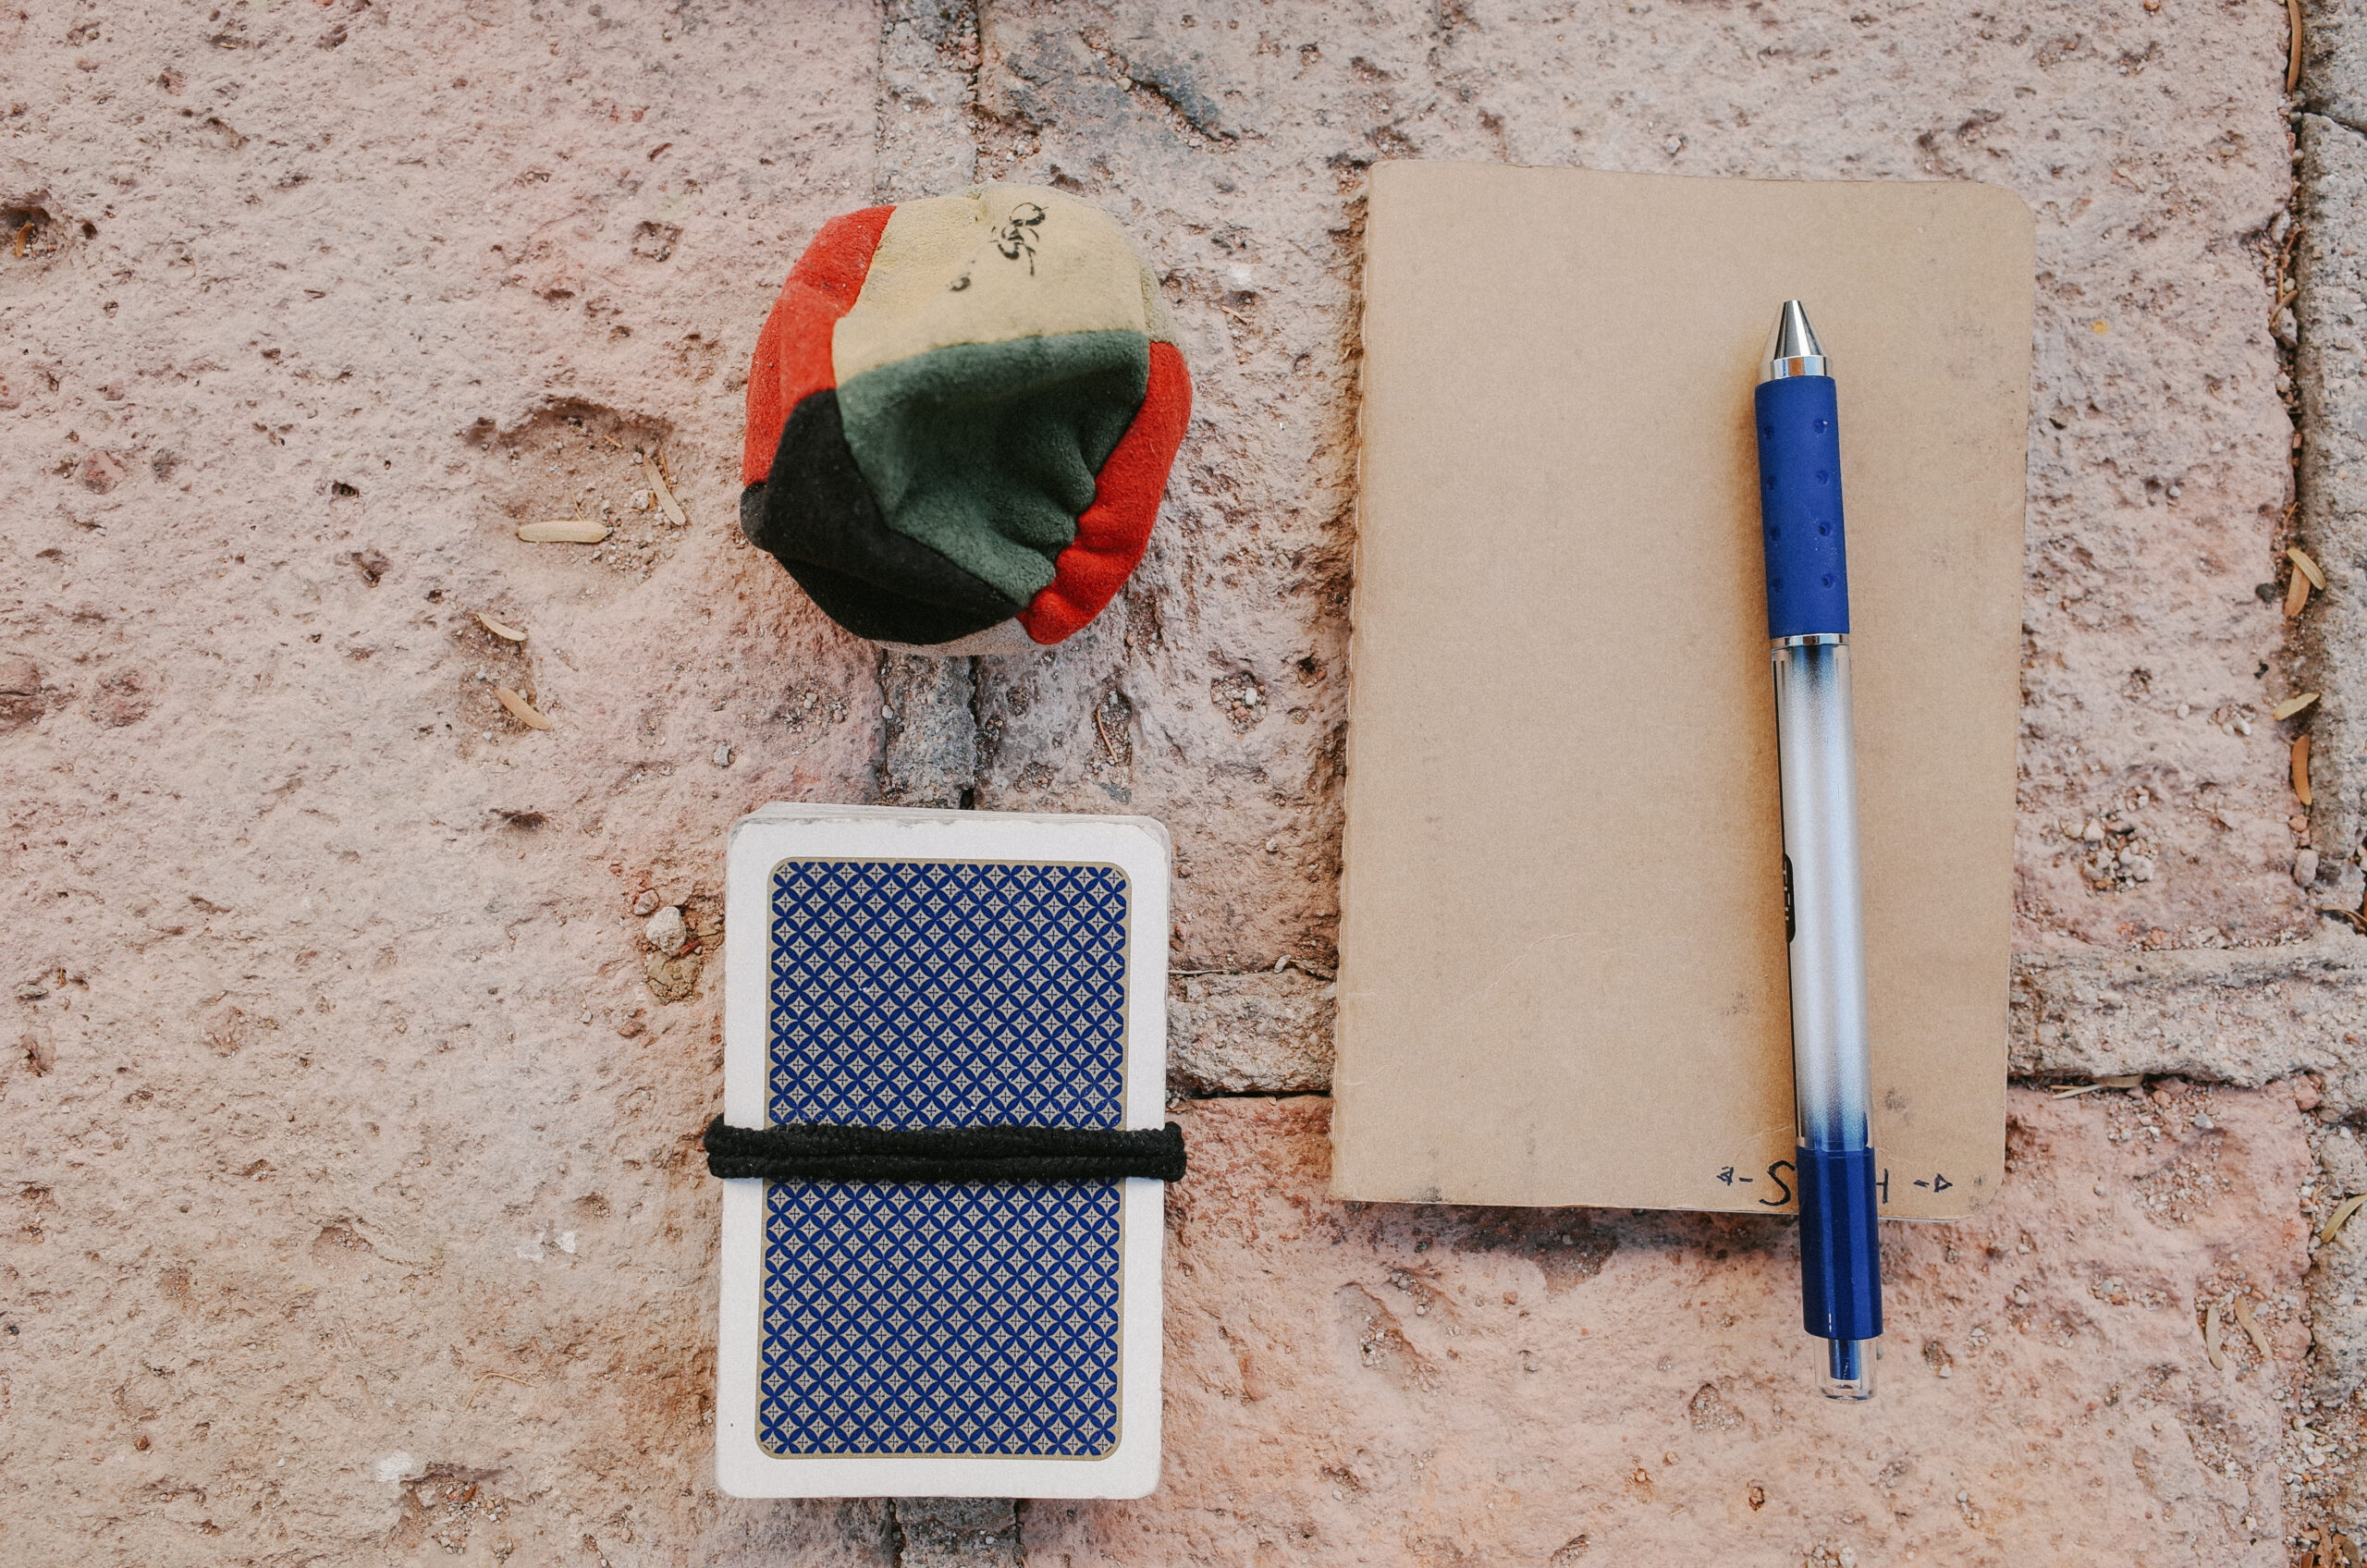
Extras
- Binoculars
- Notebook
- Book
- Deck of cards
- Writing utensil
- Footbag
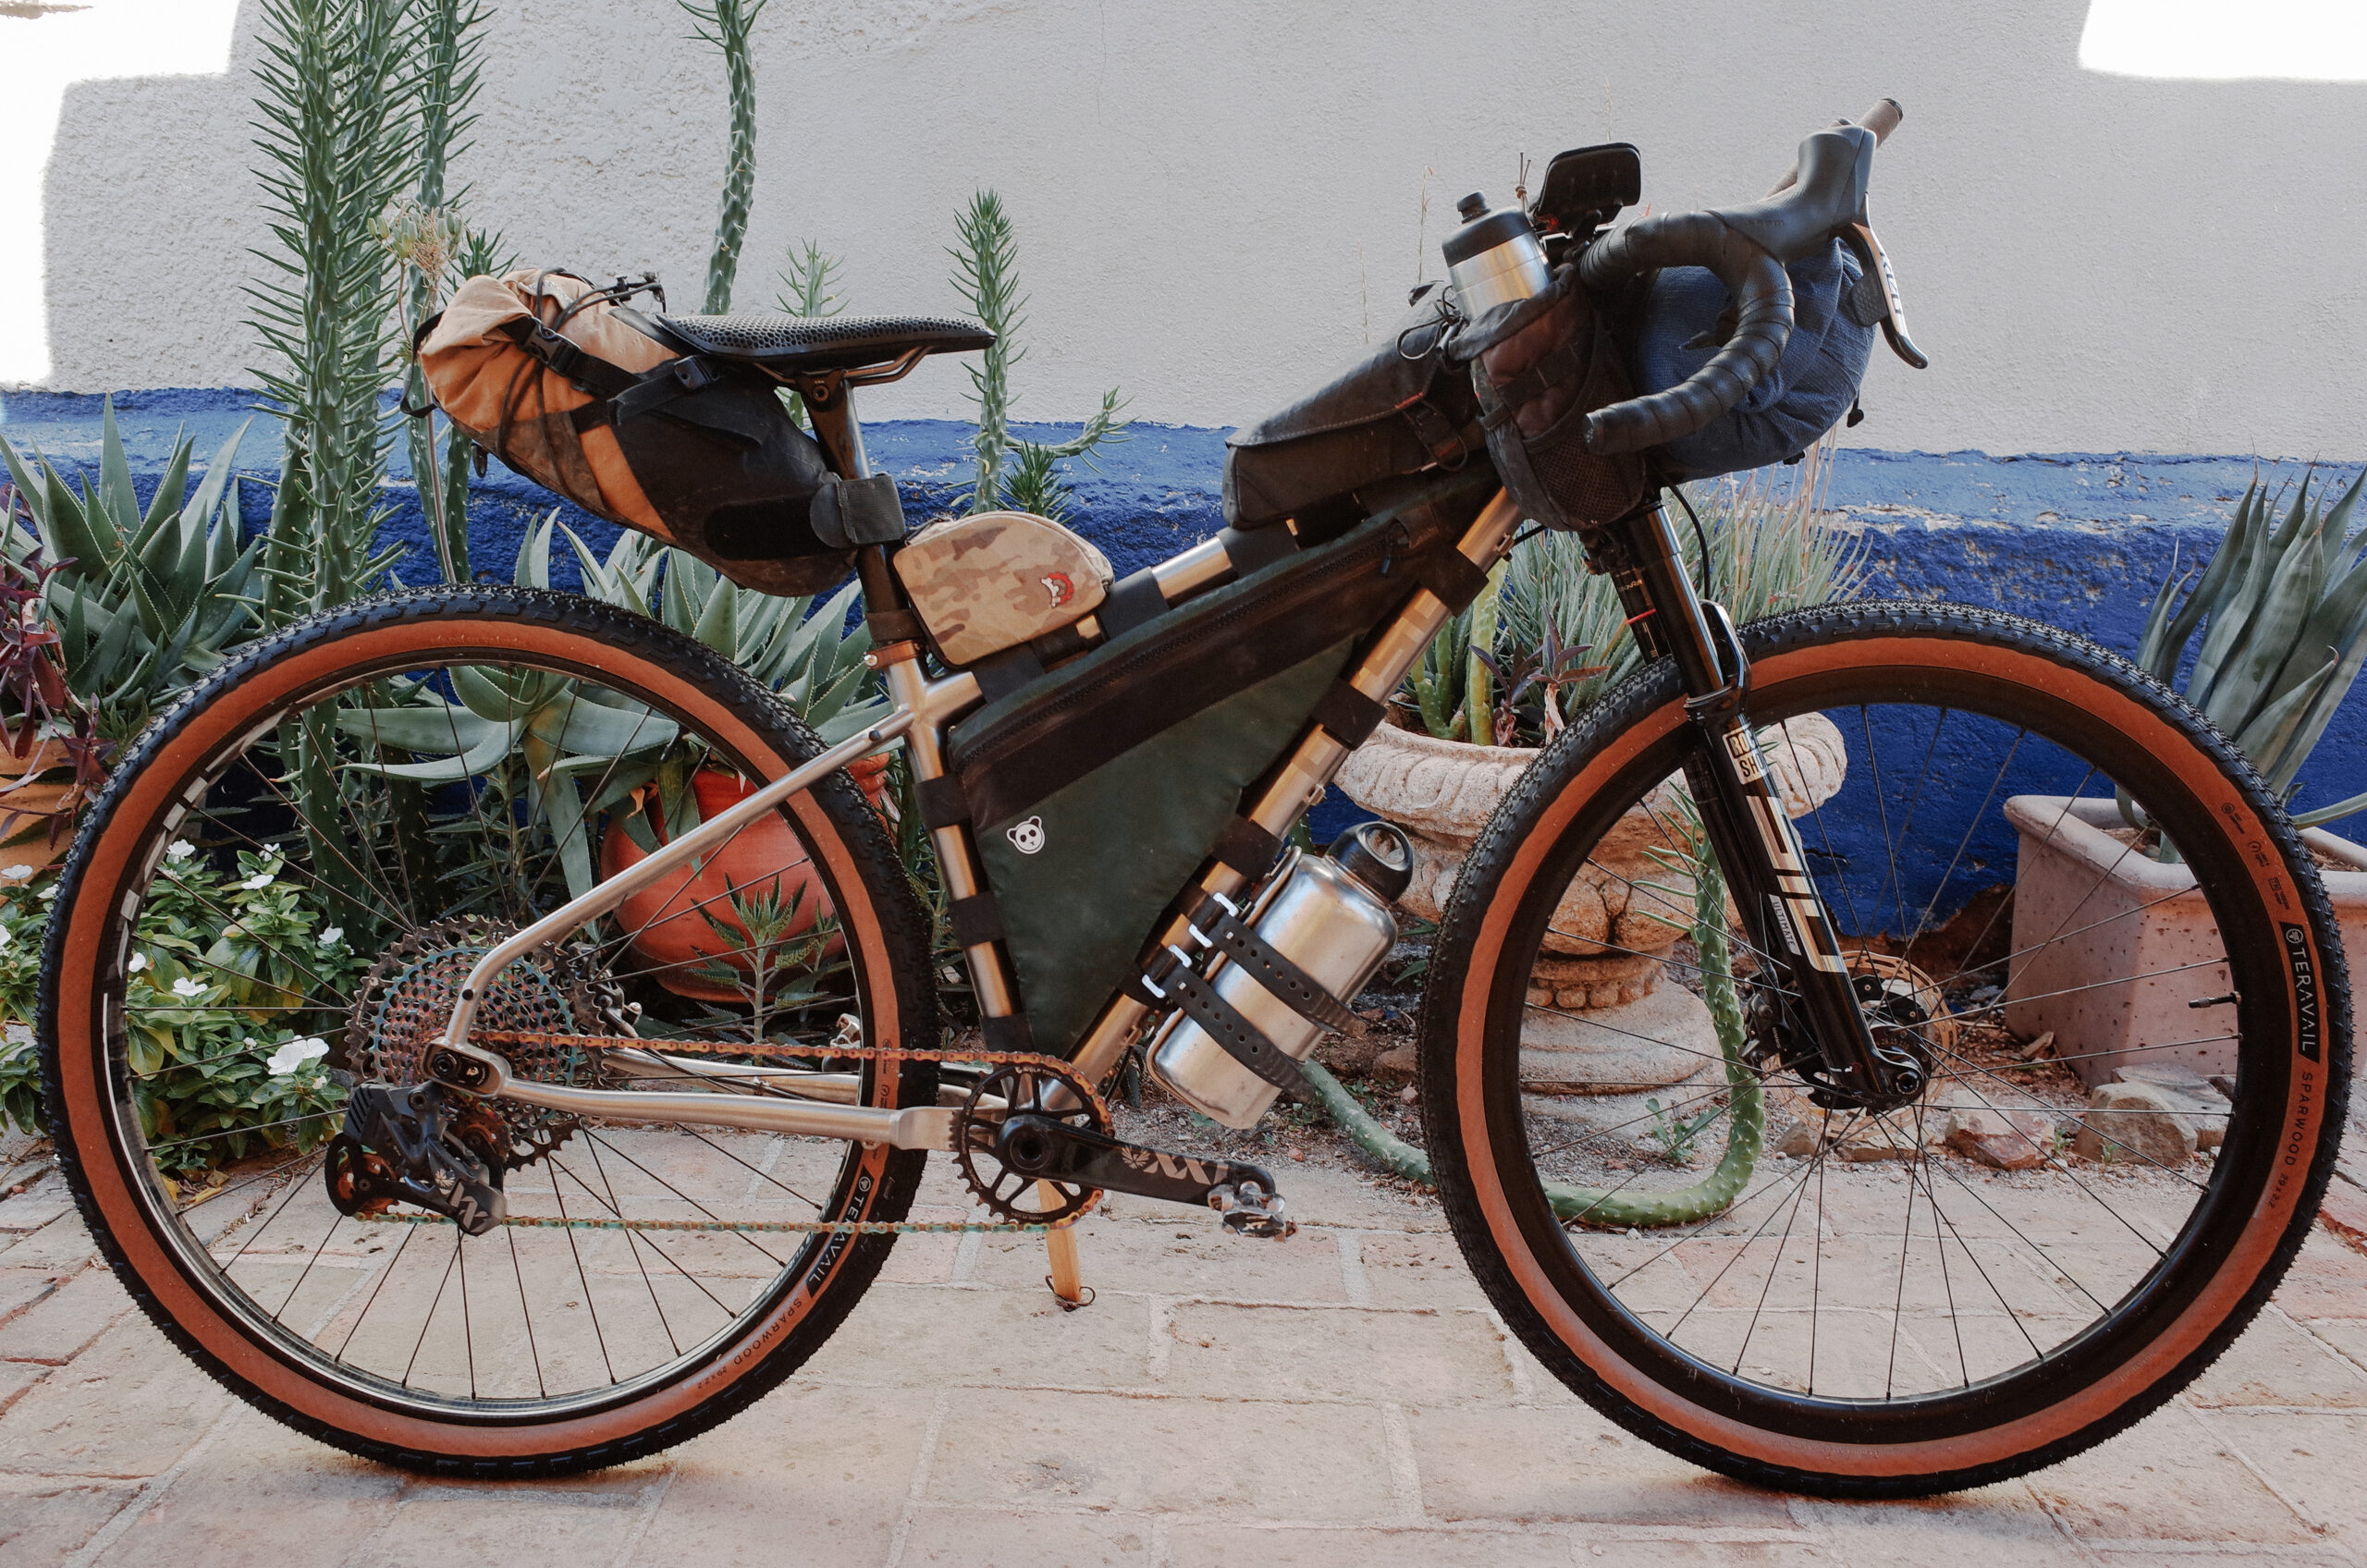
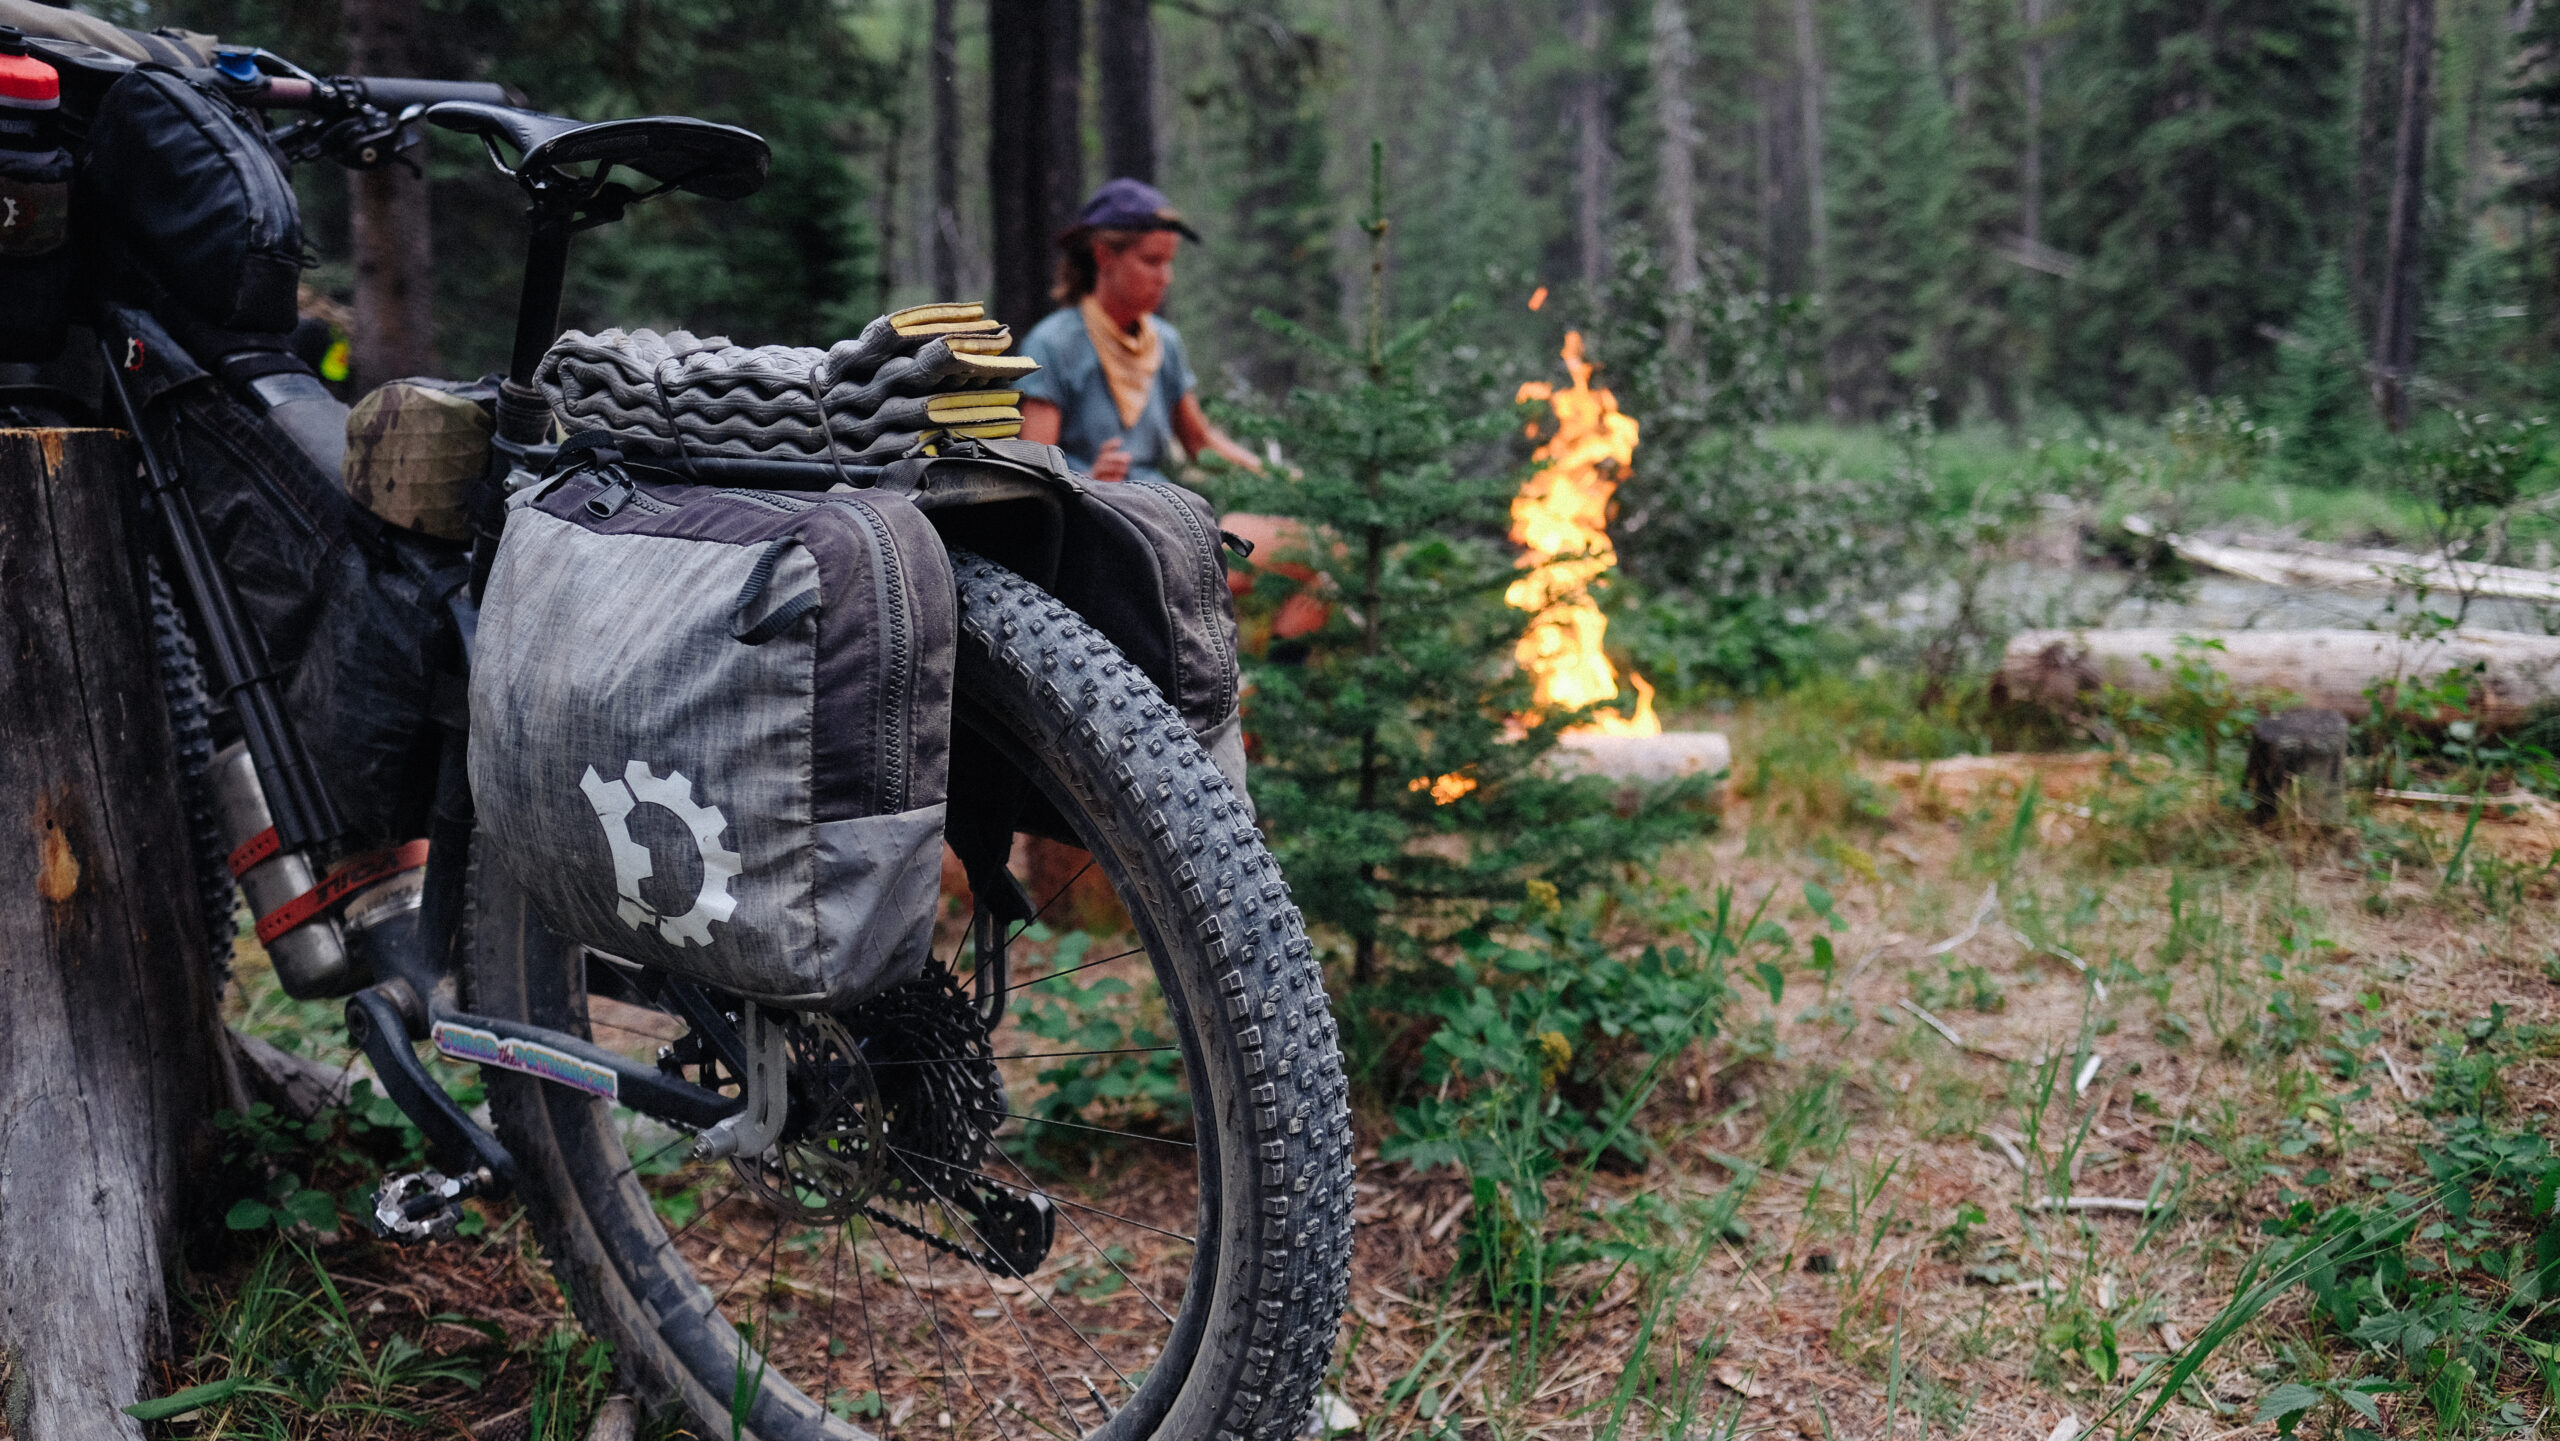
Now that you have the information and motivation to get started, it’s time to start loading a few bags onto your bike, getting some supplies and snacks ready, and hitting the open road. The above photo shows my Fenrir Ti fully loaded. No matter what happens, you are bound for an adventure. Don’t worry if you make a few mistakes – it’s all part of the process.
Have fun, be safe, and enjoy the journey.
Great article! Thanks Sarah
Thanks for the info! I’m preparing for my first bikepacking adventure, and love reading about it.
Love the insight, Sarah!